Simple Crochet Triangle Head Scarf – Free Pattern & Video Tutorial
The tutorial video is at the bottom of the article.👇
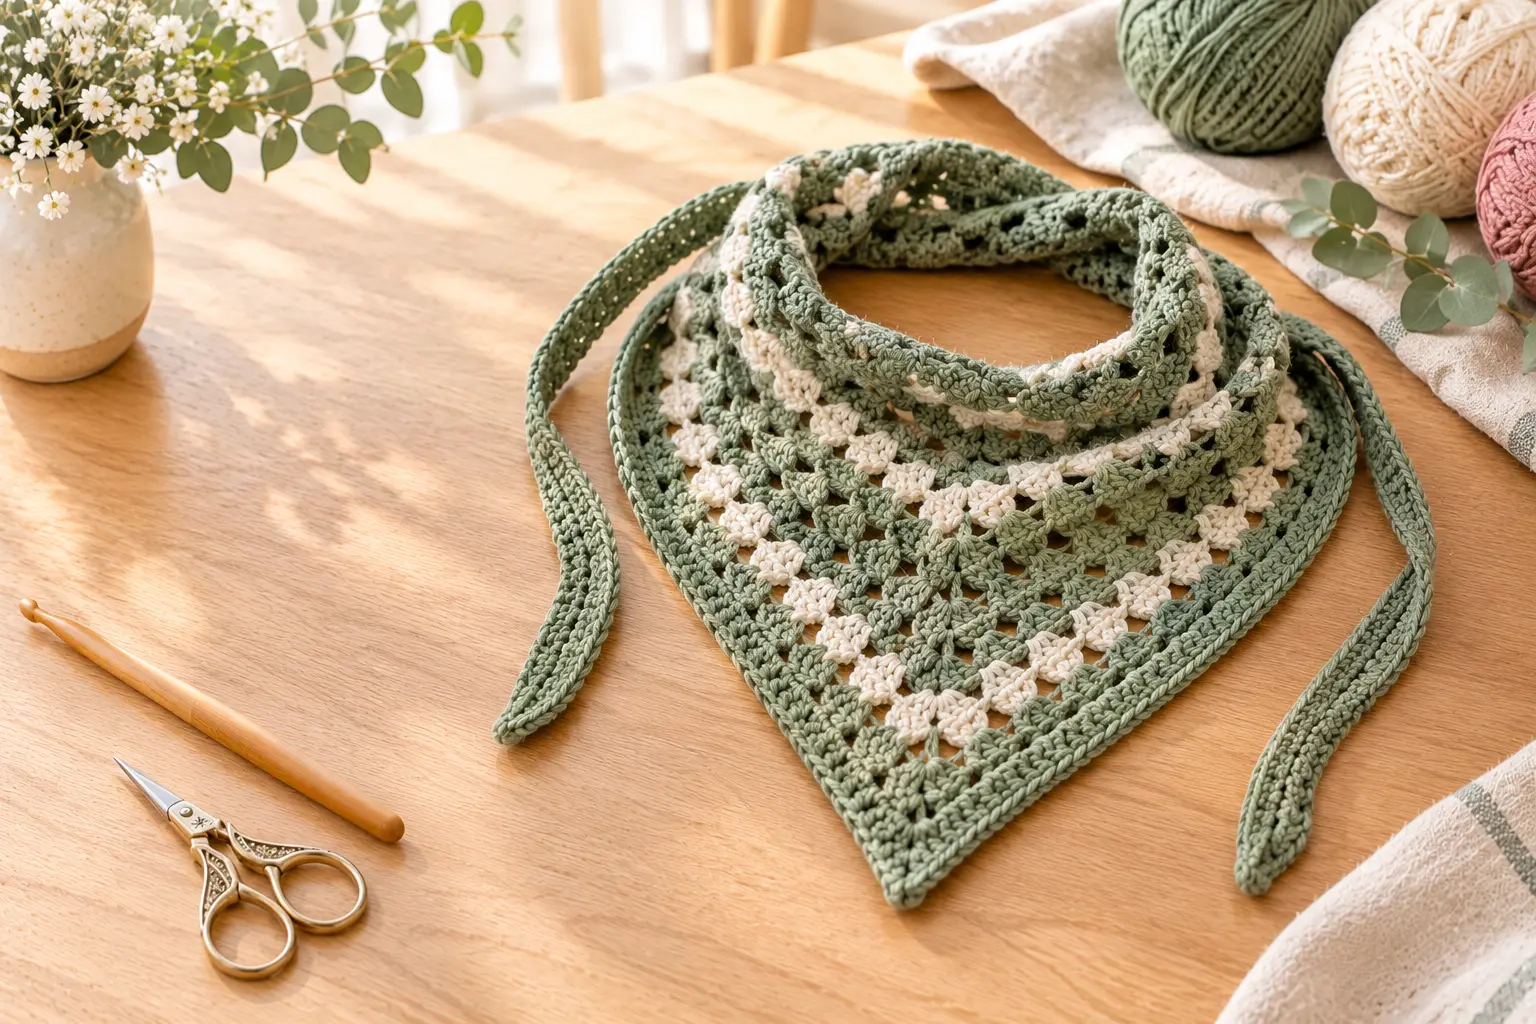
Looking for a crochet project that’s stylish, practical, and easy to personalize? A crochet triangle head scarf is a lovely addition to your handmade wardrobe. With its classic shape and endless color possibilities, this little accessory can bring a handmade touch to almost any outfit.
Whether you prefer a vintage-inspired bandana, a soft neutral scarf, or a colorful boho accessory, you can make a design that suits your style. It’s also a satisfying project if you’re building your crochet skills because you can work at your own pace and watch the triangle take shape row by row.
In this tutorial, you’ll discover the materials you need, tips for choosing yarn, a simple triangle scarf pattern, and ideas for styling your finished piece.
Why You’ll Love This Crochet Triangle Head Scarf
A triangle head scarf is a versatile accessory that doesn’t require a complicated design to look beautiful. Depending on the yarn and stitch pattern you choose, you can create something lightweight for warmer weather or a cozier version for cooler days.
Here are a few reasons to try this project:
- Beginner-friendly: A simple design lets you practice basic stitches and increases.
- Customizable: Choose your favorite colors, yarn texture, and finished size.
- Budget-friendly: Use leftover yarn or a small skein from your stash.
- Easy to style: Wear it as a head covering, bandana, or decorative hair accessory.
- Great for gifting: A handmade scarf makes a thoughtful present for someone who appreciates unique accessories.
Materials You’ll Need
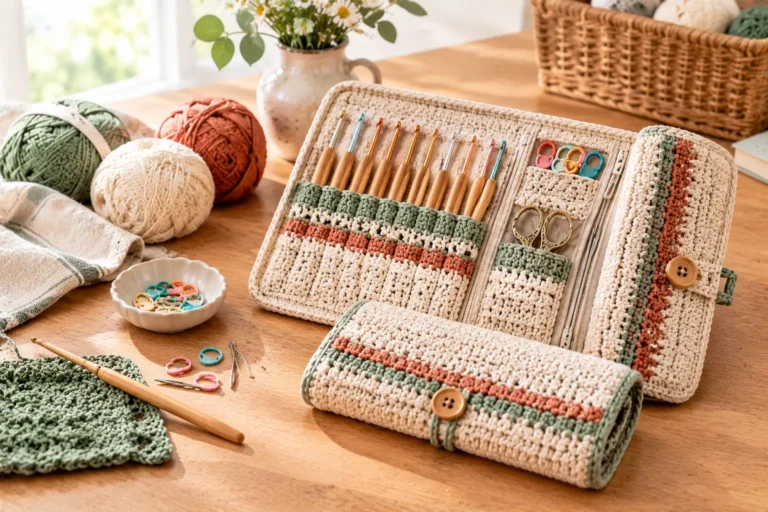
Before you begin, gather your supplies. Your exact yarn requirements will depend on the finished dimensions and stitch pattern.
| Material | Suggested choice | Purpose |
|---|---|---|
| Yarn | Lightweight cotton or DK yarn | Creates a comfortable scarf |
| Crochet hook | Size recommended on the yarn label | Helps achieve even stitches |
| Scissors | Small, sharp scissors | Cuts the yarn |
| Tapestry needle | Blunt yarn needle | Weaves in loose ends |
| Measuring tape | Flexible tape measure | Checks the finished size |
| Stitch markers | Optional | Helps identify edge stitches |
Choosing the Best Yarn
Cotton yarn is a good choice for a breathable summer head scarf. Acrylic yarn is affordable and comes in a wide range of colors, while a wool blend can work well for a warmer accessory.
If you’re making your first crochet triangle head scarf, choose a yarn that’s easy to work with and comfortable against your skin. A smooth, light-colored yarn can also make individual stitches easier to see.
Crochet Stitches You’ll Need
For a basic triangle scarf, you may need only a few familiar crochet stitches. The exact stitches depend on the version of the pattern you choose.
- Chain stitch (ch): Creates the foundation chain and chain spaces.
- Single crochet (sc): Produces a compact, firm fabric.
- Half double crochet (hdc): Creates a stitch with a little more height.
- Double crochet (dc): Makes a taller, flexible fabric.
- Slip stitch (sl st): Joins stitches or helps finish an edge.
This tutorial uses US crochet terminology. Before beginning, make sure you understand where the first and last stitches of each row belong. Keeping track of your edges helps prevent the scarf from becoming uneven.
Simple Crochet Triangle Head Scarf – Free Pattern
This beginner-friendly version uses rows of single crochet with increases at both edges to form a triangle. It creates a simple, solid fabric that you can customize with a border or color changes.
Pattern Details
- Skill level: Beginner
- Construction: Worked in rows from the top edge toward the point
- Stitches used: Chain and single crochet
- Finished size: Customizable
- Yarn quantity: Depends on the yarn and desired dimensions
Step 1: Start Your Foundation
Chain 2.
Row 1: Work 2 single crochet stitches into the second chain from your hook. Turn your work.
This creates the first small section of your triangle.
Step 2: Increase at Both Edges
Row 2: Chain 1, work 2 single crochet stitches into the first stitch, work 1 single crochet in each stitch across, then work 2 single crochet stitches into the last stitch. Turn.
Row 3: Repeat Row 2, increasing once at the beginning and once at the end of the row.
Continue repeating Row 3. Each row adds stitches at both edges, gradually widening the triangle.
Important: Because the increases are made at both ends, this construction forms a triangle that grows wider with each row. If you want a traditional head scarf with a broad forehead edge and a point at the back, you may prefer a pattern worked from one corner or from the long edge. Check the intended shape before continuing.
Step 3: Continue Until You Reach Your Desired Size
Keep repeating the increase row until the scarf reaches the width and depth you want.
As you work:
- Count your stitches regularly.
- Check that both edges increase evenly.
- Measure the fabric every few rows.
- Keep your tension consistent.
If the scarf is becoming too wide or too deep, pause and compare it with your desired measurements before continuing.
Step 4: Finish the Edges
Once you’ve reached the desired size, fasten off your yarn and weave in the loose end with a tapestry needle.
For a clean finish, you can work a round of single crochet around the edges, placing extra stitches where needed to help the fabric lie flat. Keep the border tension relaxed so the scarf doesn’t curl or bunch.
If you’d like a striped design, change colors at the end of a row and weave in the yarn ends carefully.
Pattern note: This is a basic increasing triangle practice pattern, not a tested traditional tie-on bandana pattern. For a wearable head scarf, confirm that the finished shape and dimensions suit the way you plan to tie it.
Crochet Triangle Head Scarf Video Tutorial
A video tutorial can make learning new crochet techniques easier, especially if you’re unsure where to place your increases.
When following a video, focus on these details:
- Watch how the first stitches are worked into the foundation.
- Pause to check where the increases belong.
- Count your stitches before turning each row.
- Compare the shape of your work with the instructor’s example.
- Rewatch any technique that feels unfamiliar.
Keep your written instructions nearby so you can follow the steps at your own pace. If you’re publishing this pattern on your blog, embed your actual video tutorial here so readers can watch the technique directly.
Tips for Getting the Perfect Fit
A comfortable fit depends on the scarf’s dimensions, yarn stretch, and how you plan to wear it.
- Measure as you crochet: Don’t wait until the end to check the size.
- Consider your tying style: A scarf tied under the chin may need more length than one worn around a ponytail.
- Choose the right yarn: Lightweight yarn is often more comfortable for extended wear.
- Check your edges: Uneven increases can affect the shape.
- Try a border: A simple edging can make the scarf look more finished.
If your fabric curls, check your tension and stitch placement. Blocking may help, depending on the yarn’s care instructions.
Creative Ways to Style Your Crochet Head Scarf
One of the best things about a handmade head scarf is how easily you can make it your own.
Classic Bandana Look
Choose a solid color or a simple stripe pattern for an everyday accessory. Tie it comfortably and make sure the shape offers enough fabric to cover the area you want.
Boho-Inspired Style
Try earthy shades such as rust, olive, cream, or mustard. A decorative border can add a vintage touch without making the project complicated.
Colorful Summer Accessory
Cotton yarn in bright pink, blue, yellow, or pastel shades creates a cheerful look. Pair your scarf with a casual top, denim, or a summer dress.
Frequently Asked Questions
Is a crochet triangle head scarf easy for beginners?
Yes, a simple design using basic stitches and repeated increases can be beginner-friendly. Practice the stitches first and count your rows carefully to maintain the shape.
What is the best yarn for a crochet triangle head scarf?
Cotton is breathable and suitable for warmer weather. Acrylic is budget-friendly, while wool blends can offer more warmth. Choose a yarn that feels comfortable against your skin.
How do you make a crochet triangle head scarf bigger?
For an increasing-row pattern, continue repeating the increase row until the scarf reaches your desired dimensions. Measure as you go to avoid making it larger than intended.
Can you make a crochet head scarf with one skein of yarn?
Possibly. One skein may be enough for a small, lightweight scarf, but the amount depends on the skein’s yardage, yarn thickness, stitch pattern, and finished size.
How do you stop a crochet triangle scarf from curling?
Check your stitch count and tension, and make sure increases are placed correctly. A suitable border or gentle blocking may help the edges lie flatter.
Conclusion
A simple crochet triangle head scarf is a fun way to practice your crochet skills while creating a handmade accessory you can personalize with your favorite colors and yarn. Start with basic stitches, keep track of your increases, and measure your work as you go.
With a little patience, you can explore different textures, add a decorative border, and create a piece that fits your personal style.
Ready to pick up your crochet hook? Choose a soft yarn, gather your supplies, and start practicing your first rows today. Save this tutorial for your next crochet session, and share your finished creation with fellow crochet lovers!