Crochet Granny Stripe Poncho – Easy Free Pattern & Video Tutorial
The tutorial video is at the bottom of the article.👇
There’s something special about wrapping yourself in a handmade poncho on a chilly day. The soft yarn, colorful stripes, and relaxed fit make it a cozy piece you’ll want to wear again and again. Even better, making your own crochet clothing lets you choose the colors, texture, and style that suit you best.
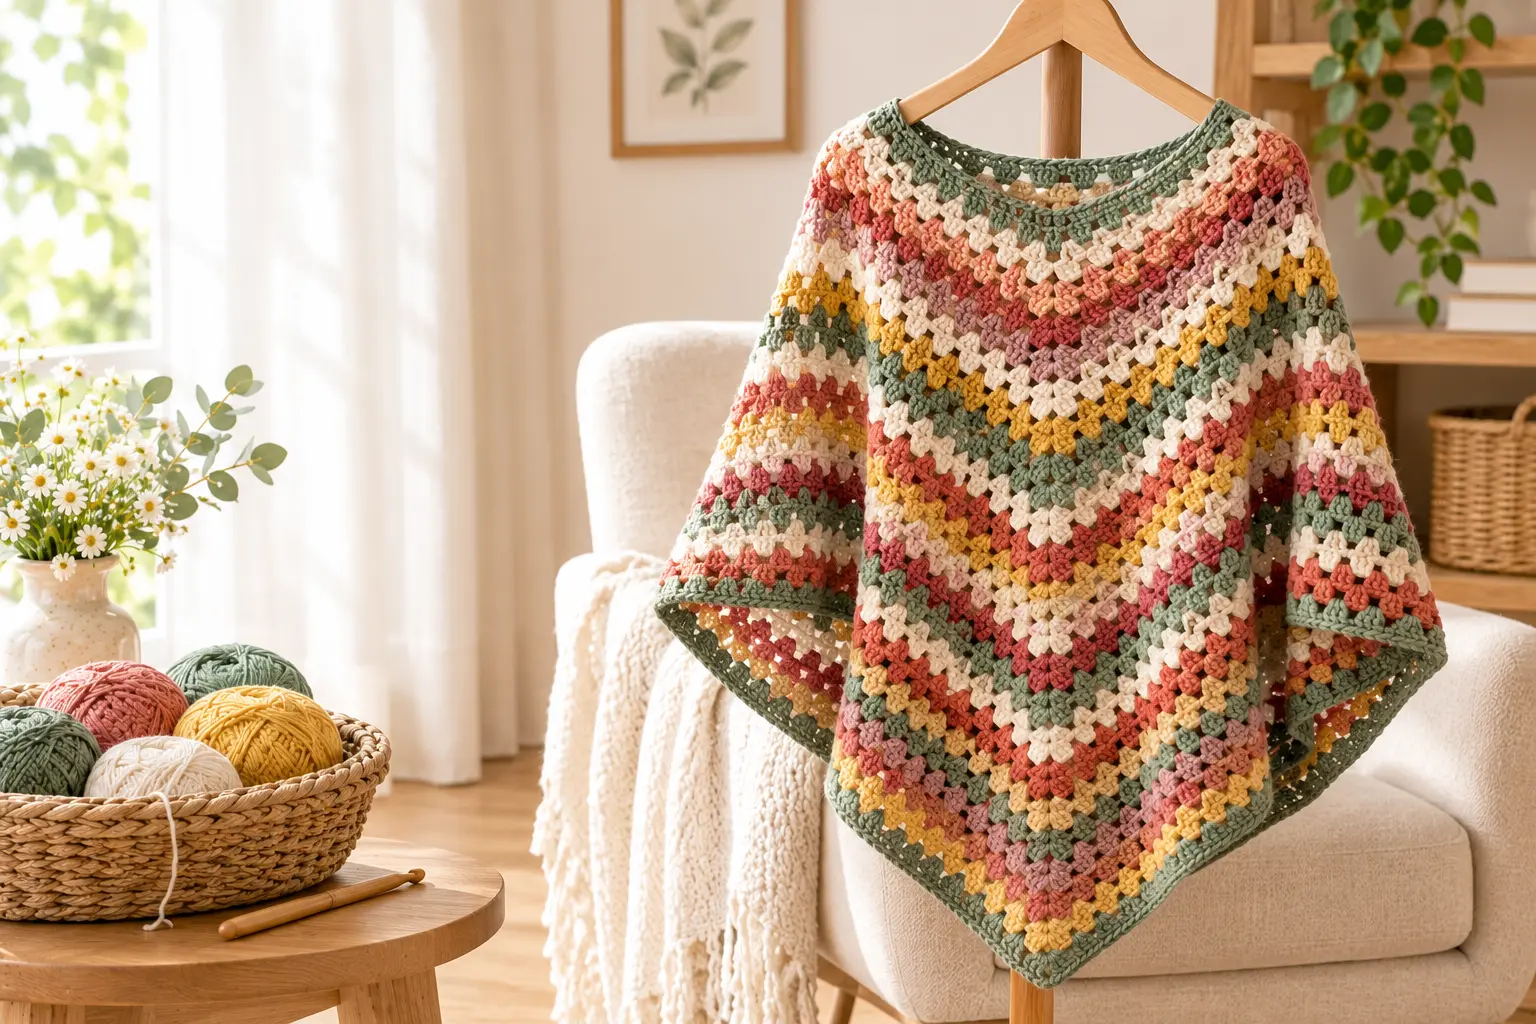
This Crochet Granny Stripe Poncho is a lovely project for anyone who enjoys classic crochet stitches and comfortable handmade fashion. The granny stripe pattern creates beautiful rows of texture without requiring complicated techniques, making it a rewarding project for confident beginners and experienced crocheters alike.
In this tutorial, you’ll learn about the materials you need, how the granny stripe stitch works, and how to crochet and assemble a poncho. You’ll also find helpful sizing tips, color inspiration, and guidance for finishing your garment neatly.
Why You’ll Love This Easy Crochet Granny Stripe Poncho
A granny stripe poncho combines a timeless crochet stitch with a relaxed shape that is easy to style. Whether you prefer soft neutral colors or bright, cheerful stripes, you can customize this project to match your wardrobe.
Here are a few reasons to try it:
- Beginner-friendly stitches: The repeating granny stripe pattern is easy to learn once you understand the basic stitch placement.
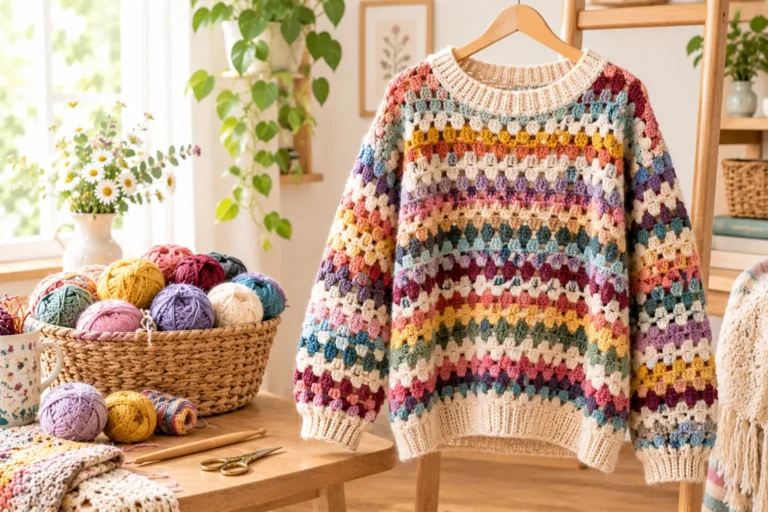
- Beautiful color combinations: Use two coordinating shades, alternate several colors, or create a rainbow-inspired design.
- Comfortable and versatile: The loose silhouette makes it ideal for layering over everyday outfits.
- A relaxing project: Repeating rows allow you to settle into a comfortable crochet rhythm.
- A thoughtful handmade gift: Choose colors that reflect the recipient’s personal style.
The best part is that you can make your poncho as simple or colorful as you like. A neutral version looks timeless, while bold stripes create a playful statement piece.
Materials for Your Crochet Granny Stripe Poncho
Before you begin, gather your yarn and basic crochet supplies. Choosing the right materials will help you create a poncho with comfortable drape and clearly defined stitches.
Crochet Granny Stripe Poncho Materials Table
| Material | Recommended Choice | Purpose |
|---|---|---|
| Yarn | Worsted-weight or aran-weight yarn | Creates the main fabric |
| Crochet hook | Size recommended for your yarn and tested gauge | Helps achieve the desired fabric |
| Scissors | Sharp yarn scissors | Cutting yarn |
| Tapestry needle | Blunt-ended yarn needle | Joining pieces and weaving in ends |
| Stitch markers | Optional | Marking important points |
| Measuring tape | Flexible measuring tape | Checking dimensions and fit |
Important: The exact yarn quantity, hook size, gauge, and finished measurements should be confirmed with your chosen pattern and sample. The instructions below explain a general construction approach rather than a fully tested, stitch-counted pattern.
Choosing the Best Yarn
For a cozy poncho, worsted-weight or aran-weight yarn is a practical starting point. It creates a fabric with enough substance for layering while allowing the granny stripe texture to stand out.
Consider these options:
- Acrylic yarn: A versatile choice that is widely available in many colors.
- Wool or wool blends: Great for a warmer poncho during cooler weather.
- Cotton blends: Worth considering for a lighter garment, provided the finished fabric drapes comfortably.
- Soft acrylic blends: A useful option for everyday wear and easy-care garments.
Choose yarn that feels pleasant against your skin. If you plan to use several colors, select yarns with similar thickness and compatible care instructions so the finished poncho feels consistent.
Crochet Stitches and Abbreviations
The granny stripe stitch is made with groups of double crochet stitches separated by chain spaces. Once you understand the repeat, the fabric becomes easier to work row by row.
This pattern uses common US crochet terminology.
| Abbreviation | Meaning |
|---|---|
| ch | Chain |
| sl st | Slip stitch |
| dc | Double crochet |
| sk | Skip |
| sp | Space |
| rep | Repeat |
| st(s) | Stitch or stitches |
If you are new to crochet, practice making chain stitches and double crochet stitches before starting the full garment.
How to Crochet the Granny Stripe Stitch
The traditional granny stripe pattern uses clusters of double crochet stitches worked into spaces between previous clusters.
- Begin with the foundation chain required by your chosen pattern.
- Work the first row according to the pattern’s instructions, creating groups of double crochet stitches and chain spaces where specified.
- Turn your work as directed.
- On the following row, work the granny clusters into the designated spaces between the previous row’s clusters.
- Repeat the stitch sequence, keeping the number and placement of clusters consistent.
The exact foundation chain, cluster size, and row instructions depend on the design you choose. Following a consistent stitch repeat will help create neat, even stripes.
Tips for Even Granny Stripe Stitches
- Keep your yarn tension consistent.
- Count your stitch clusters regularly.
- Check the width of your fabric every few rows.
- Follow the same color-change method throughout the project.
- Avoid pulling the yarn too tightly when securing ends.
Gauge and Sizing Your Crochet Granny Stripe Poncho
Gauge is important because it determines how large your crochet fabric becomes. Even if your stitches look neat, differences in tension can change the finished garment’s measurements.
To check your gauge, crochet a small swatch using the same yarn and hook planned for your poncho. Measure the number of stitches and rows across a set area and compare the result with the pattern gauge.
If your fabric is too small, you may need a larger hook. If it is too large, try a smaller hook. Always check the fabric’s drape as well as its measurements.
How to Adjust the Poncho Size
The best adjustment method depends on the construction.
- Add or remove rows if you need to change the length.
- Adjust the foundation chain or panel width when the pattern allows it.
- Measure the pieces before joining them.
- Remember that a larger hook can create a looser fabric, while a smaller hook can make it denser.
For the most reliable fit, use the finished measurements provided by a tested pattern rather than relying on hook size alone.
Easy Crochet Granny Stripe Poncho – Free Pattern Instructions
This section explains the general steps involved in making a granny stripe poncho. Because a complete wearable pattern needs exact stitch counts, dimensions, and joining instructions, use these steps alongside a tested pattern that specifies those details.
Step 1: Make the Foundation Chain
Start by creating the foundation chain for your chosen poncho design.
- Follow the specified chain count.
- Keep the chain loose enough to avoid a tight starting edge.
- Check the starting width before continuing.
- Make sure the chain is not twisted if you are working in a round.
The foundation chain determines the starting dimensions of the fabric, so it is worth checking it carefully.
Step 2: Work the First Granny Stripe Row
Follow the first-row instructions in your pattern to establish the granny stripe stitch.
Work the required double crochet clusters and chain spaces in their designated positions. Check the stitch placement as you move across the row.
When the row is complete, compare your work with a stitch diagram or reference photograph if one is available. The clusters should be easy to identify, with consistent spaces between them.
Step 3: Repeat the Granny Stripe Pattern
Once you have completed the first row, continue following the pattern’s repeat.
- Turn your work as directed.
- Locate the spaces designated for the next row’s clusters.
- Work the specified double crochet groups into those spaces.
- Continue across the row.
- Check the cluster count and overall width before proceeding.
Repeat the sequence until the panel reaches the required dimensions.
Step 4: Change Colors to Create the Stripes
Color changes are one of the most enjoyable parts of a granny stripe poncho. You can create a repeating sequence or use several shades for a more colorful design.
For neat stripes:
- Introduce each new color at the point specified in your pattern.
- Secure yarn tails neatly.
- Keep stripe widths consistent if you want a regular design.
- Write down your color sequence so you can repeat it on any matching panel.
For a classic look, try cream, beige, and brown. For a softer palette, combine blush pink, dusty rose, and ivory. Rust, mustard, and olive create a warm autumn-inspired combination.
Step 5: Crochet the Remaining Piece or Pieces
Depending on the design, your poncho may use two panels or another construction method.
Follow the same instructions for each required piece. If the design uses matching panels, keep the stitch counts, row counts, and stripe arrangement consistent.
Before joining anything, lay the pieces flat and measure them. Small differences can affect the fit and appearance of the finished garment.
Step 6: Join the Poncho Pieces
Arrange the crocheted pieces according to the construction diagram in your pattern.
Depending on the design, you may join the edges using a slip stitch, single crochet, or a tapestry needle and yarn. Follow the specified seam placement carefully, leaving the correct opening for your head and neckline.
Take time to check the shape before securing all the seams. The poncho should sit comfortably on your shoulders without restricting movement.
Step 7: Finish the Neckline and Edges
Finishing gives your handmade poncho a polished appearance.
- Weave in loose yarn ends with a tapestry needle.
- Add the neckline or edging specified in your pattern.
- Check the seams and stripe alignment.
- Measure the garment again to confirm the finished dimensions.
- Block the garment if appropriate for your yarn and pattern instructions.
Blocking may help even out the stitches and improve drape, but the method should suit the fiber. Always check the yarn manufacturer’s care instructions first.
Crochet Granny Stripe Poncho Video Tutorial
A video tutorial can be especially helpful when learning where to place granny clusters or how to join the garment pieces.
Add your selected video tutorial here. Choose a video that demonstrates the same stitch repeat and construction method used in your written pattern.
As you watch, focus on:
- How the granny stripe clusters are formed.
- Where the hook enters each space.
- How the crocheter turns the work.
- When and how the yarn colors change.
- How the poncho pieces are arranged and joined.
- How the neckline and edges are finished.
If the video and written instructions appear different, check the creator’s pattern notes before continuing. The video and written pattern should agree on stitch counts, dimensions, and assembly.
Crochet Granny Stripe Poncho Color Ideas and Styling Tips
One of the best things about making your own poncho is choosing colors that reflect your personality. The same stitch pattern can look completely different depending on your palette.
Beautiful Color Combinations
Classic neutrals: Cream, beige, taupe, and brown create a timeless poncho that pairs easily with everyday outfits.
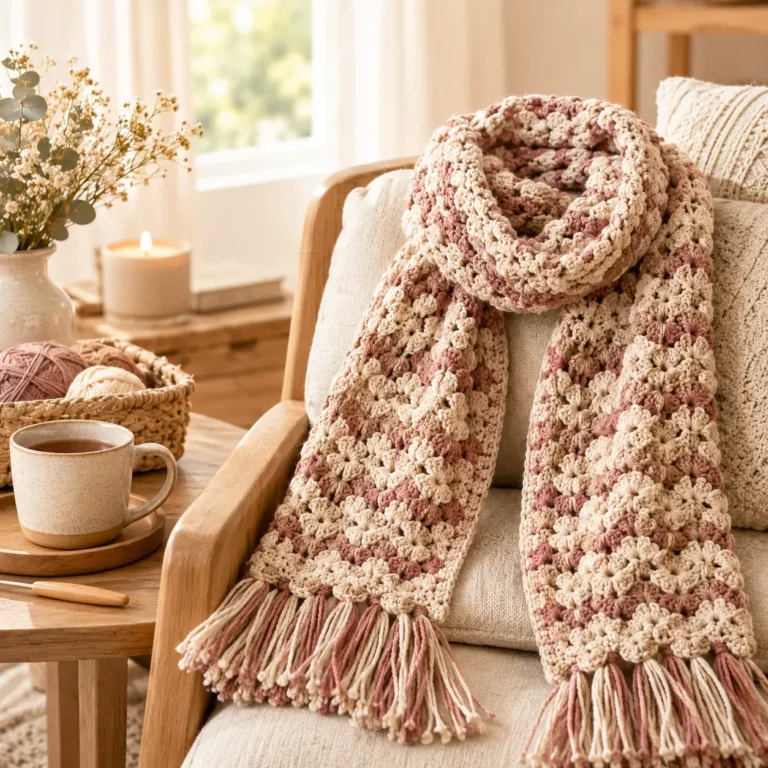
Soft and romantic: Blush pink, dusty rose, and ivory create a delicate, gentle color palette.
Autumn-inspired: Rust, mustard, olive, and cream bring warmth to a poncho for cooler days.
Modern contrast: Black, white, and gray create a clean, contemporary look.
Bright and playful: Rainbow shades or several favorite colors make a cheerful statement piece.
How to Style Your Handmade Poncho
- Pair your poncho with jeans and ankle boots for a casual outfit.
- Layer it over a long-sleeved top on chilly mornings.
- Wear a neutral poncho over a patterned blouse.
- Combine a colorful poncho with simple clothing so the stripes stand out.
- Choose yarn and fabric weight according to the weather and the level of warmth you want.
Common Crochet Granny Stripe Poncho Problems and How to Fix Them
Even a repeating stitch pattern can take practice. If your fabric does not look as expected, a few simple checks may help.
Why Is My Granny Stripe Fabric Wavy?
Wavy edges can result from inconsistent tension, incorrect stitch placement, or unintended increases.
Check the stitch count at the end of each row and make sure you are working clusters only where the pattern specifies. If the fabric continues to grow wider, compare your work with the pattern instructions.
Why Are My Poncho Panels Different Sizes?
Different row counts, tension, or hook sizes can cause panels to have different dimensions.
Measure each piece before joining it. If the difference is significant, check the pattern and correct the discrepancy before assembly.
How Can I Improve the Drape of My Crochet Poncho?
If the fabric feels too stiff, check your hook size and yarn choice. A gauge swatch can help you decide whether the fabric is suitable before you crochet the entire garment.
Blocking may improve the appearance of some yarns, but it cannot correct every construction or sizing problem.
How Do I Hide Yarn Ends Neatly?
Use a tapestry needle to weave yarn ends into the fabric, following the direction of nearby stitches where possible. Secure the ends without pulling the fabric out of shape, and avoid cutting them too short before they are properly woven in.
How to Wash and Care for Your Crochet Granny Stripe Poncho
Proper care helps your handmade poncho stay comfortable and attractive.
- Check the yarn label before washing.
- Use the washing method recommended for the fiber.
- Reshape the garment gently after washing if needed.
- Dry it flat when recommended to help prevent stretching.
- Store it folded if hanging could cause the fabric to lengthen.
Wool, cotton, and acrylic yarns can have different care requirements, so follow the instructions for the yarn you actually use.
Frequently Asked Questions About the Crochet Granny Stripe Poncho
Is the Crochet Granny Stripe Poncho Beginner-Friendly?
Yes, the granny stripe stitch can be beginner-friendly if you already know basic crochet stitches such as chains and double crochet. Joining pieces, maintaining consistent dimensions, and changing colors may require some additional practice.
How Much Yarn Do I Need for a Crochet Granny Stripe Poncho?
The amount depends on the finished size, yarn weight, hook size, and number of colors. Use the yardage and skein count specified by your chosen pattern, and consider having a little extra yarn available for finishing.
What Is the Best Yarn for a Crochet Granny Stripe Poncho?
Worsted-weight or aran-weight yarn is a useful starting point for a cozy poncho. Acrylic is practical for everyday wear, wool blends provide warmth, and some cotton blends work well for lighter garments. The best choice depends on the drape and feel you want.
Can I Customize the Size of My Crochet Granny Stripe Poncho?
Yes, many designs can be adjusted by changing panel dimensions or row counts. However, the correct adjustment depends on the construction method. Check the finished measurements and pattern guidance before making changes.
How Long Does It Take to Crochet a Granny Stripe Poncho?
The time varies according to your crochet experience, the size of the poncho, the yarn weight, and how much time you spend crocheting each day. Repeating granny stripe stitches can make the project easier to work on in short sessions.
Can I Use Leftover Yarn for a Crochet Granny Stripe Poncho?
Absolutely. A granny stripe poncho can be a great way to use leftover yarn. Plan the stripe sequence before starting and try to combine yarns with similar thickness, texture, and washing requirements.
Do I Need to Block My Crochet Granny Stripe Poncho?
Not always. Blocking may help even out stitches and improve the drape, depending on the yarn fiber and construction. Check the yarn manufacturer’s care instructions before choosing a blocking method.
Where Can I Find the Free Crochet Granny Stripe Poncho Pattern and Video Tutorial?
Place the complete, tested written pattern and the matching video tutorial on your blog. Include the materials list, gauge, finished measurements, stitch counts, color-change instructions, and joining details so readers can follow the project confidently.
Conclusion: Make Your Own Cozy Crochet Granny Stripe Poncho
A Crochet Granny Stripe Poncho is a wonderful way to combine classic crochet texture with comfortable, handmade style. Its repeating stripes give you plenty of room to experiment with color, while the relaxed silhouette makes it a versatile addition to your wardrobe.
Take your time choosing the yarn, check your measurements as you work, and pay attention to the joining and finishing details. These small steps can make a big difference in the final result.
Choose your favorite colors, prepare your crochet hook, and enjoy creating something uniquely yours. If you make this poncho, share your color choices and finished project in the comments. You can also save this tutorial for later and explore more crochet patterns for your next handmade creation.