Easy Crochet Poncho Pattern for Beginners: Cozy, Simple, and Ready in a Weekend
The tutorial video is at the bottom of the article.👇
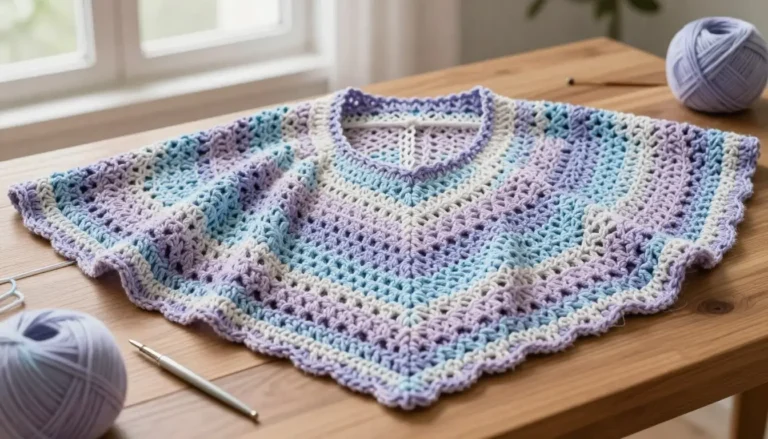
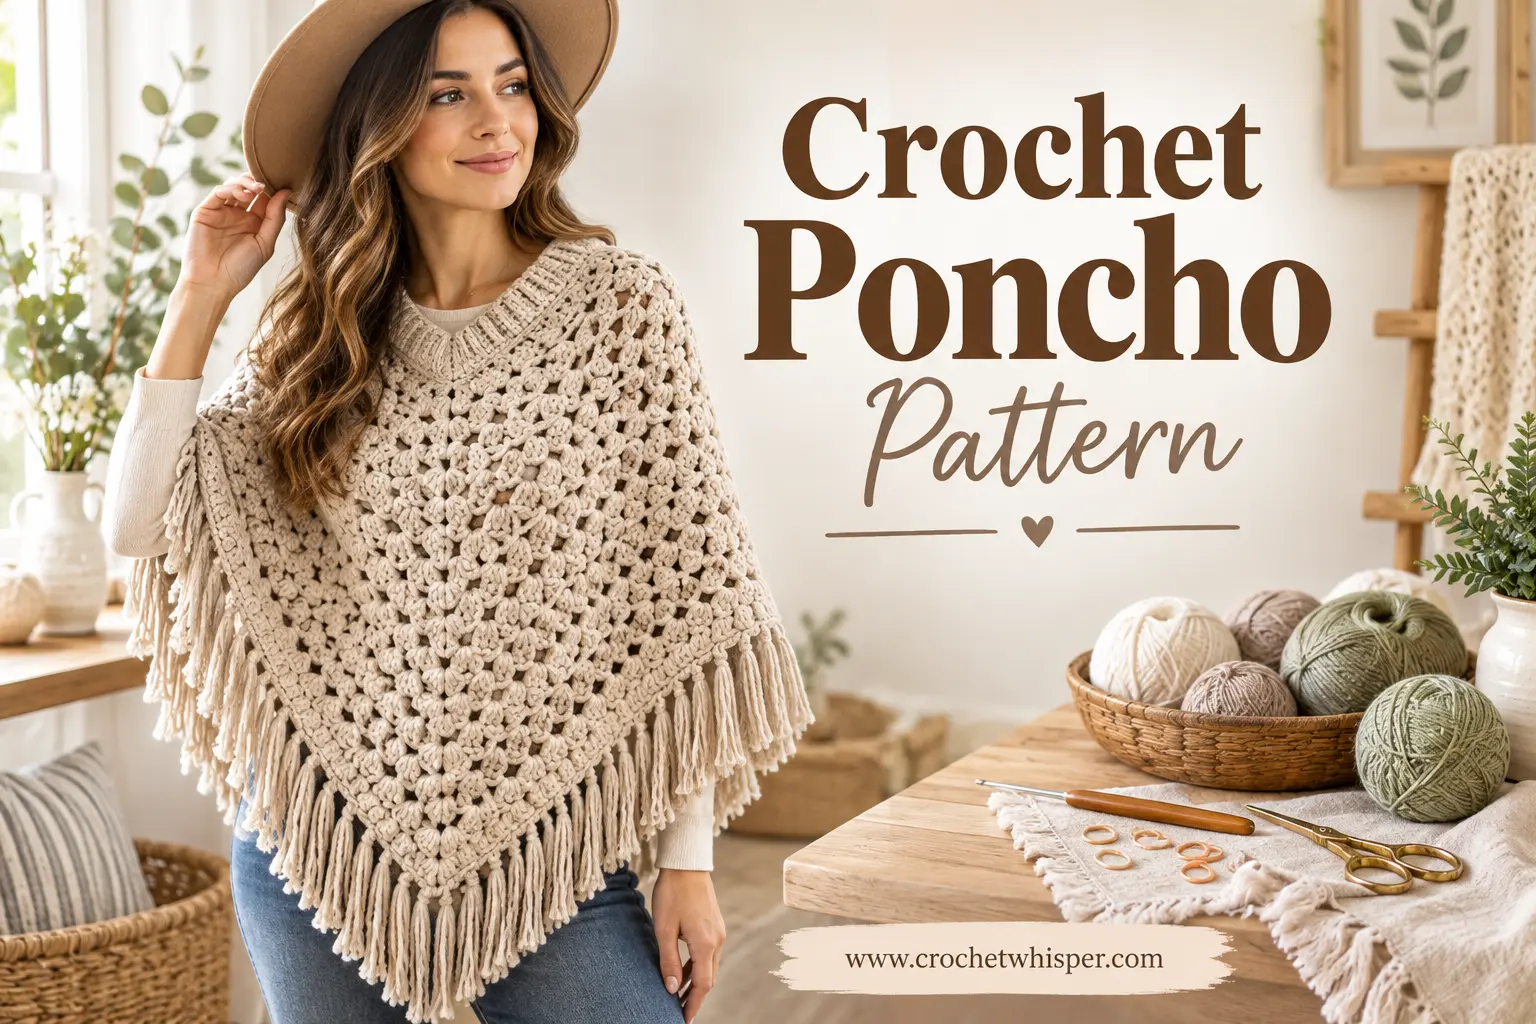
There’s nothing quite like wrapping yourself in something you made with your own two hands on a cool evening. Maybe you’ve admired ponchos in stores or on your favorite crochet accounts and assumed the flowy, draped shape meant hours of complicated shaping and advanced techniques. Here’s the reassuring truth: a poncho is actually one of the simplest garments you can crochet, and this easy crochet poncho pattern proves it. With minimal shaping, forgiving sizing, and a construction method that’s barely more complex than a scarf, you’ll have a wearable, cozy piece ready in a single weekend.
Why an Easy Crochet Poncho Is the Perfect Beginner Garment
Before jumping into the pattern itself, it’s worth understanding exactly why a poncho is such a beginner-friendly choice compared to other garments.
- No sleeves, no armhole shaping. Unlike sweaters or cardigans, a poncho skips the trickiest part of garment construction entirely.
- Fast to complete. Because you’re essentially working one large panel, a poncho comes together much faster than a fitted sweater.
- Forgiving fit. Small variations in your gauge or tension won’t ruin the final result the way they might with a fitted garment.
- Flexible sizing. A single poncho size can comfortably fit a wide range of body types, so you don’t need to stress over exact measurements.
Because the entire garment is built from a rectangle (or two simple panels) rather than precise, fitted shaping, it’s the ideal project if you’ve crocheted scarves or blankets before and want to take your first step into garment-making.
Materials You’ll Need
Gather your supplies ahead of time so you can work through the pattern without interruptions.
| Item | Recommended Type | Notes |
|---|---|---|
| Yarn | Bulky or worsted weight, 3–5 skeins | Wool or a wool blend adds warmth; cotton gives a lighter drape for milder weather |
| Hook | 6mm–6.5mm (US J/10–K/10.5) | A larger hook speeds up the project and creates a soft, draped fabric |
| Notions | Yarn needle, stitch markers, measuring tape | Essential for seaming and checking your dimensions as you go |
| Optional | Fringe, tassels, decorative buttons | For adding a personalized, finished touch |
Choosing a yarn weight that matches your climate matters here — bulky wool for a true winter wrap, or a lighter cotton or cotton-blend for cooler spring and autumn evenings.
Essential Stitches for This Poncho
This pattern relies on just a few stitches, all of which are beginner-friendly and quick to learn if you haven’t used them before.
Chain Stitch (ch)
Your foundation row, setting the overall width of your poncho panel.
Double Crochet (dc)
The main stitch used throughout the body of the poncho — it works up quickly and creates a soft, draped fabric.
Half Double Crochet (hdc)
Often used for the border or trim, since it creates a slightly denser, more structured edge than double crochet alone.
Slip Stitch for Seaming (sl st)
Used to close the shoulder seams once your panel is folded into shape.
Gauge and Sizing Guide
Because a poncho is so forgiving, exact gauge matching matters less here than with a fitted sweater — but it’s still worth checking your width and length as you go.
| Size | Width (edge to edge) | Length (neck to hem) |
|---|---|---|
| Small/Medium | 40 in / 102 cm | 24 in / 61 cm |
| Medium/Large | 44 in / 112 cm | 26 in / 66 cm |
| Large/X-Large | 48 in / 122 cm | 28 in / 71 cm |
Step-by-Step Easy Crochet Poncho Pattern
Step 1 — Crochet the Main Rectangle Panel
Chain to your desired width from the sizing table above, then work rows of double crochet back and forth until your panel reaches the full length needed (this will become both the front and back of your poncho once folded).
Step 2 — Check Your Width and Length
Lay your panel flat and measure it against the sizing guide. Because the poncho relies on this single rectangle for its entire shape, it’s worth double-checking these measurements before moving on to seaming.
Step 3 — Fold and Seam the Shoulder Sections
Fold your rectangle in half so the top edge meets itself, then seam a portion of each side from the fold inward, leaving the center open for the neckline and the lower portions open for your arms.
- Fold the panel in half widthwise.
- Seam roughly one-third of each top edge inward from the outer corners.
- Leave the center third unseamed — this becomes your neck opening.
Step 4 — Leave the Neck Opening
Try the poncho on at this stage, before finishing the border. If the neck opening feels too tight, seam slightly less; if it feels too loose or slips off your shoulders, seam a bit more from each side.
Step 5 — Add a Border or Trim
Work a few rounds of half double crochet around the entire bottom edge (and optionally the neckline) for a clean, finished look. This is also where you can introduce a contrasting color for visual interest.
Step 6 — Finishing Touches
Weave in all loose ends securely, block the finished poncho by lightly steaming or wet-blocking it to relax the stitches and enhance the drape, and add fringe or tassels along the hem if desired.
Tips for a Better-Fitting, Better-Looking Poncho
- Try the poncho on before permanently seaming the shoulders — it’s much easier to adjust the neck opening at this stage than after everything is finished.
- Always block your finished piece. This single step dramatically improves how a poncho drapes and hangs on the body.
- Choose your yarn weight intentionally based on the season you’ll wear it in — bulky wool for winter warmth, lighter cotton blends for transitional weather.
- If the neck opening still feels off after wearing it once, you can always add a round of single crochet around the edge to adjust the fit slightly.
Common Beginner Mistakes to Avoid
- Neck opening too tight or too loose. Always try the poncho on before finishing the seams permanently.
- Uneven side seams. Measure both sides of your seaming before securing them so the poncho hangs evenly.
- Skipping the swatch. Even though a poncho is forgiving, a quick swatch helps you confirm your fabric isn’t too stiff or too loose for good drape.
- Using yarn too thin for a bulky drape. A thinner yarn with a bulky-recommended hook can create a loose, gappy fabric — stick to the recommended weight for the best result.
Styling and Customization Ideas
Once you’ve mastered the basic construction, there’s plenty of room to make this pattern your own:
- Work the main panel in color-blocked horizontal stripes for a bold, modern look.
- Add a fringe trim along the bottom hem for texture and movement.
- Use a contrasting color for the border round to frame the whole piece.
- For a more advanced variation, add a simple collar or small hood once you’re comfortable with the base pattern.
Conclusion
An easy crochet poncho pattern is proof that beginner-friendly doesn’t mean plain or boring — this is a genuinely stylish, wearable piece that comes together with almost none of the complexity people expect from garment crochet. Because the entire shape comes from one simple rectangle folded and seamed at the shoulders, you can skip the intimidating shaping techniques and focus on enjoying the process. Once you’ve finished your first poncho, don’t be surprised if you’re already planning your next one in a different color palette or yarn weight. Give this pattern a try, and share a photo of your finished poncho with your favorite crochet community — seeing how others style and personalize theirs is half the fun.
FAQ
What yarn is best for an easy crochet poncho pattern?
Bulky or worsted weight yarn works best. Choose wool or a wool blend for a warm, cozy winter poncho, or a lighter cotton blend for a more breathable option in milder weather.
How long does it take to crochet a poncho for beginners?
Most beginners complete an easy crochet poncho pattern over a weekend, since the entire garment is built from one large rectangle rather than multiple fitted pieces.
Can I make an easy crochet poncho without sewing seams?
Yes, to an extent. Since the shoulder “seams” in this pattern are worked with a simple slip stitch rather than a separate sewing needle and thread, there’s no traditional sewing involved — just crochet stitches used to join the fold.
How do I know what size to make my crochet poncho?
Use the width and length measurements in the sizing guide as a starting point, and remember that ponchos are forgiving by design — a size that’s a little larger or smaller than “exact” will still drape and fit comfortably.