Easy Crochet Hoodie Pattern for Beginners
The tutorial video is at the bottom of the article.👇
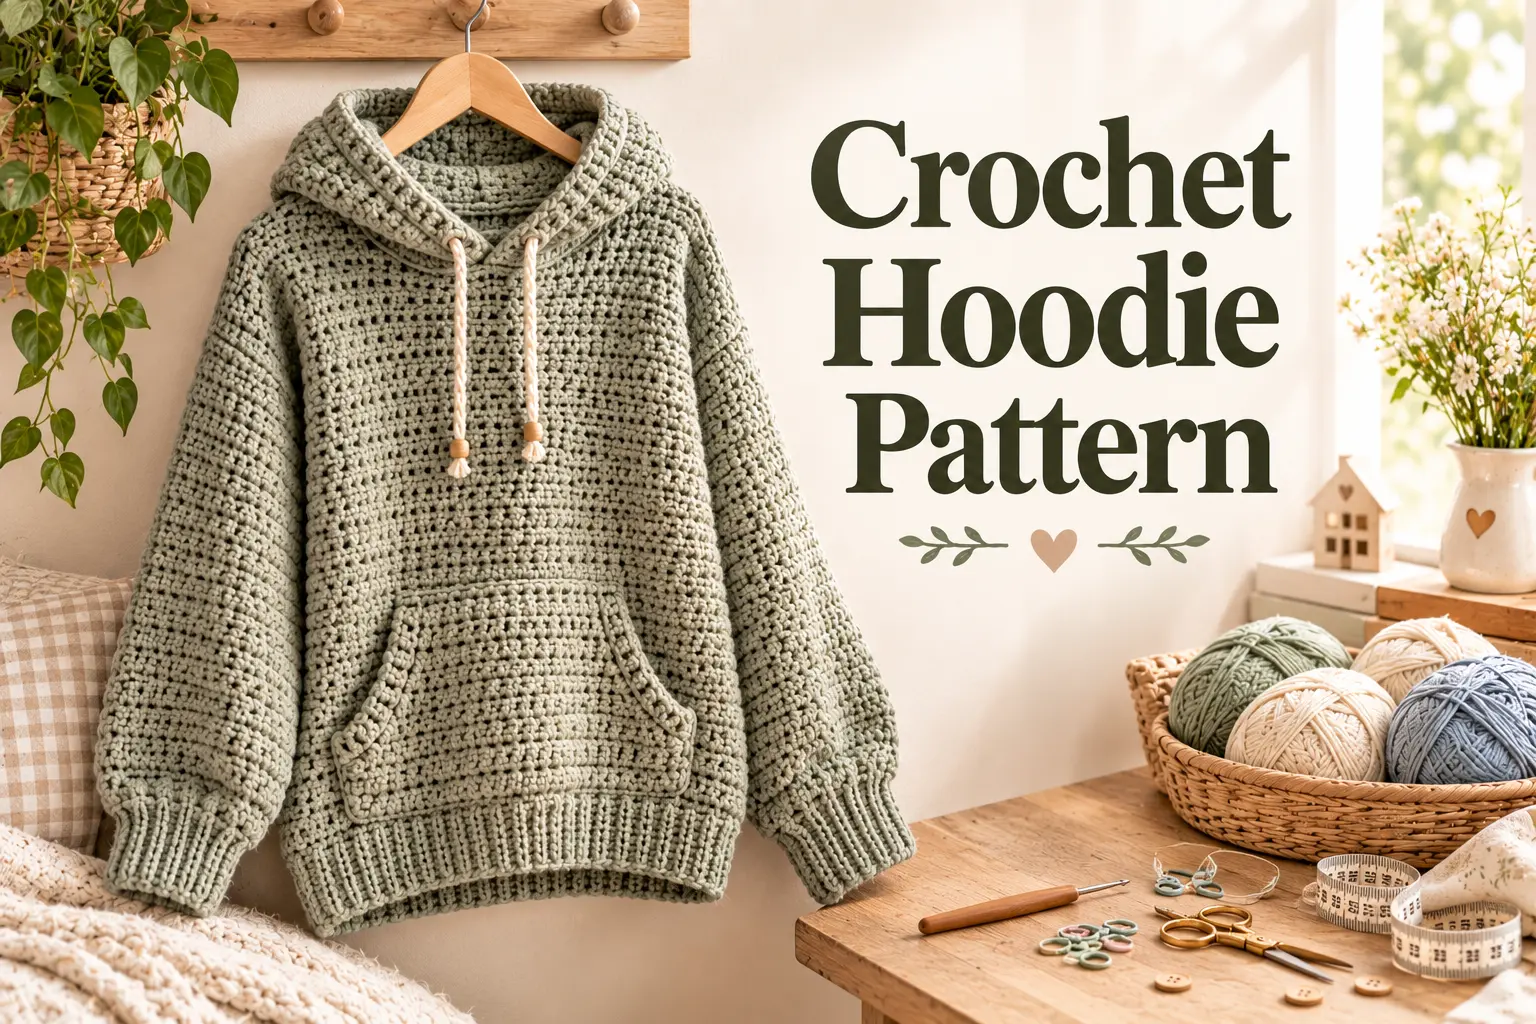
A hoodie is one of those pieces you’ll actually wear on repeat, which makes it a genuinely satisfying first garment project. This easy pattern keeps the construction approachable with a simple top-down raglan build and a basic pointed hood, so you can focus on learning garment shaping without also tackling complicated stitch patterns.
This guide walks you through the entire process, from the neckline to the finished hood, using techniques that are manageable even if this is your very first wearable crochet project.
Why This Hoodie Pattern Works So Well for Beginners
Top-down raglan construction lets you build the whole garment in one continuous piece, trying it on as you go rather than hoping several separate pieces will match at the end. The hood itself uses simple straight rounds before folding into a point, making it far less intimidating than it might seem.
What makes this pattern approachable for a first hoodie:
- Top-down construction lets you check fit throughout the process
- Minimal seaming, since the body is worked mostly in one piece
- A basic pointed hood using straight rounds, no complex shaping
- One repeated stitch throughout, easy to memorize and maintain
What You’ll Need: Materials Table
Gather your supplies before starting so you can move through each section without needing to restock mid-project.
| Item | Recommended Type | Approximate Amount |
|---|---|---|
| Yarn | Worsted weight, wool blend or cotton blend | 700-1100g depending on size |
| Crochet hook | 4.5mm-5.5mm (US 7-I/9) | 1 |
| Yarn needle | Blunt tip | 1 |
| Stitch markers | For tracking raglan increases | 4-6 |
| Measuring tape | Flexible | 1 |
| Drawstring cord (optional) | For the hood | 1 length |
A wool blend adds cozy warmth for cooler weather, while a cotton blend keeps the hoodie lighter and more versatile for year-round wear.
Sizing Guide
Because this pattern is worked top-down, you can try it on throughout the process, but these measurements offer a helpful starting point.
| Size | Chest (approx.) | Hoodie Length (approx.) |
|---|---|---|
| Small | 36 inches | 23 inches |
| Medium | 40 inches | 25 inches |
| Large | 44 inches | 27 inches |
Crochet a 4×4 inch gauge swatch before starting, since garment sizing depends heavily on accurate tension across a large amount of fabric.
Step-by-Step: How to Crochet an Easy Hoodie
Step 1: Crochet the Yoke
- Chain to match your neckline measurement and join into a round.
- Place 4 stitch markers evenly around the round to mark your raglan increase points.
- Work increase rounds at each of the 4 markers every round, adding stitches evenly to shape the shoulders.
- Continue increasing until the yoke reaches your desired chest width from the sizing chart.
Step 2: Divide the Body and Sleeves
- Set aside the sleeve stitches at each of the two underarm points, adding a few chain stitches to bridge the gap
- Continue working the body stitches in one piece from this point forward
- Work even rounds without further increasing down to your desired body length
- Try the piece on periodically to confirm the fit through the chest and waist
Step 3: Finish the Body Hem
- Continue working even rounds until you reach the sizing chart’s total hoodie length.
- Work 1-2 rounds of single crochet for a clean, finished hem edge.
- Fasten off and weave in the ends before moving to the sleeves.
Step 4: Crochet the Sleeves
- Return to the set-aside sleeve stitches, picking them back up along with the underarm chain
- Work in rounds, decreasing gradually toward the wrist for a comfortable, tapered fit
- Continue until you reach your desired sleeve length
- Finish each cuff with 1-2 rounds of single crochet for a clean edge
Step 5: Crochet the Hood
- Pick up stitches evenly around the neckline opening.
- Work rounds without increasing until the hood reaches your desired depth.
- Fold the top flat and single crochet or seam it closed to create a simple point.
- Add a folded brim around the face opening for extra structure, and thread a drawstring cord through the top edge if desired.
Tips for a Well-Fitted First Hoodie
- Try the hoodie on frequently during the yoke and body sections, since top-down construction makes this easy
- Keep your raglan increases evenly spaced at all 4 markers to avoid an asymmetrical shoulder shape
- Choose a yarn with good drape for the body and slightly firmer tension for the hood, so it holds its shape
- Block the finished hoodie gently to help the stitches relax into their final shape
Common Mistakes to Avoid
- Skipping the gauge swatch — the leading cause of a hoodie that doesn’t fit as expected
- Uneven raglan increases — creates a lopsided yoke and uneven shoulder shaping
- Rushing the hood shaping — an uneven point can make the hood sit oddly on the head
- Ignoring fit checks along the way — the biggest advantage of top-down construction is trying it on, so use that to your advantage
Frequently Asked Questions
Is top-down raglan construction good for a first hoodie? Yes — it lets you try the garment on throughout the process, making it easier to catch and fix fit issues before they become permanent problems in a finished piece.
What yarn is best for a first crochet hoodie? A worsted weight wool blend or cotton blend works well, offering a balance of warmth, drape, and stitch definition suited to garment wear.
What hook size should I use for this hoodie pattern? A 4.5mm to 5.5mm hook pairs well with worsted weight yarn to create a comfortable, well-draping fabric.
How much yarn do I need to crochet a hoodie? Expect to use 700 to 1100 grams depending on the size you’re making and how long you’d like the sleeves and body.
How long does it take to crochet an easy hoodie? Most beginners complete a hoodie in 25 to 35 hours, spread across several weeks of regular crochet sessions, since it includes more pieces than a simple sweater.
Conclusion
This easy crochet hoodie pattern proves that a genuinely wearable, everyday garment doesn’t have to feel out of reach for a beginner. With the materials list, sizing chart, and step-by-step instructions above, you have everything you need to build a hoodie from the neckline down, trying it on along the way until the fit and hood shape feel just right.
Grab your yarn, chain your neckline today, and enjoy watching the raglan shoulders take shape round by round. Once your hoodie is finished, share it with your crochet community — a first handmade hoodie like this one is a milestone worth celebrating.