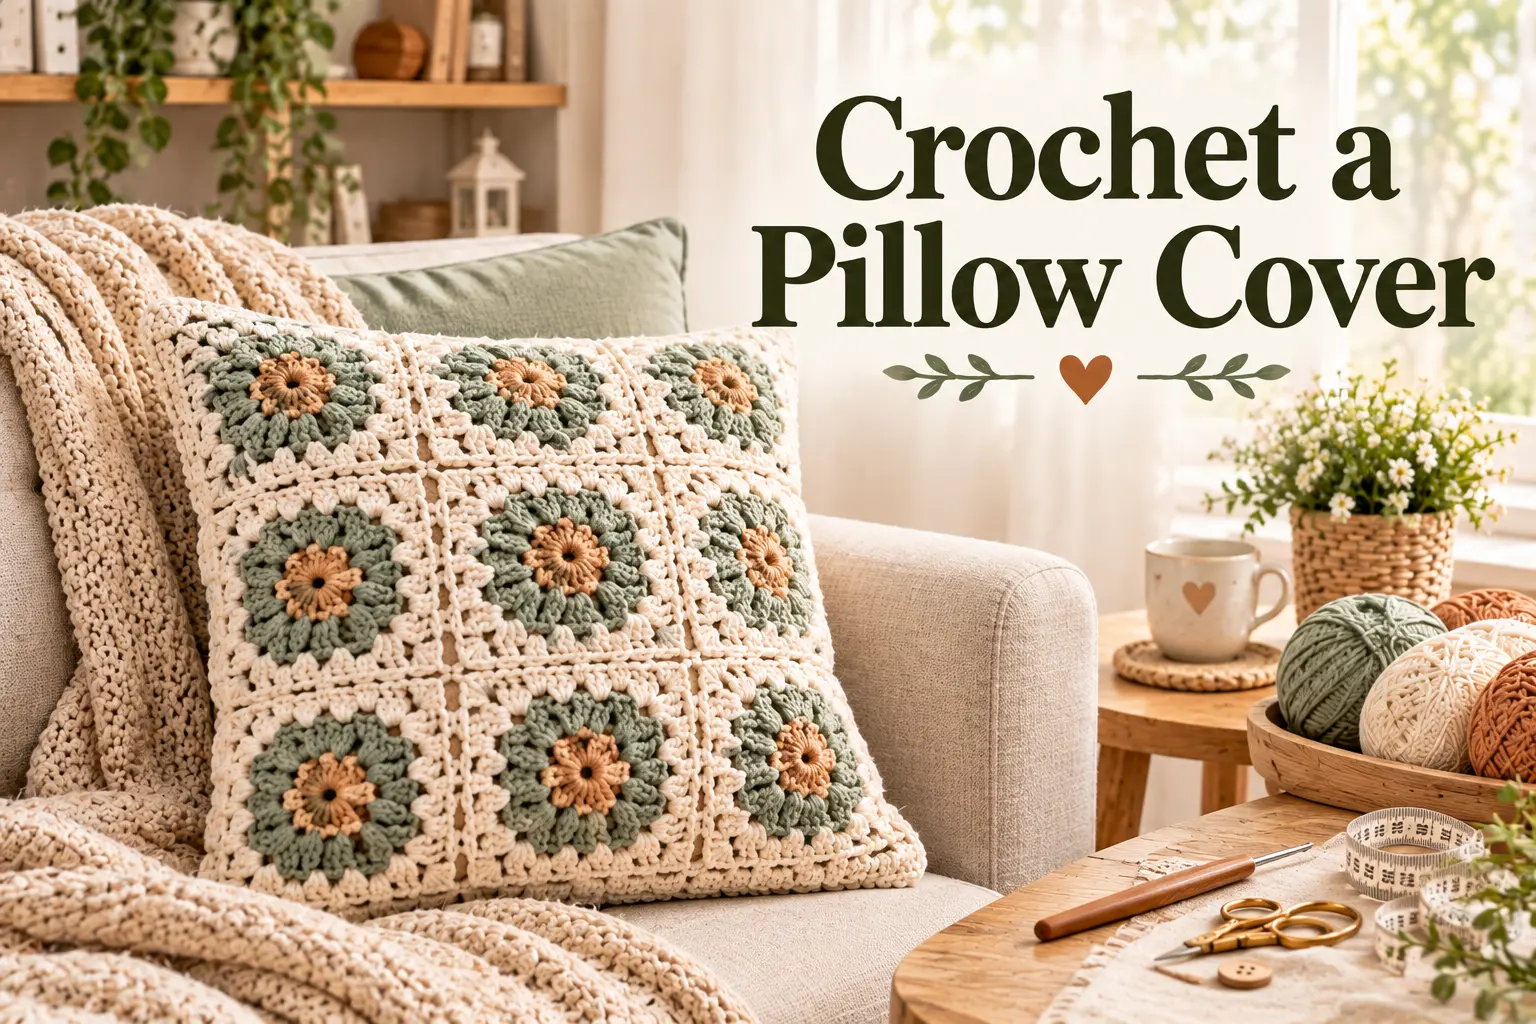
How to Crochet a Pillow Cover | FREE Pattern
The tutorial video is at the bottom of the article.👇
A handmade pillow cover is one of the easiest ways to refresh a room without committing to a full redecorating project. This pattern walks you through crocheting a simple, removable pillow cover using a sturdy stitch and a clean envelope-style back closure, so you can slip it over an existing pillow insert and swap it out whenever your style changes.
This guide covers the whole process, from the front panel to the finished closure, using techniques that are approachable even for a first home decor project.
Why a Crochet Pillow Cover Is a Great Home Decor Project
Unlike garments, pillow covers don’t need to account for body shaping or fit, which makes them a wonderfully low-pressure way to practice larger, flatter pieces of crochet fabric. The envelope-style back also means no zippers or buttons are required, just an overlapping fold that keeps the insert secure.
What makes this project worth making:
- No fit concerns, just two flat panels and a simple overlap
- Removable cover means you can wash it separately from the insert
- Sturdy cotton yarn holds up well to everyday sofa or bed use
- A satisfying way to practice larger single-color or textured panels
What You’ll Need: Materials Table
Gather your supplies before starting so you can move through both panels without needing to restock mid-project.
| Item | Recommended Type | Approximate Amount |
|---|---|---|
| Yarn | Sturdy cotton or cotton blend, worsted weight | 250-350g depending on size |
| Crochet hook | 4.5mm-5mm (US 7-H/8) | 1 |
| Yarn needle | Blunt tip | 1 |
| Measuring tape | Flexible | 1 |
| Pillow insert | To match your finished cover size | 1 |
| Buttons (optional) | For a decorative closure detail | 2-3 |
Cotton yarn is the ideal choice for pillow covers, since it holds its shape well and stands up to the regular use and occasional washing that home decor items need.
Sizing Guide
Measure your pillow insert directly before starting, since an accurate size ensures your finished cover fits snugly without gaping or straining.
| Insert Size | Front Panel Size (approx.) | Back Panel Size (approx., each) |
|---|---|---|
| 16 x 16 inches | 16 x 16 inches | 16 x 11 inches |
| 18 x 18 inches | 18 x 18 inches | 18 x 12 inches |
| 20 x 20 inches | 20 x 20 inches | 20 x 13 inches |
Crochet a 4×4 inch gauge swatch first, since pillow covers rely on accurate sizing to fit snugly around a standard insert.
Step-by-Step: How to Crochet the Pillow Cover
Step 1: Crochet the Front Panel
- Chain to match your pillow width based on your gauge swatch calculation.
- Work rows in a simple, repeated stitch, such as double crochet or half double crochet.
- Continue row by row until the panel reaches your pillow’s full height.
- Fasten off and weave in the ends before moving to the back panels.
Step 2: Crochet the First Back Panel
- Chain to match the same width as your front panel
- Work rows in the same stitch pattern until the panel reaches roughly two-thirds of your pillow’s height
- This shorter panel will overlap with a second back panel to create the envelope closure
- Fasten off and weave in the ends
Step 3: Crochet the Second Back Panel
- Repeat the same process as the first back panel, matching the width exactly.
- Work this panel to the same shorter height as the first back panel.
- Fasten off and weave in the ends.
Step 4: Assemble the Envelope Closure
- Lay your front panel right side up, then place both back panels on top, right sides down, overlapping them in the center to match the full height of the front panel
- Join all three panels around the outer edge using a whip stitch or slip stitch seam
- Leave the overlapping section in the back unseamed, since this is where the pillow insert will slide in
- Turn the finished cover right side out through the back opening
Step 5: Add Finishing Details
- Add optional buttons along the overlap for a decorative closure detail, if desired.
- Weave in any remaining loose ends securely.
- Block the finished cover gently to help the panels lie flat and even.
- Insert your pillow form through the back opening to complete the project.
Tips for a Clean, Well-Fitted Pillow Cover
- Keep your tension consistent across all three panels so they join smoothly without puckering
- Measure your pillow insert directly rather than relying solely on standard sizes, since inserts vary by brand
- Choose a slightly snug fit rather than an oversized one, so the cover looks structured rather than baggy
- Block each panel individually before assembly for the cleanest possible finished edges
Common Mistakes to Avoid
- Skipping the gauge swatch — leads to a cover that doesn’t match your pillow insert’s actual size
- Uneven back panel overlap — creates a closure that gaps open or doesn’t stay secure
- Mismatched panel widths — results in a lumpy, misaligned seam around the edges
- Rushing the seaming — an uneven seam is one of the most visible finishing mistakes on a flat piece like this
Frequently Asked Questions
What yarn is best for a crochet pillow cover? Sturdy cotton or a cotton blend works best, since it holds its shape well and stands up to regular use and washing.
What hook size should I use for a pillow cover pattern? A 4.5mm to 5mm hook pairs well with worsted weight cotton yarn, creating a firm, structural fabric suited to home decor.
How much yarn do I need for a crochet pillow cover? Expect to use 250 to 350 grams depending on the pillow size you choose from the sizing chart above.
Can I make a pillow cover without buttons? Yes — the overlapping envelope-style back holds the insert securely on its own, and buttons are purely a decorative option.
How long does it take to crochet a pillow cover? Most crocheters finish a standard 18-inch pillow cover in about 5 to 8 hours, including all three panels.
Conclusion
This crochet pillow cover pattern offers a low-pressure way to practice larger flat panels while creating something genuinely useful for your home. With the materials list, sizing chart, and step-by-step instructions above, you have everything you need to make a removable, washable cover that refreshes any room.
Grab your cotton yarn, start your front panel today, and work your way through the envelope-style back. Once your cover is finished, share it with your crochet community — a handmade pillow cover like this one is a simple way to make any space feel more personal.