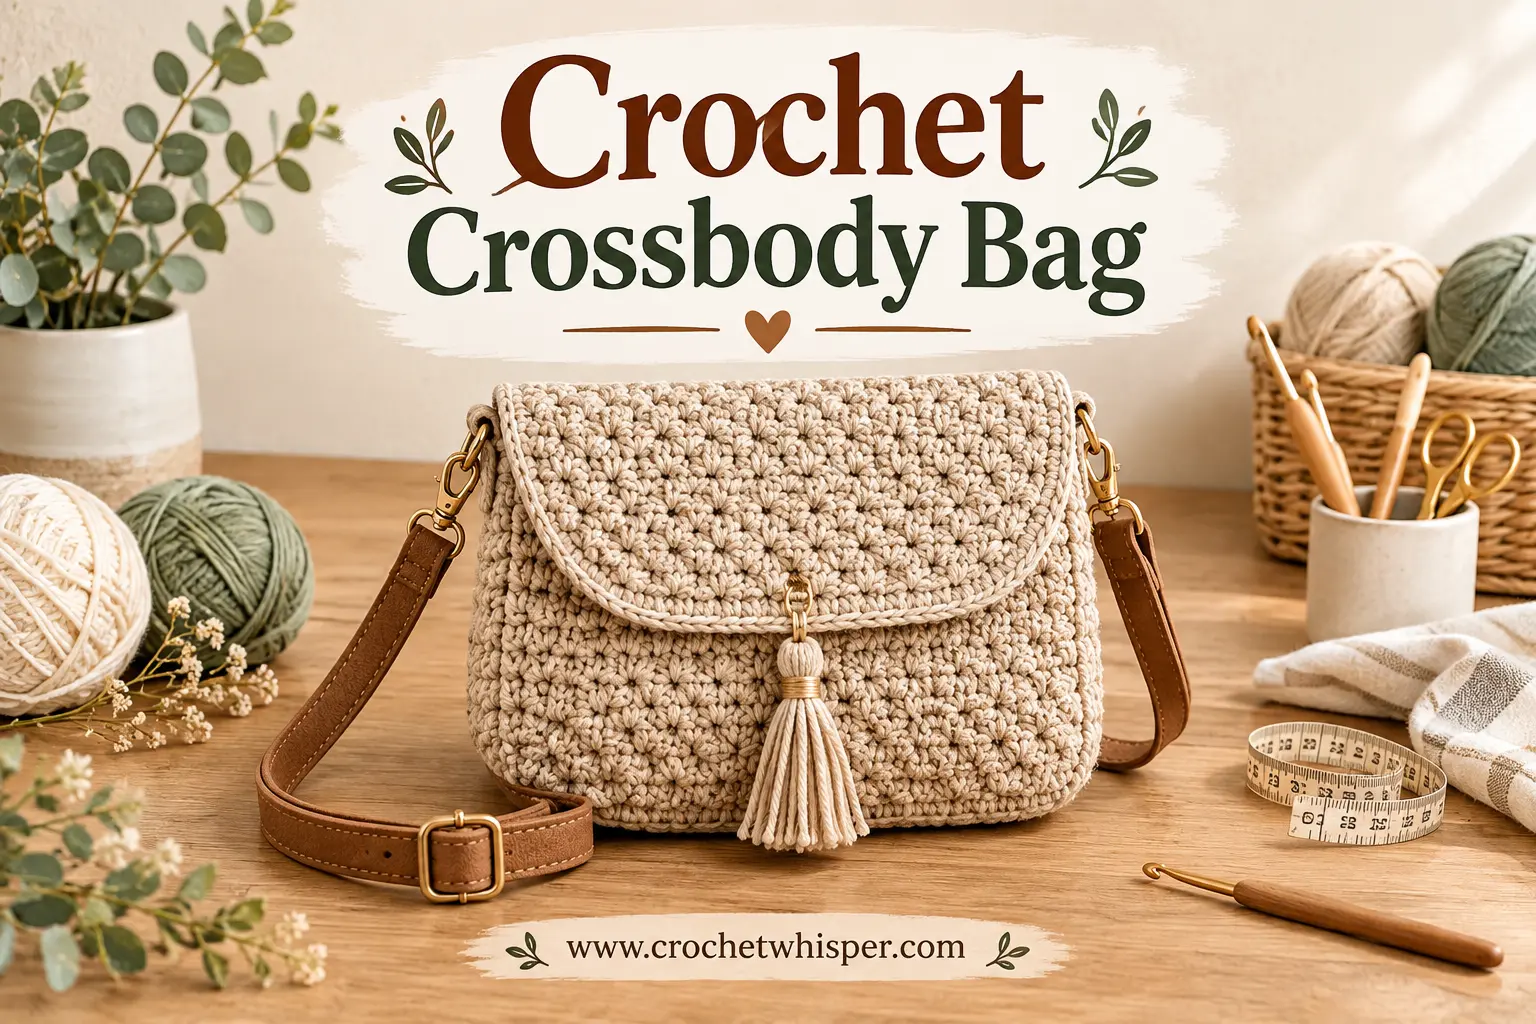
Easy Crochet Crossbody Bag | FREE Pattern for Beginners
The tutorial video is at the bottom of the article.👇
There’s a special kind of pride in reaching for a bag you made yourself on your way out the door. Maybe you’ve crocheted scarves, hats, or even a baby item or two, but bags still feel like they belong to “advanced” crocheters — all that structure, those straps, the shaping. Here’s the good news: this easy crochet crossbody bag pattern strips all of that complexity away. Built from simple rows and rounds using stitches you likely already know, it’s a genuinely beginner-friendly project you can carry with you every single day.
Why This Easy Crochet Crossbody Bag Is Perfect for Beginners
Bags have a reputation for being intimidating, but most of that comes from patterns that rely on complicated shaping or specialty techniques. This one keeps things simple:
- Basic stitches only. You’ll use chain, single crochet, and double crochet — nothing more advanced.
- No complex shaping. The bag is built from a simple base and straight-sided body, just like working a panel or a round basket.
- Fully customizable. Adjust the size, strap length, and color combination to match your everyday style.
- Genuinely practical. Unlike purely decorative makes, this is a bag you’ll actually use, which makes the finished project extra rewarding.
Because the construction relies on repeated, predictable rounds or rows, it’s an ideal next step once you’re comfortable with basic stitches.
Materials You’ll Need
Gather these before you start so you can work through the pattern without interruptions.
| Item | Recommended Type | Notes |
|---|---|---|
| Yarn | Worsted weight cotton | Cotton holds its shape far better than acrylic for structured bags |
| Hook | 4mm–5mm (US G/6–H/8) | A slightly smaller hook keeps your stitches tight and the fabric sturdy |
| Notions | Yarn needle, stitch markers, measuring tape | For seaming pieces and tracking your rounds |
| Optional | Fabric lining, magnetic snap, D-rings | For a more polished, structured finish |
Essential Stitches for This Bag
You only need a handful of stitches to complete this entire project.
Chain Stitch (ch)
Your foundation for the base and the starting point for the strap.
Single Crochet (sc)
A dense, sturdy stitch ideal for the bag’s main body — it holds its shape well and resists stretching.
Double Crochet (dc)
Used to work up the body faster if you prefer a slightly looser, more relaxed fabric.
Slip Stitch for Seaming (sl st)
Used to join the flap, strap, and side seams neatly.
Bag Size Guide
Choose your size based on what you plan to carry.
| Size | Dimensions (W x H) | Best For |
|---|---|---|
| Mini | 6 x 5 in / 15 x 13 cm | Phone, cards, lip balm |
| Small | 8 x 6 in / 20 x 15 cm | Everyday essentials |
| Medium | 10 x 8 in / 25 x 20 cm | Wallet, keys, small water bottle |
| Large | 12 x 10 in / 30 x 25 cm | Daily use, light shopping |
Step-by-Step Easy Crochet Crossbody Bag Pattern
Step 1 — Crochet the Base
Chain to your desired width and work single crochet stitches around it in an oval or rectangle shape, depending on your preferred bag silhouette.
Step 2 — Build Up the Body in Rounds or Rows
Continue working single or double crochet straight up from the base without increasing, until the body reaches your desired height.
Step 3 — Crochet the Flap (Optional)
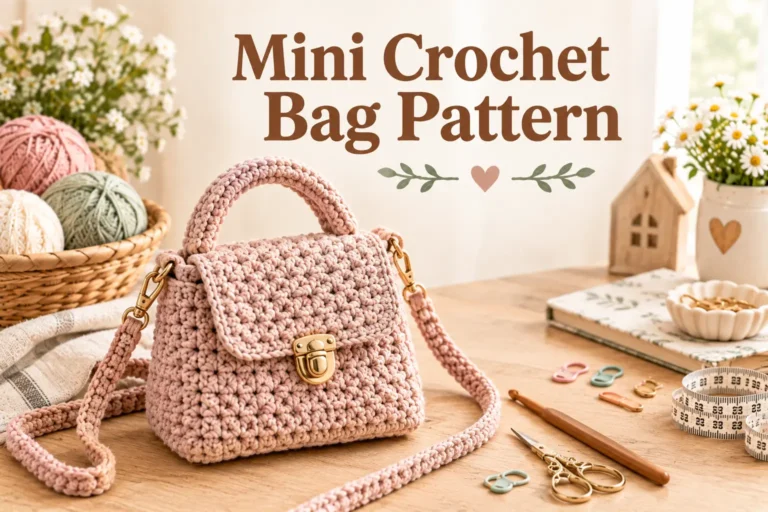
Add a rectangular flap at the back opening of the bag for extra security, shaping it with a rounded or pointed edge if you like.
Step 4 — Crochet the Crossbody Strap
- Chain to your desired strap length (try it on before finishing to check the fit).
- Work rows of single crochet back and forth until the strap reaches your preferred width.
- Fold the strap in half lengthwise and seam the edges for extra strength, or leave it flat for a lighter feel.
Step 5 — Assemble and Add a Closure
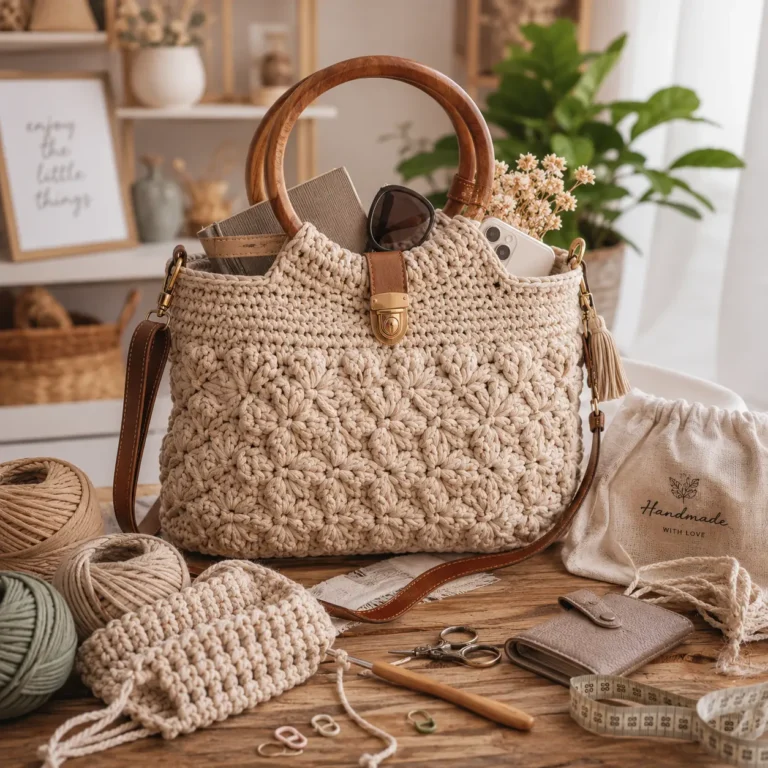
Attach the strap securely to both sides of the bag, then add your chosen closure — a button loop, magnetic snap, or simple drawstring — to finish the bag.
Tips for a Sturdy, Well-Shaped Bag
- Use a smaller hook than you normally would for the yarn weight — this creates a denser, sturdier fabric.
- Add a fabric lining if you want extra structure and to keep smaller items from poking through the stitches.
- Block the base flat before building up the sides, so your bag doesn’t end up lopsided.
- Reinforce the points where the strap attaches, since that’s the area that takes the most stress.
Common Beginner Mistakes to Avoid
- Stitches too loose. This leads to a saggy, shapeless bag. Tighten your tension slightly compared to your usual crochet.
- Skipping the lining. While optional, a lining helps the bag hold its shape and keeps contents secure.
- Uneven strap length. Always try the strap on before attaching it permanently.
- Wrong hook-to-yarn ratio. A hook too large creates gaps; too small makes the fabric stiff and hard to work.
Styling and Customization Ideas
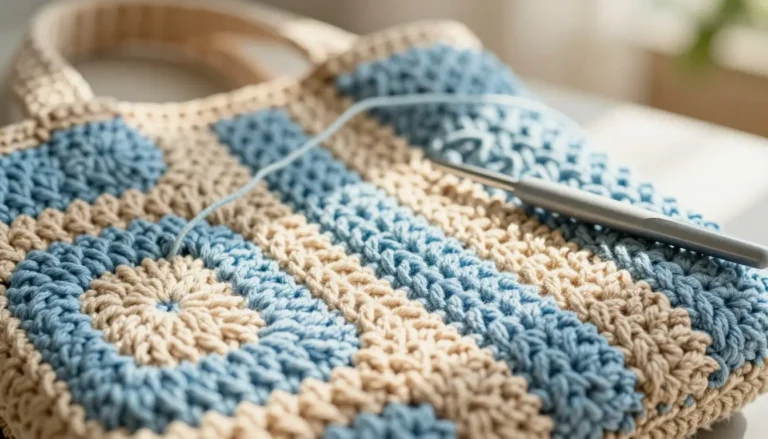
- Work the body in color-blocked panels for a modern look.
- Sew on a small crochet flower for a decorative touch.
- Adjust the strap length for shoulder wear instead of crossbody.
- Add fringe or tassels along the bottom edge for extra flair.
Conclusion
An easy crochet crossbody bag proves that beginner-friendly doesn’t mean boring or purely decorative — this is a bag you’ll genuinely reach for again and again. With simple stitches, a straightforward construction, and a few customization options, you can create something both practical and personal in just a few sittings. Once you’ve finished your first one, try a bolder color combination or a longer strap for a different silhouette. Share a photo of your finished bag with your favorite crochet community and see how others have styled theirs.
FAQ
What yarn is best for an easy crochet crossbody bag?
Worsted weight cotton is the top choice, since it holds its shape better than acrylic and creates a sturdier, more structured bag.
How long does it take to crochet a crossbody bag?
Most beginners complete this easy crochet crossbody bag pattern in a few evenings, depending on the size chosen and how much time is spent each session.
Do I need a lining for a crochet crossbody bag?
A lining isn’t required, but it’s recommended if you want extra structure and to prevent smaller items from slipping through the stitches.
Can I adjust the size of this easy crochet crossbody bag pattern?
Yes. Because the bag is built from a simple base and straight-sided body, you can easily adjust the width, height, and strap length to fit your needs.