How to Crochet the Willow Ridge Beanie – All Sizes: A Textured Pattern for Every Head
The tutorial video is at the bottom of the article.👇
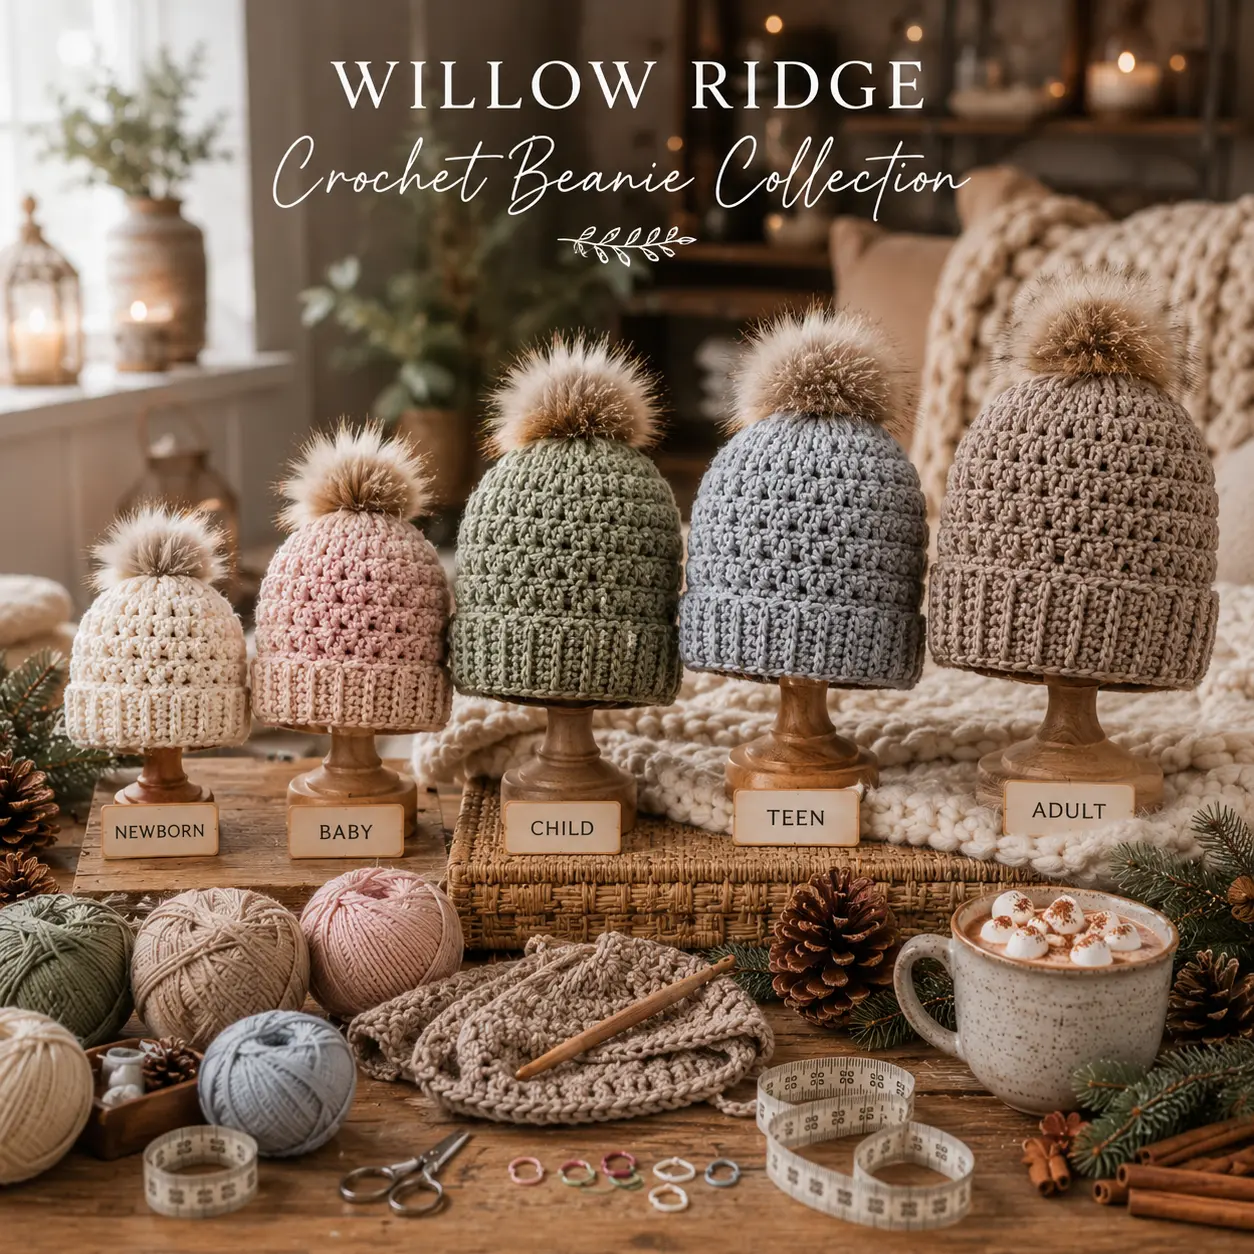
There’s a certain pride in pulling on a beanie you made yourself as the first cold morning of the season arrives — one with real texture, a snug fit, and none of the generic look of something pulled off a store shelf. If you’ve been searching for how to crochet the Willow Ridge Beanie in all sizes, this guide walks you through the full pattern, from baby-sized to adult XL, so every member of the family can have one.
By the end, you’ll know exactly how to create that signature ridged texture and size it perfectly for any head.
What Makes the Willow Ridge Beanie Special
What sets the Willow Ridge Beanie apart is its ribbed, textured surface — created using a simple back-loop-only technique that gives the finished hat a structured, almost knit-like appearance without any complicated stitch combinations. It reads as polished and professional, yet it’s built entirely from stitches most confident beginners already know.
It’s also one of the most versatile beanie patterns you can learn, since the same core technique scales cleanly from a newborn’s head all the way up to an adult XL, making it a fantastic stash-buster and a reliable go-to gift pattern for any season.
What You’ll Need – Materials & Tools
| Item | Recommended Choice | Notes |
|---|---|---|
| Yarn | Worsted weight (Category 4) wool or wool-blend | Shows the ridge texture more clearly than thin yarn |
| Hook Size | 4.5mm – 5.5mm (US 7 – I/9) | Adjust based on gauge and desired snugness |
| Yarn Needle | Blunt tip, large eye | For weaving in ends |
| Pom-Pom Maker (optional) | Any size matching your beanie | For a classic finished look |
| Stitch Markers | Any style | Helps track rounds during crown shaping |
Wool or wool-blend yarn is ideal here because its structure holds the ridge lines crisply, making the textured pattern really stand out once finished.
Basic Stitches Used in the Willow Ridge Beanie
| Abbreviation | Stitch Name |
|---|---|
| ch | Chain |
| sl st | Slip Stitch |
| sc | Single Crochet |
| hdc | Half Double Crochet |
| BLO | Back Loop Only |
| FLO | Front Loop Only |
The signature “ridge” in this beanie comes from consistently working into the back loop only (BLO) across each round, which leaves a visible horizontal line and gives the fabric its structured, textured look.
Willow Ridge Beanie Size Chart – All Sizes
| Size | Head Circumference (in) | Starting Chain |
|---|---|---|
| Baby (0–6 mo) | 14–15 | Ch 48 |
| Toddler (1–3 yrs) | 16–18 | Ch 54 |
| Child (4–10 yrs) | 19–20 | Ch 60 |
| Teen/Adult | 21–23 | Ch 66 |
| Adult XL | 23–24 | Ch 72 |
Measure head circumference with a soft tape measure just above the eyebrows and ears for the most accurate fit, then match your measurement to the closest size in the table.
How to Crochet the Willow Ridge Beanie – Step-by-Step Pattern
Crocheting the Brim (Ribbed Band)
- Ch a short foundation (about 8–10 sts) to form the width of the ribbed band.
- Work back and forth in BLO hdc rows until the band, when wrapped around, matches the starting chain length from the size chart.
- Join the ends of the band together with sl st to form a ring.
Working the Ridge Texture Body
- Round 1: Ch 1, work sc evenly around the top edge of the band, join.
- Round 2 onward: Work each round entirely in BLO sc, joining at the end of every round to maintain the ridge pattern.
- Continue for the number of rounds needed to reach the desired beanie height before crown shaping begins.
Shaping the Crown Decreases
- Begin evenly spaced decrease rounds (sc2tog at marked points) based on your size:
- Baby/Toddler: decrease every round
- Child/Teen/Adult: decrease every other round, then every round near the very top
- Continue decreasing until only 6–8 stitches remain.
Closing the Top and Weaving in Ends
- Cut yarn, leaving a long tail, and thread through remaining stitches to close the top securely.
- Weave in all ends, including the seam where the brim was joined.
Finishing Touches for a Polished Look
- Lightly block the finished beanie over a bowl or balloon to even out the ridge texture.
- Attach a pom-pom or faux fur pom at the crown for a classic finishing touch.
- Fold the ribbed brim upward for extra warmth over the ears, or leave it flat for a slouchier look.
- Weave in ends carefully along the ridge lines so they stay hidden within the texture.
Sizing Adjustments for Every Age Group
| Size | Rounds Before Decreasing | Decrease Style |
|---|---|---|
| Baby | 4–5 rounds | Decrease every round |
| Toddler | 6–7 rounds | Decrease every round |
| Child | 7–8 rounds | Decrease every other round |
| Teen/Adult | 8–9 rounds | Decrease every other round, then every round |
| Adult XL | 9–10 rounds | Decrease every other round, then every round |
Customization Ideas
| Style | Suggested Look |
|---|---|
| Classic Solid | Neutral tones with a matching pom-pom |
| Ombre | Gradual color shift from crown to brim |
| Striped | Contrasting BLO rounds every few rows |
| Seasonal | Deep red/green for winter, pastels for spring |
Common Mistakes to Avoid When Crocheting the Willow Ridge Beanie
- Accidentally switching to both-loop stitches partway through, which breaks the continuous ridge pattern.
- Using a hook size too small or too large, throwing off gauge and final fit.
- Decreasing unevenly around the crown, resulting in a lopsided top instead of a smooth point.
- Skipping the size chart and guessing at chain length, leading to a beanie that’s too tight or too loose.
Creative Ways to Wear and Gift the Willow Ridge Beanie
- Everyday winter wear for school, work, or outdoor errands
- A matching set made for the whole family in coordinating colors
- A handmade holiday or birthday gift
- A textured prop for newborn or family photoshoots
FAQ – How to Crochet the Willow Ridge Beanie (All Sizes)
What yarn works best for the Willow Ridge Beanie? Worsted weight wool or wool-blend yarn works best, since it shows the ridge texture clearly and holds its shape well.
How do I get the ridge texture correct? Work every round consistently into the back loop only (BLO) — skipping even one round will interrupt the ridge pattern.
How long does it take to crochet the Willow Ridge Beanie? Most sizes take 2–4 hours to complete, depending on yarn weight and hook size.
Can the Willow Ridge Beanie pattern be made for babies? Yes — the size chart in this guide includes a baby size (0–6 months) along with toddler, child, teen/adult, and adult XL options.
Is this beanie pattern beginner-friendly? Yes, as long as you’re comfortable with basic stitches and the back-loop-only technique, which is simple once you’ve practiced a few rounds.
Conclusion
There’s something deeply satisfying about a beanie that looks as good as anything from a store shelf, made entirely with your own hands and sized exactly right. This guide on how to crochet the Willow Ridge Beanie in all sizes gives you everything you need — from the ribbed brim to the final crown closure — to make one for every person in your life.
Now it’s your turn: pick your size from the chart, choose your yarn, and start with the ribbed band. Once your beanie is finished, save this pattern for future sizes, and share a photo of your finished Willow Ridge Beanie — there’s nothing like seeing that signature ridge texture come together in your own colors.