How to Crochet Cute Baby Booties: A Foundational Beginner Guide
The tutorial video is at the bottom of the article.👇
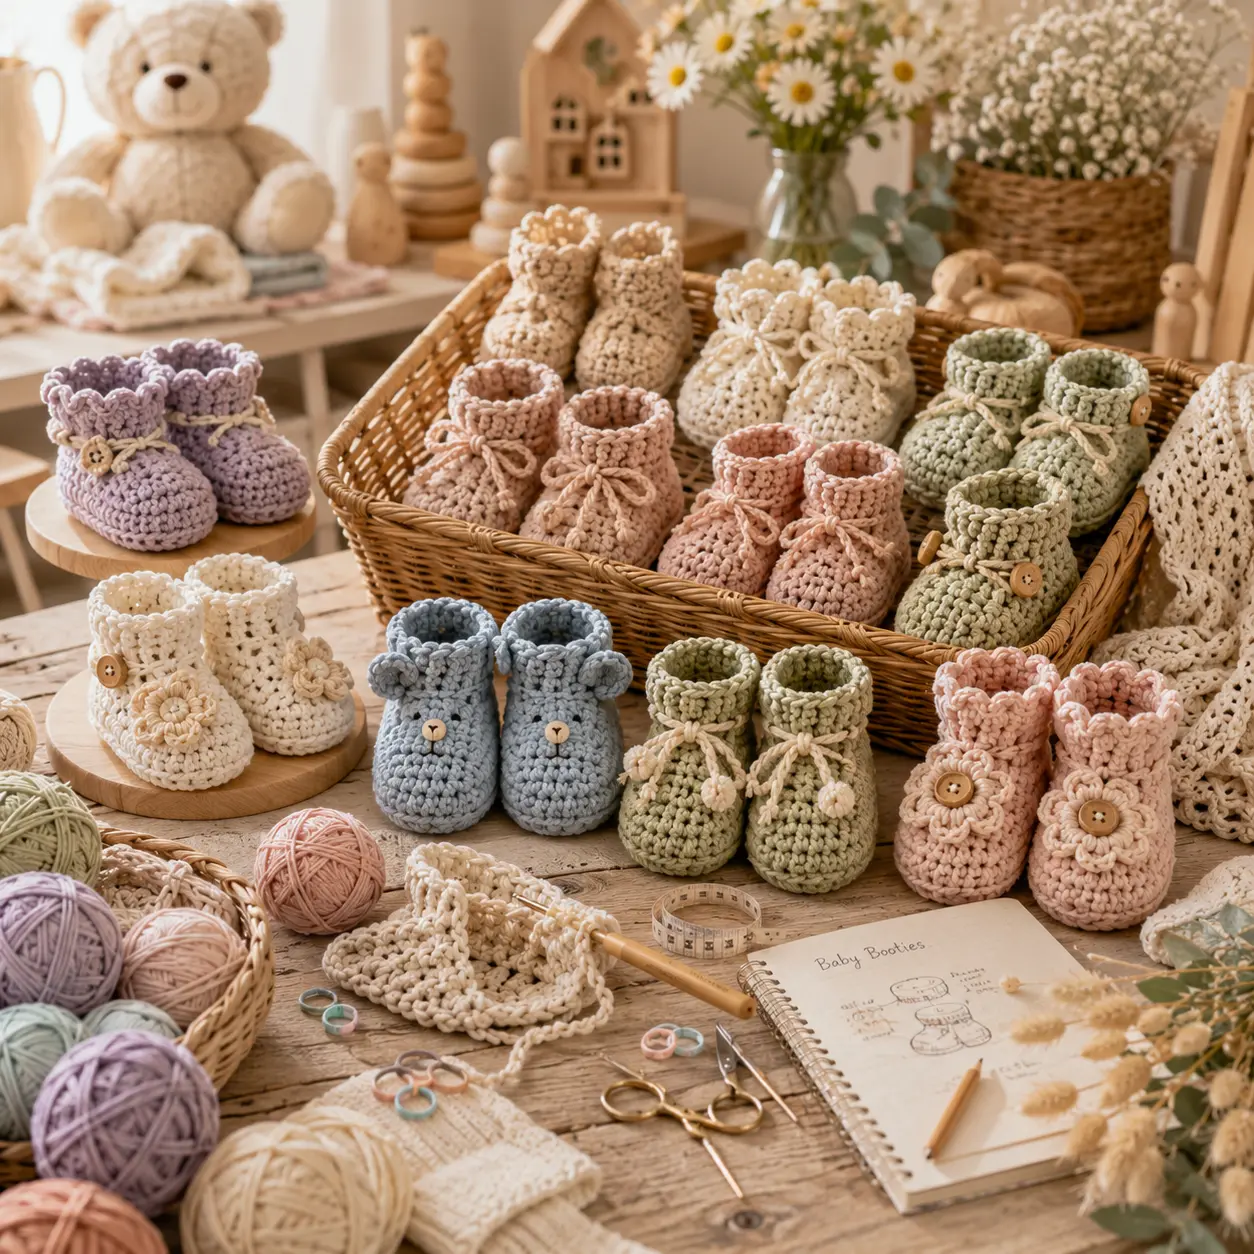
Before adding bear ears, panda faces, or any other embellishment, every great pair of baby booties starts with the same basic shape: a well-fitted sole, snug sides, and a comfortable ankle opening. This guide focuses entirely on that foundation, walking you through the core bootie construction so you have a reliable base pattern to build from, whether you dress it up later or keep it simple.
If you’ve made embellished booties before but never quite nailed down the plain construction on its own, this is the guide to bookmark.
Why Every Crocheter Should Master the Basic Bootie First
Learning the plain bootie shape thoroughly means you can adapt it endlessly later, adding stripes, appliques, embroidery, or cuffs without needing an entirely new pattern each time. It’s the single most reusable skill in baby-item crochet.
What makes mastering this foundation worth your time:
- One core shape adapts to countless future variations
- Small stitch count means fast, low-commitment practice
- Teaches sole shaping, a skill used in slippers, shoes, and boots alike
- Quick enough to make several pairs while you build confidence
What You’ll Need: Materials Table
Gather your supplies before starting so you can focus on technique without pausing to search for tools.
| Item | Recommended Type | Approximate Amount |
|---|---|---|
| Yarn | Soft baby yarn, cotton or acrylic blend | 40-50g |
| Crochet hook | 3mm-3.5mm (US C/2-E/4) | 1 |
| Yarn needle | Blunt tip | 1 |
| Stitch markers | Optional, for tracking rounds | 1-2 |
| Scissors | Small, sharp | 1 |
| Ribbon or small buttons | Optional, for closures | As needed |
Soft, machine-washable yarn is essential for baby booties, since they’ll need frequent washing and should feel gentle against sensitive skin.
Sizing Guide
Baby feet grow quickly, so check your sole length against the baby directly whenever possible before finishing.
| Age | Sole Length (approx.) |
|---|---|
| Newborn (0-3 months) | 3.5 inches |
| 3-6 months | 4 inches |
| 6-12 months | 4.5 inches |
If your finished sole runs larger or smaller than expected, adjust your hook size on your next pair rather than changing the stitch count.
Step-by-Step: How to Crochet the Basic Bootie
Step 1: Crochet the Sole
- Start with a magic ring or chain 11.
- Single crochet around the chain, working 3 stitches into the last chain to turn the corner smoothly.
- Continue single crocheting up the other side, then join with a slip stitch.
- Repeat for 2-3 rounds, increasing evenly to keep the sole flat and properly shaped.
Step 2: Build the Sides
- Switch to working in rounds without further increasing
- Work single crochet in the back loops only for a clean, defined edge where the sole meets the sides
- Continue for 4-6 rounds, depending on your desired bootie height
- Keep tension consistent throughout so the sides don’t flare or pull inward
Step 3: Shape the Ankle Opening
- Decrease evenly around the top opening to narrow toward the ankle.
- Continue decreasing for 1-2 rounds until the opening feels snug but not tight.
- Fasten off, leaving a long tail if you plan to add a tie or seam detail.
Step 4: Add a Simple Closure
- For a tie closure, crochet a simple chain and weave it through the top round like a drawstring
- For a strap closure, crochet a short strip and attach a button on one end
- For a no-closure finish, simply leave the ankle opening as is for a classic slip-on bootie
- Weave in all loose ends securely
Tips for a Clean, Well-Fitted Result
- Keep tension even throughout, especially at the sole, since this affects the entire shape of the bootie
- Use a stitch marker every round if you tend to lose track of where each round begins
- Try the finished bootie against the baby’s foot before adding any closures, to confirm the fit
- Practice this basic shape a few times before adding embellishments, since a solid foundation makes decoration much easier later
Common Mistakes to Avoid
- Skipping the gauge check — sole size is the most common baby bootie fitting issue
- Uneven sole increases — leads to a lopsided or misshapen bootie base
- Rushing the ankle decreases — an uneven decrease round can leave the opening too tight or too loose
- Choosing scratchy yarn — always prioritize soft, skin-friendly yarn for anything worn against a baby’s foot
Frequently Asked Questions
What’s the easiest way to learn how to crochet baby booties? Starting with the plain, unembellished version outlined here builds a solid foundation you can later adapt with stripes, appliques, or embroidery once you’re comfortable with the basic shape.
What yarn is best for baby booties? Soft, machine-washable cotton or acrylic yarn is ideal, since booties need frequent washing and should feel gentle against a baby’s skin.
What hook size should I use for baby booties? A 3mm to 3.5mm hook pairs well with fine baby yarn to create a snug, well-shaped sole and sides.
How long does it take to crochet a pair of basic baby booties? Most crocheters finish a plain pair in about 1 to 2 hours, once comfortable with the basic construction.
Can I add embellishments to this basic bootie pattern later? Yes — this plain construction is intentionally designed as a base you can dress up with appliques, embroidery, or color changes once you’ve mastered the core shape.
Conclusion
Learning the basic, unembellished bootie shape gives you a foundation you’ll return to again and again, whether you keep future pairs simple or build on them with your own creative details. With the materials list, sizing guide, and step-by-step instructions above, you’re ready to crochet a pair that’s soft, well-fitted, and entirely your own starting point.
Grab your softest baby yarn, start your first sole today, and get comfortable with the core shape before adding any embellishments. Once your booties are finished, share them with your crochet community — even the simplest pair is worth celebrating.