How to Crochet a Baby Set: Cardigan, Booties, Beanie & Blanket — A Complete Matching Bundle Guide
The tutorial video is at the bottom of the article.👇
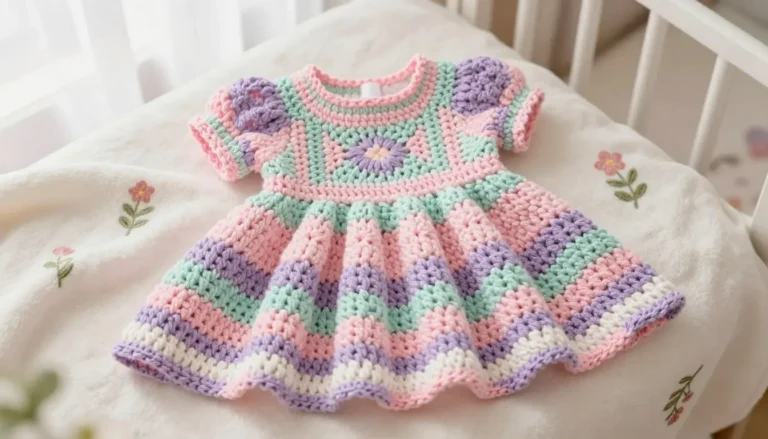
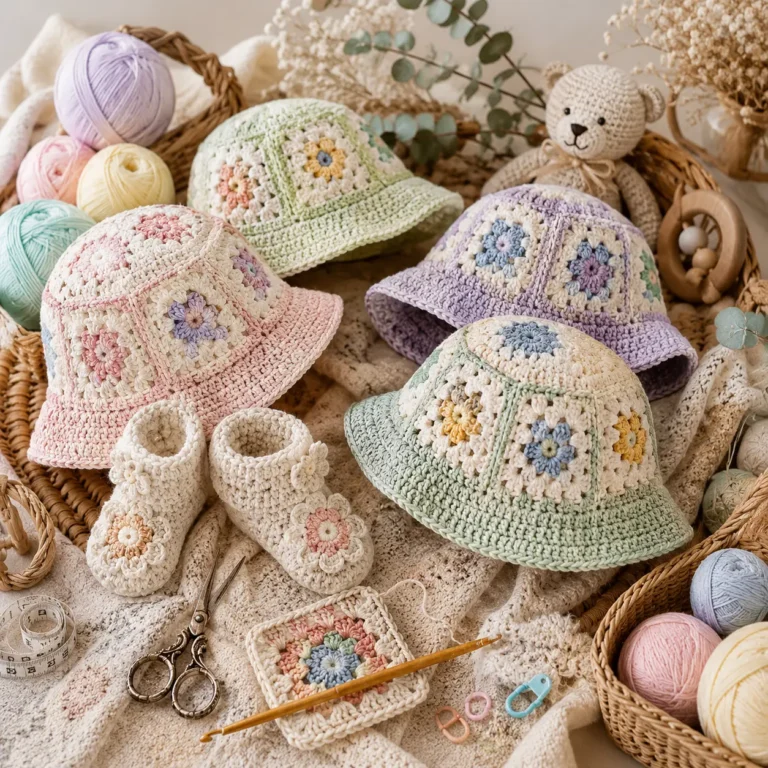
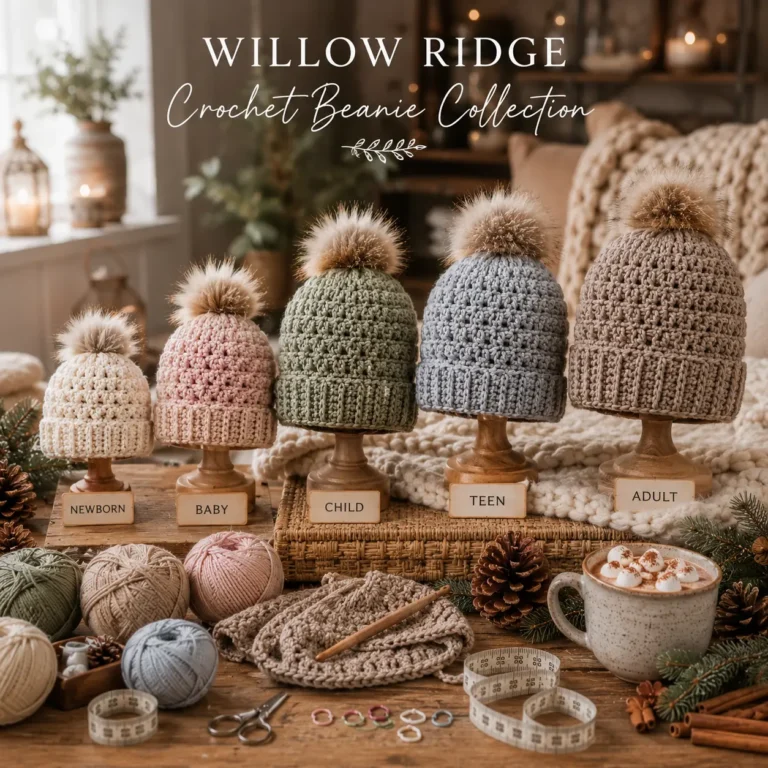
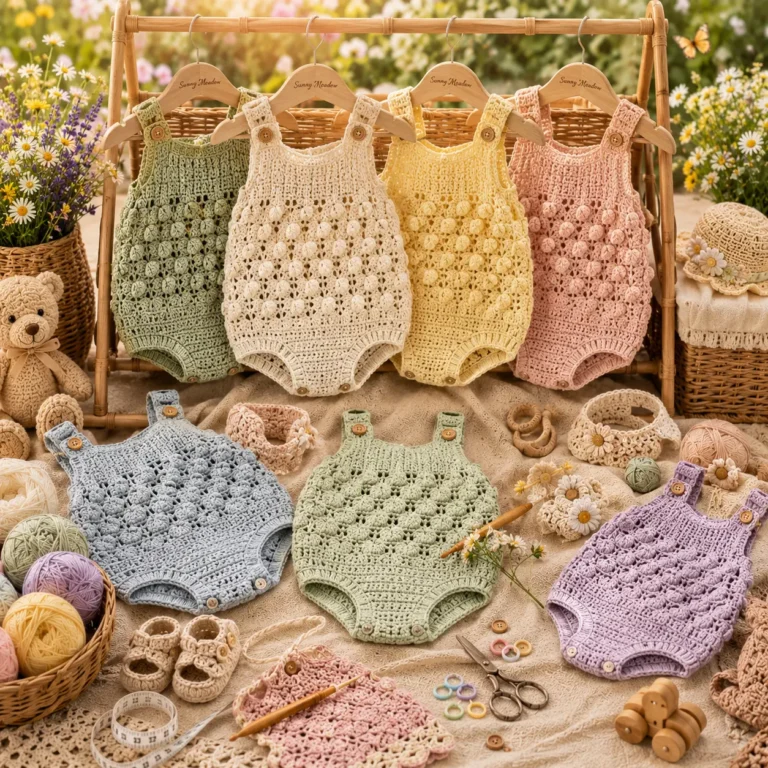
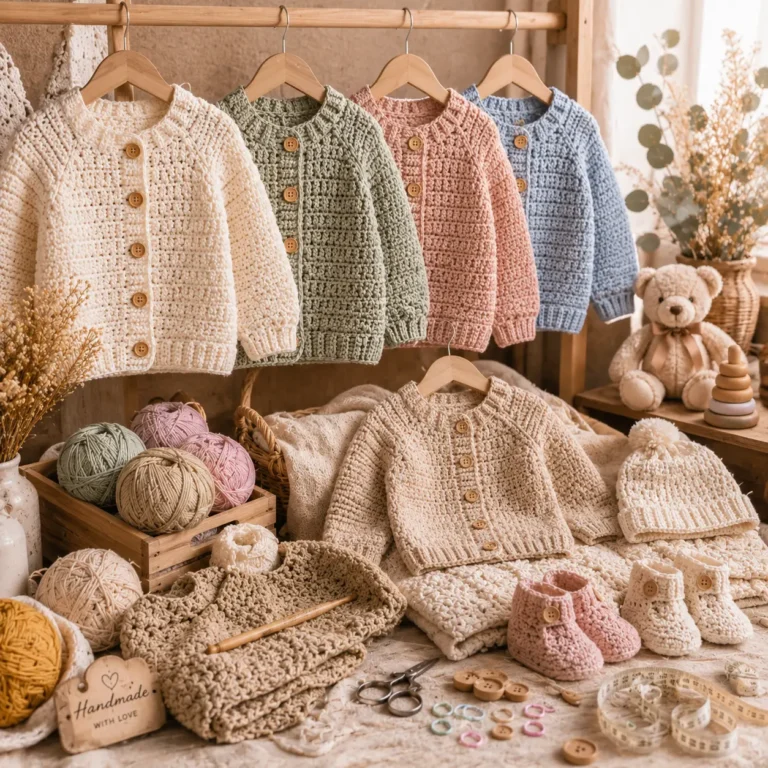
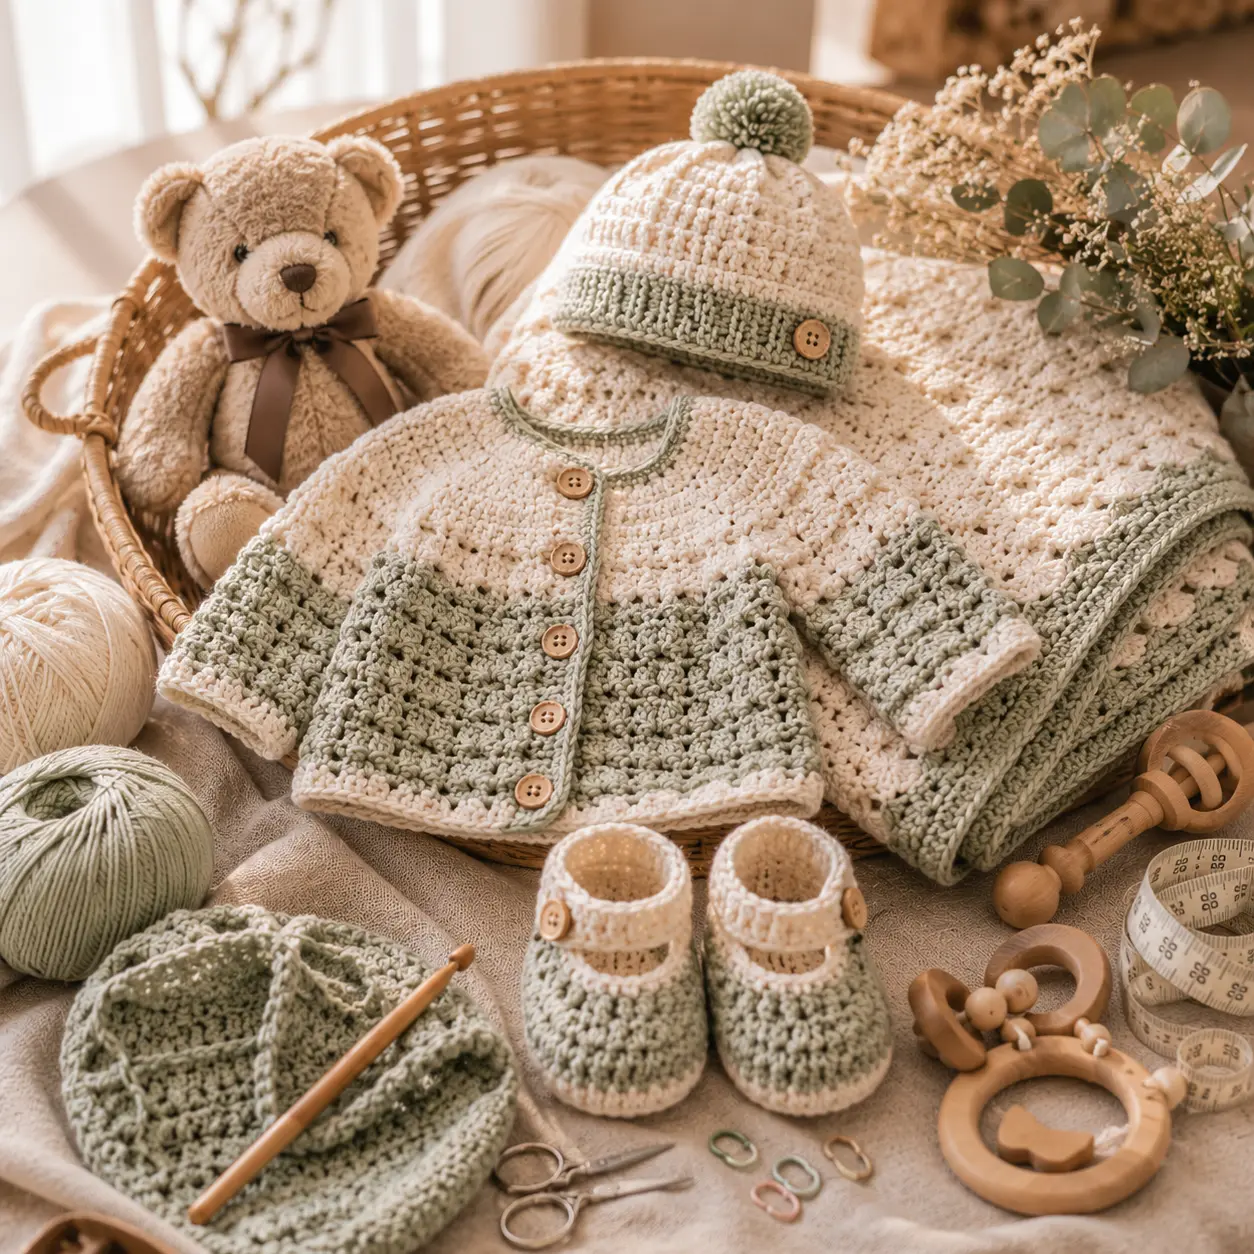
There’s a particular kind of tenderness that goes into stitching something meant to wrap around a newborn — every loop made with someone’s tiniest new arrival in mind. If you’ve been searching for how to crochet a baby set that includes a cardigan, booties, beanie, and blanket all working together as one cohesive bundle, this guide walks you through the entire process, piece by piece.
By the end, you’ll have a clear, organized path to a matching four-piece set that’s equal parts practical and deeply personal.
Why a Matching Crochet Baby Set Makes the Perfect Handmade Gift
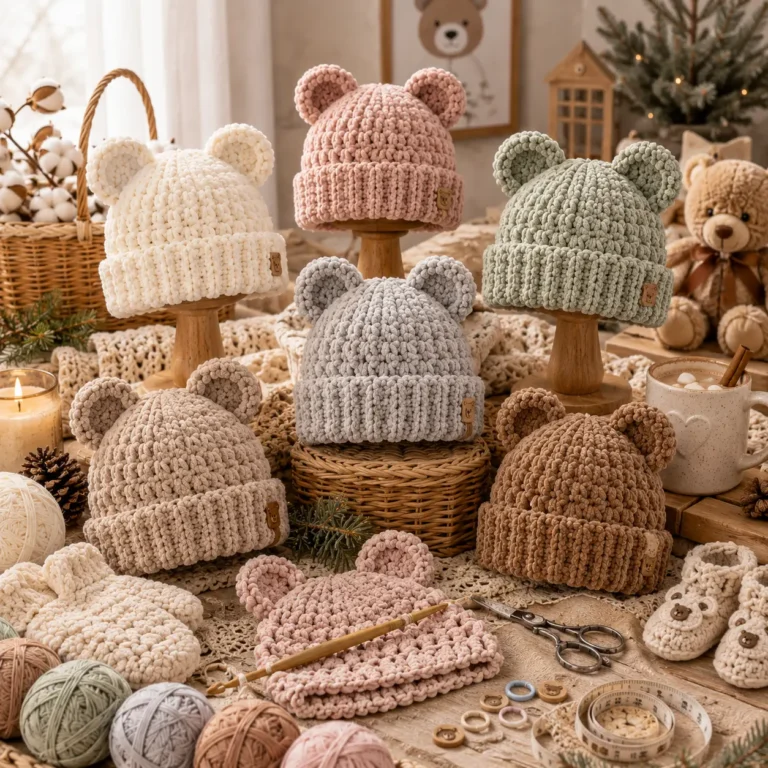
A single handmade item is lovely, but a full coordinated set feels like an event. Matching pieces — same color palette, same stitch details — turn a simple gift into something that looks intentional and complete, ready to be photographed together or handed over at a baby shower as one cohesive package.
Beyond the emotional value, a baby set is deeply practical. Every piece serves a real purpose: warmth for tiny feet, a soft hat for sensitive newborn skin, a cardigan for layering, and a blanket that becomes a keepsake long after the baby has outgrown the rest.
What You’ll Need – Materials & Tools
| Item | Recommended Choice | Notes |
|---|---|---|
| Yarn | Soft baby-weight (Category 3) acrylic or cotton | Choose hypoallergenic, machine-washable options |
| Hook Size | 3.5mm – 4mm (US E/4 – G/6) | Adjust based on your gauge swatch |
| Yarn Needle | Blunt tip, large eye | For seaming and weaving in ends |
| Buttons or Ties | Small, flat, securely attachable | Avoid small choking-hazard buttons for infants |
| Stitch Markers | Any style | Helps track rounds across all four pieces |
Always choose soft, machine-washable yarn for baby items — newborn skin is sensitive, and parents will appreciate an easy-care fabric they can toss straight into the wash.
Basic Stitches Used in This Baby Set
| Abbreviation | Stitch Name |
|---|---|
| ch | Chain |
| sl st | Slip Stitch |
| sc | Single Crochet |
| hdc | Half Double Crochet |
| dc | Double Crochet |
| shell | Shell Stitch (cluster of dc in one stitch) |
Because baby items are small but need to fit correctly, always work a quick gauge swatch before starting — a slightly looser or tighter tension can significantly change the final sizing.
Sizing Guide for the Full Set
| Age Range | Chest (in) | Head Circumference (in) | Foot Length (in) |
|---|---|---|---|
| Newborn | 14–16 | 13–14 | 3.5–4 |
| 0–3 Months | 16–18 | 14–15 | 4–4.5 |
| 3–6 Months | 18–20 | 15–16 | 4.5–5 |
| 6–12 Months | 20–22 | 16–17 | 5–5.5 |
Use this table as a reference point when adjusting stitch counts on the cardigan, booties, and beanie for a different size than the newborn measurements used in this pattern.
How to Crochet the Baby Cardigan – Step-by-Step
Crocheting the Yoke
- Ch 40 (adjust for size), join carefully without twisting.
- Round 1: Ch 1, sc around, join. (40 sts)
- Round 2–4: Work increase rounds evenly across four marked points (front edges, sleeve tops, back) to shape the yoke.
Dividing for Sleeves and Body
- At the marked increase points, chain a few stitches to set aside sleeve stitches, then continue working the body in rounds.
- Set the sleeve stitches aside on stitch holders for later.
Finishing the Body and Sleeves
- Continue the body in even rounds of sc or hdc to the desired length, then fasten off.
- Return to the held sleeve stitches and work even rounds down to the wrist, tapering slightly for a natural fit.
Adding Buttons or Ties
- Work a simple button band along the front edge using sc, spacing buttonholes evenly.
- Sew on flat, secure buttons or attach fabric ties instead for extra safety.
How to Crochet the Baby Booties – Step-by-Step
Crocheting the Sole
- Ch 10, work sc around the chain (adding extra stitches at the rounded ends), join.
- Round 2: 2 sc in each st around the rounded ends only, join.
Building the Sides and Cuff
- Work even rounds of sc for 5–6 rounds to build the sides.
- Add 1–2 rounds of hdc at the top for a folded cuff, then fasten off.
How to Crochet the Baby Beanie – Step-by-Step
Crocheting the Crown
- Ch 4, join with sl st to form a ring.
- Round 1: Ch 1, 8 sc into ring, join. (8 sts)
- Round 2: 2 sc in each st around, join. (16 sts)
- Continue increasing evenly each round until the crown matches the baby’s head circumference from the sizing table.
Working the Band and Brim
- Once the crown is the correct diameter, work even rounds of sc (no increases) until the beanie reaches the desired depth.
- Add 1–2 rounds of a ribbed or folded brim for a snug, comfortable fit.
How to Crochet the Matching Baby Blanket – Step-by-Step
Foundation Row and Repeat Pattern
- Ch a multiple of your chosen stitch pattern (e.g., shell stitch) to reach your desired blanket width.
- Row 1: Work the shell stitch pattern across, turn.
- Repeat this row until the blanket reaches your desired length.
Adding a Border for a Finished Look
- Work 2–3 rounds of sc evenly around all four sides of the finished blanket.
- Fasten off and weave in all ends securely.
Finishing Touches for a Cohesive Set
- Block each piece individually to even out stitches and ensure consistent sizing across the set.
- Use the same trim color or button style across the cardigan, booties, and beanie for a polished, coordinated look.
- Always check care labels on your chosen yarn and pass along washing instructions with the gift.
Customization Ideas
| Theme | Suggested Colors |
|---|---|
| Gender-Neutral | Sage green, mustard, cream |
| Classic Pastel | Baby blue, soft pink, lavender |
| Seasonal Gift | Deep red and cream for winter, soft yellow for spring |
| Personalized | Monogrammed initial patch on the blanket corner |
Common Mistakes to Avoid When Crocheting a Baby Set
- Using scratchy or non-washable yarn that isn’t suitable for sensitive baby skin.
- Ignoring the gauge swatch, which can throw off sizing across all four pieces.
- Skipping fit checks against the sizing table, resulting in an ill-fitting cardigan or beanie.
- Mismatching piece sizes across the set — always crochet with the same target age range in mind.
Creative Ways to Use and Gift Your Crochet Baby Set
- A complete baby shower gift, presented together in a gift box
- An outfit for newborn photoshoots
- A coming-home-from-the-hospital outfit
- A treasured heirloom keepsake passed down over generations
- Matching sets made for siblings or twins
FAQ – How to Crochet a Baby Set (Cardigan, Booties, Beanie & Blanket)
What is the best yarn for a baby crochet set?
Soft, hypoallergenic, machine-washable baby-weight yarn is best, since it’s gentle on sensitive skin and easy for parents to care for.
How long does it take to crochet a full baby set?
A complete set of cardigan, booties, beanie, and blanket typically takes 15–25 hours total, depending on skill level and blanket size.
Can this baby set pattern be resized for older babies?
Yes — use the sizing table in this guide to adjust stitch counts for the cardigan, booties, and beanie to fit ages beyond newborn.
Is this crochet baby set beginner-friendly?
Yes, with basic stitch knowledge. The cardigan yoke shaping is the most advanced piece, while the booties, beanie, and blanket are approachable for beginners.
How do I care for a handmade crochet baby set?
Always follow the yarn label’s washing instructions, and choose machine-washable yarn from the start to make care easier for parents.
Conclusion
There’s nothing quite like handing over a complete, coordinated set made stitch by stitch for a baby who hasn’t even arrived yet — a gift that’s as functional as it is full of care. This guide on how to crochet a baby set gives you everything you need to bring the cardigan, booties, beanie, and blanket together as one meaningful bundle.
Now it’s your turn: choose your yarn, pick your color palette, and start with whichever piece excites you most. Once your set is finished, save this pattern for future baby gifts, and share a photo of your completed bundle — there’s nothing more rewarding than seeing all four pieces come together as one.