How to Crochet an Animal Lovey | FREE Pattern for Beginners
The tutorial video is at the bottom of the article.👇
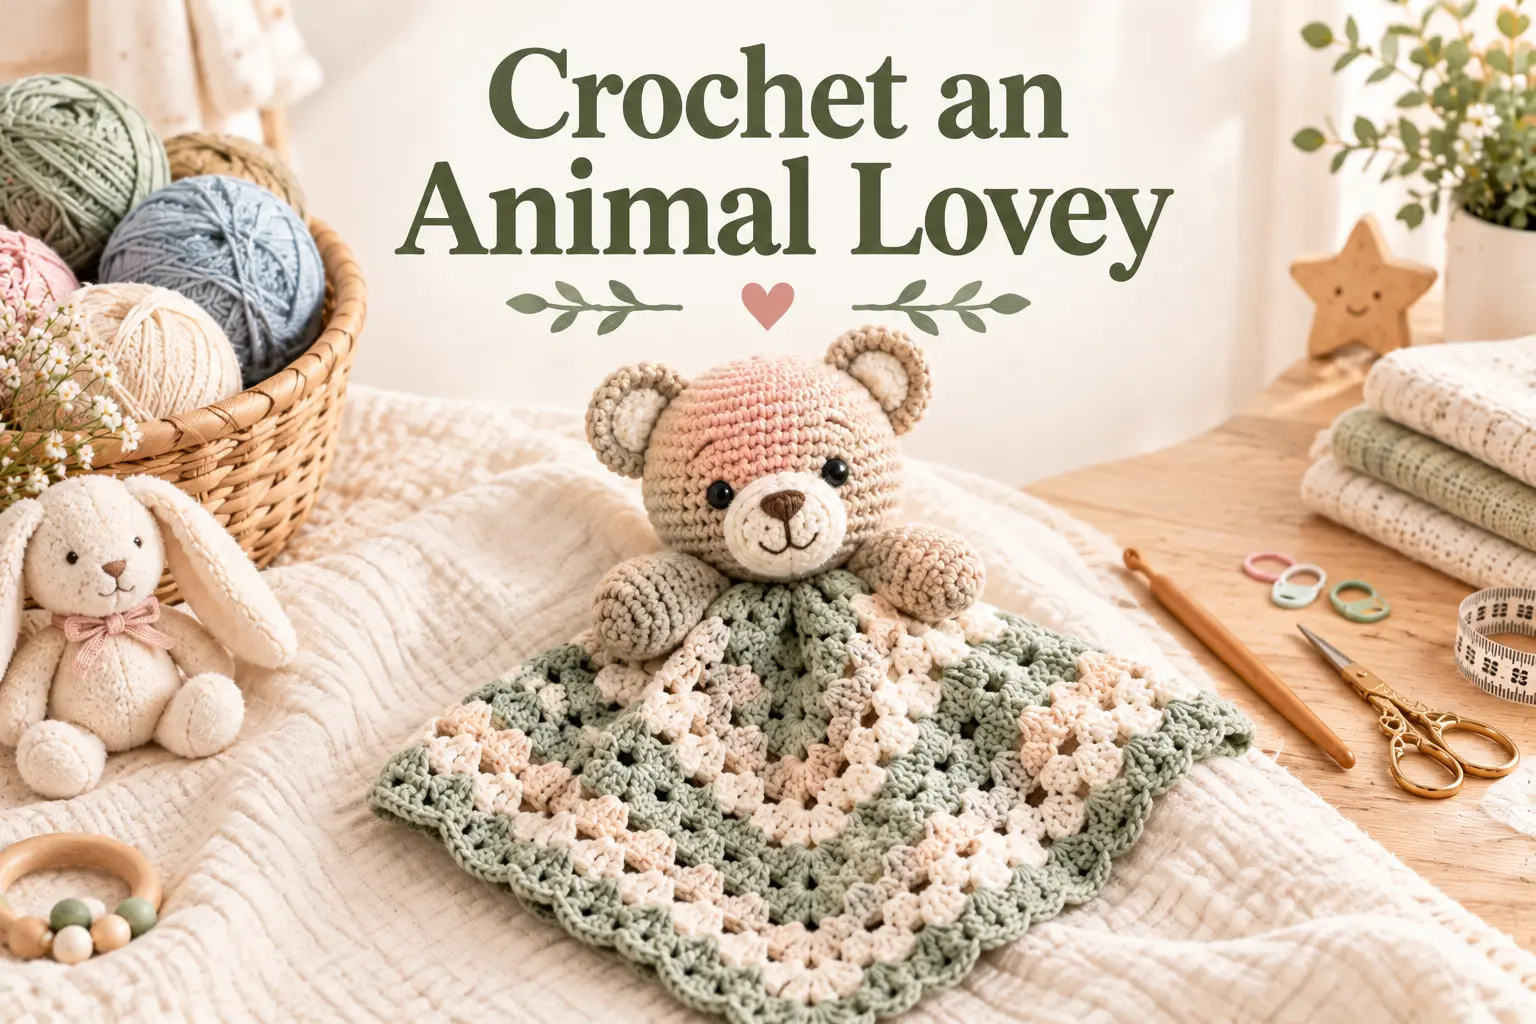
Few handmade gifts become as deeply loved as a lovey — that soft little animal-and-blanket combination a child carries everywhere, naps with, and eventually can’t imagine bedtime without. If you’ve browsed amigurumi patterns before and felt overwhelmed by all the shaping, joints, and tiny details, take heart: a lovey is actually one of the simplest toy-adjacent projects you can crochet. This free pattern combines just two easy shapes — a small head and a simple blanket square — into something that will likely become a treasured keepsake for years.
Why This Animal Lovey Is a Perfect Beginner Project
Amigurumi has a reputation for being fiddly and advanced, but a lovey sidesteps most of that complexity entirely. Here’s why it’s such an approachable starting point:
- Two simple shapes, not a full body. You’re only crocheting a small head and a flat square — no arms, legs, or complicated joints to figure out.
- Minimal shaping. Unlike a full stuffed animal, there’s no need for wiring, complex increases across multiple limbs, or advanced amigurumi assembly.
- Faster than a full plush toy. Because you’re skipping the body and limbs, a lovey comes together in a fraction of the time.
- A genuine keepsake. Loveys tend to become a child’s most treasured object, making this one of the most meaningful handmade baby gifts you can give.
Because the construction is so simple, it’s a great bridge project if you’ve made basic amigurumi shapes like a flower or a ball before and want to try something a little more toy-like.
Materials You’ll Need
Since this is meant for a baby or young child, safety and softness matter more here than in most other projects.
| Item | Recommended Type | Notes |
|---|---|---|
| Yarn | DK or worsted weight, cotton or cotton blend | Soft, machine-washable yarn is essential for any baby item |
| Hook | 3.5mm–4mm (US E/4–G/6), one size smaller than the yarn label suggests | A tighter gauge helps keep the stuffing from poking through the stitches |
| Stuffing | Polyester fiberfill | Washable, hypoallergenic, and easy to find |
| Notions | Yarn needle, stitch marker, safety eyes or embroidered features | Use embroidered or crocheted features instead of plastic safety eyes for very young babies |
Essential Stitches for This Lovey
This project uses a small, manageable set of amigurumi basics.
Magic Ring
Your starting point for the head, keeping the very center tight and gap-free.
Single Crochet (sc)
The main stitch used throughout both the head and the blanket square.
Increase and Decrease Stitches
Used to shape the rounded head — increasing in the early rounds to widen it, then decreasing to close it up before stuffing.
Slip Stitch (sl st)
Used to join rounds and to attach the finished head to the blanket.
Lovey Size Guide
Choose your size based on the intended age — smaller loveys are easier for tiny hands to grip, while larger ones last longer as a child grows.
| Size | Blanket Square | Head Diameter |
|---|---|---|
| Small | 8 x 8 in / 20 x 20 cm | 3 in / 7.5 cm |
| Standard | 10 x 10 in / 25 x 25 cm | 4 in / 10 cm |
| Large | 12 x 12 in / 30 x 30 cm | 5 in / 12.5 cm |
Step-by-Step How to Crochet an Animal Lovey
Step 1 — Crochet the Animal Head
Start with a magic ring and work increasing rounds of single crochet until the head reaches your desired diameter, then work a few even rounds without increasing to build up the sides.
Step 2 — Add Ears or Simple Features
Crochet two small ear shapes separately and attach them to the top of the head, adjusting the shape slightly for your chosen animal (rounded for a bear, longer for a bunny, pointed for a fox).
Step 3 — Stuff the Head
Fill the head firmly but not overly tight with polyester fiberfill, distributing it evenly so there are no lumps or thin spots before closing the round.
Step 4 — Crochet the Blanket Square
- Chain to your desired width from the sizing table.
- Work rows of single crochet back and forth until the square reaches the matching length.
- Add a simple border round for a clean, finished edge.
Step 5 — Attach the Head to the Blanket
Center the stuffed head on one corner of the blanket square and sew or slip stitch it securely in place, reinforcing the attachment point since this is where the most handling and tugging will happen.
Step 6 — Finishing Touches
Weave in all remaining ends securely, embroider a simple face (eyes, nose, mouth) using yarn rather than plastic pieces for younger babies, and give the whole piece a final trim of any stray fibers.
Tips for a Safe, Snuggly Lovey
- For newborns and very young babies, embroider facial features with yarn instead of using plastic safety eyes, which can pose a choking hazard if loosened.
- Stuff the head firmly enough to hold its shape, but avoid overpacking, which can make seams strain and the fabric feel stiff.
- Use a hook one size smaller than usual for tighter stitches that better contain the stuffing.
- Give the finished lovey a gentle tug test at the head-to-blanket attachment point before gifting, to make sure it’s secure.
Common Beginner Mistakes to Avoid
- Using unsafe eye attachments for very young babies. Always choose embroidered features for newborn-safe gifts.
- Overstuffing the head. This can distort the shape and put unnecessary strain on your stitches.
- Uneven blanket square edges. Count your rows carefully so all four sides of the square match.
- Weak attachment point. Reinforce the connection between the head and blanket with extra stitches, since this area takes the most wear.
Animal Variations to Try
- A bunny with two long, slightly floppy ears.
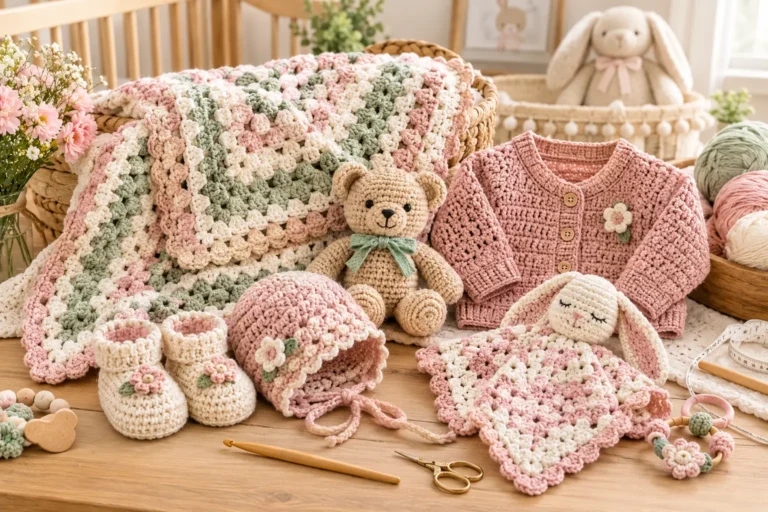
- A bear with small, rounded ears and a simple color-blocked muzzle.
- A fox with pointed ears and a two-tone color scheme.
- An elephant with rounded ears and a small crocheted trunk detail.
Conclusion
Learning how to crochet an animal lovey is one of the most rewarding beginner-to-intermediate projects you can take on, precisely because it skips the intimidating parts of amigurumi while still producing something a child will treasure for years. With just a simple head shape and a basic blanket square, you can create a genuinely meaningful keepsake gift in an afternoon. Try a few different animal variations once you’ve mastered the base technique, and don’t be surprised if this becomes your go-to baby shower gift. Share a photo of your finished lovey with your favorite crochet community and see how others have customized theirs.
FAQ
What yarn is safest for a crochet animal lovey?
A soft, machine-washable cotton or cotton-blend yarn is safest and most practical, since it holds up well to frequent washing and gentle enough for delicate baby skin.
How long does it take to crochet an animal lovey?
Most beginners complete this pattern in a few hours spread across one or two sittings, thanks to its simple two-piece construction.
Are safety eyes safe for a baby lovey?
Plastic safety eyes are not recommended for newborns or very young babies due to choking risk; embroidered or crocheted features are the safer choice for this age group.
Can I make a crochet animal lovey without amigurumi experience?
Yes. Because this pattern avoids complex amigurumi shaping like limbs and joints, it’s approachable even if you’ve never made a stuffed toy before.