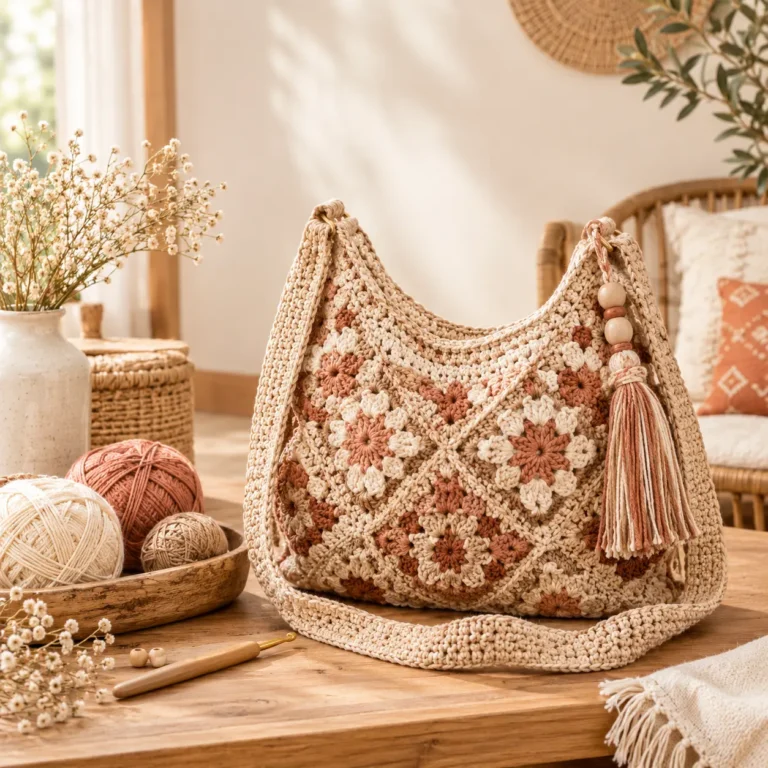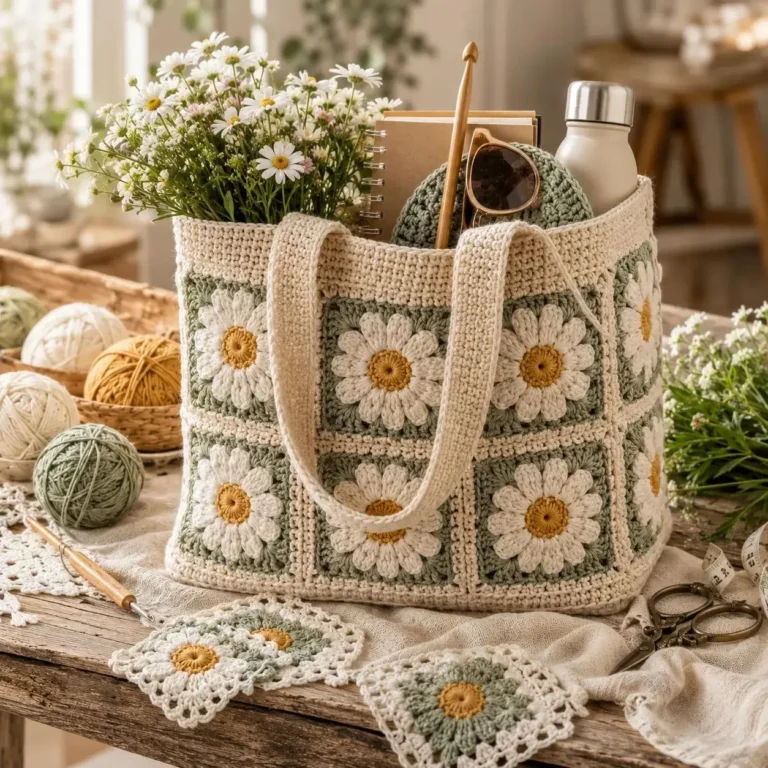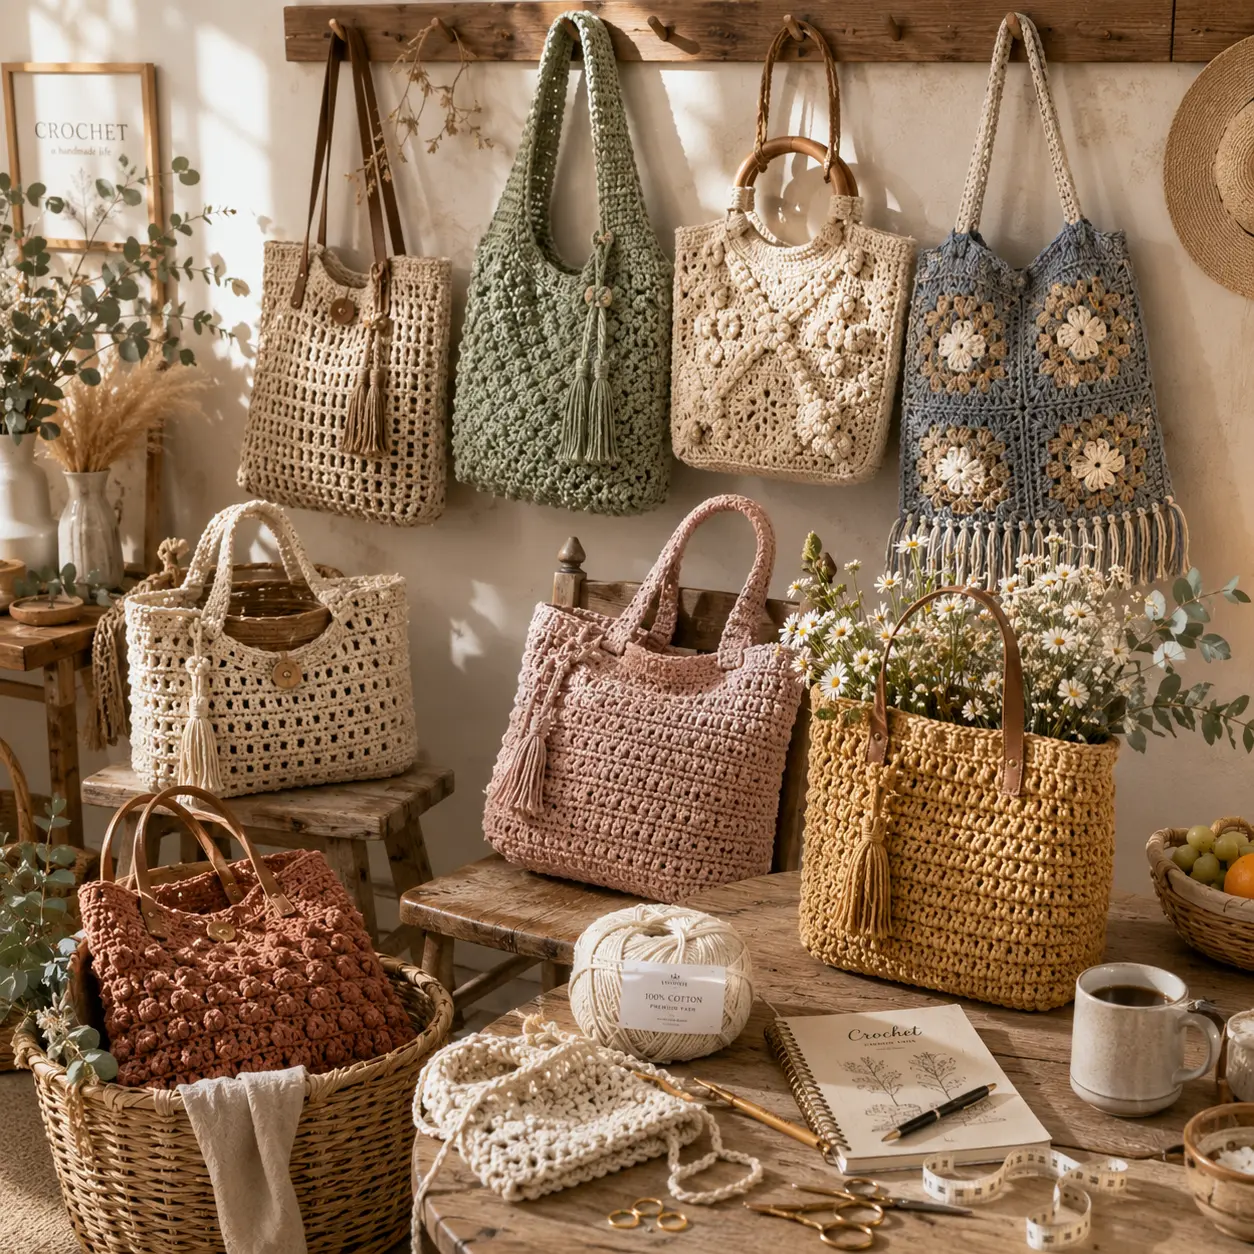
Easy Crochet Tote Bag Pattern
The tutorial video is at the bottom of the article.👇
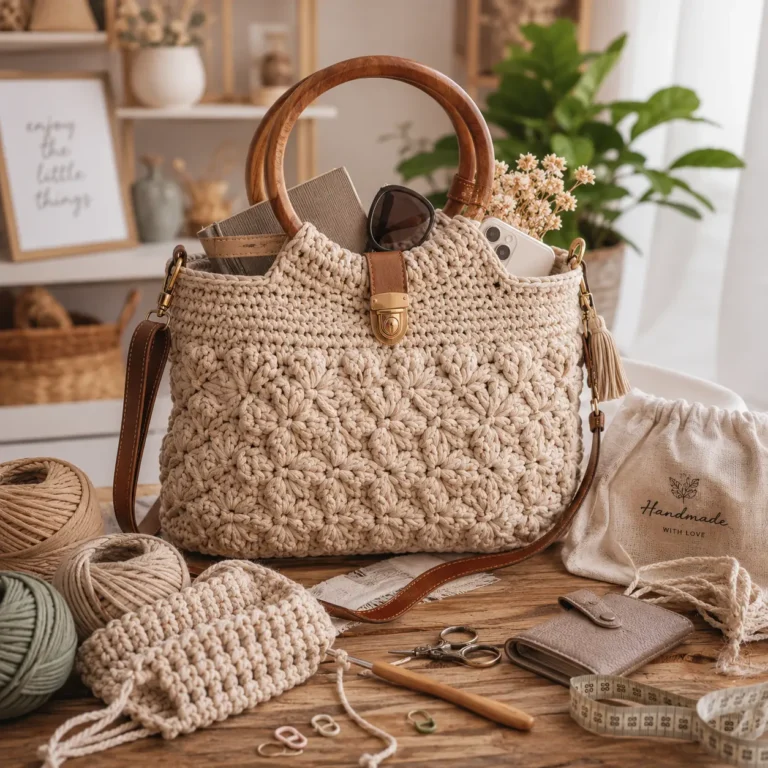
A handmade tote bag is one of those projects that feels immediately useful the moment you finish it. Whether it’s carrying groceries, books, or a beach towel, a sturdy crochet tote combines practicality with a handmade touch that store-bought bags simply can’t match. This easy pattern keeps the construction straightforward, using simple stitches and a study cotton yarn to create a bag that holds its shape and stands up to daily use.
This guide walks you through the entire process, from the base to the finished handles, so even a first-time bag maker can create something they’ll actually carry.
Why This Tote Bag Pattern Works So Well for Beginners
Bags rely on a handful of simple techniques, a flat or oval base, straight sides, and sturdy handles, all of which use basic stitches you likely already know. The key to a great tote isn’t complicated stitchwork, it’s choosing the right yarn and keeping your tension firm enough to hold its shape.
What makes this pattern approachable and rewarding:
- Simple double crochet or single crochet construction throughout
- Sturdy cotton yarn creates a bag that holds its shape without stiffening
- No shaping or decreases required for the main body
- Finishes in a single weekend for most crocheters
What You’ll Need: Materials Table
Gather your supplies before starting so you can work through the base, sides, and handles without interruption.
| Item | Recommended Type | Approximate Amount |
|---|---|---|
| Yarn | Sturdy cotton or cotton blend, worsted weight | 300-400g |
| Crochet hook | 4.5mm-5mm (US 7-H/8) | 1 |
| Yarn needle | Blunt tip | 1 |
| Stitch markers | For tracking rounds | 2-4 |
| Measuring tape | Flexible | 1 |
| Fabric lining (optional) | Cotton or canvas | As needed |
Cotton yarn is the top choice for tote bags since it holds its shape well, resists stretching under weight, and is far sturdier than acrylic for everyday use.
Sizing Guide
This pattern can easily be scaled up or down depending on how you plan to use your finished tote.
| Size | Base Diameter (approx.) | Body Height (approx.) |
|---|---|---|
| Small/Everyday | 8 inches | 10 inches |
| Medium/Market | 10 inches | 12 inches |
| Large/Beach | 12 inches | 14 inches |
Work a 4×4 inch gauge swatch first, since firm, even tension matters more for a structural item like a bag than it does for a soft blanket or garment.

Step-by-Step: How to Crochet the Tote Bag
Step 1: Crochet the Base
- Begin with a magic ring or chain 4, joined into a circle.
- Work single crochet in the round, increasing evenly to keep the base flat.
- Continue increasing every round until the base reaches your desired diameter from the sizing chart.
- Place a stitch marker at the start of each round to avoid losing count.
Step 2: Crochet the Sides
- Stop increasing once the base reaches the correct width
- Work even rounds without further increases to build the height of the bag
- Continue until you reach the desired body height for your chosen size
- Keep your tension firm throughout, since a looser tension can make the sides sag under weight
Step 3: Shape the Top Opening
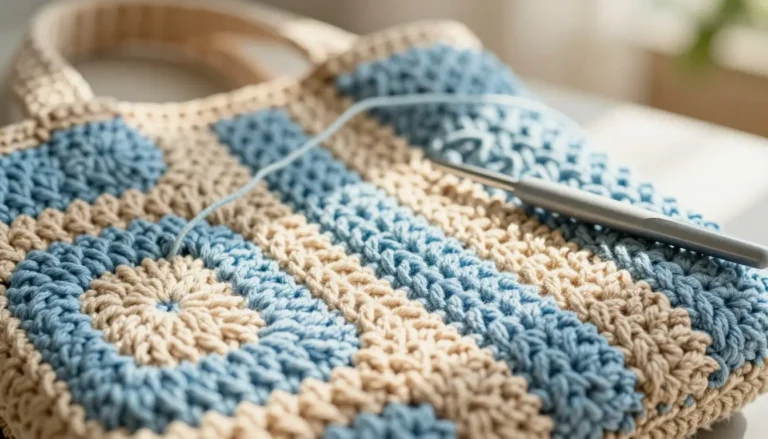
- Work one or two rounds of single crochet through the back loop only, for a defined, structured top edge.
- This step helps the bag hold its shape at the opening rather than curling or stretching over time.
- Fasten off and weave in the ends before moving to the handles.
Step 4: Crochet the Handles
- Chain a length to match your desired handle size, then work back across in single crochet
- Repeat for a second row or two to add thickness and strength to the handle
- Repeat this process to create a second matching handle
- Attach both handles securely to the inside top edge of the bag, spacing them evenly apart
Tips for a Sturdy, Long-Lasting Bag
- Keep your tension firm and consistent throughout, since a tote needs to hold its shape under weight
- Choose 100% cotton yarn over acrylic for the best structural support
- Add a fabric lining if you plan to carry smaller items that might slip through looser stitches
- Reinforce the handle attachment points with a few extra stitches, since this is the area under the most strain
Common Mistakes to Avoid
- Working too loosely — creates a bag that sags or stretches out of shape under weight
- Skipping the gauge swatch — leads to a base and body size that doesn’t match your planned dimensions
- Weak handle attachment — the handles bear the most stress, so rushing this step risks premature wear
- Choosing acrylic yarn for heavy use — acrylic stretches more than cotton and holds its shape less well over time
Frequently Asked Questions
What yarn is best for a crochet tote bag? Sturdy cotton or a cotton blend is ideal, since it holds its shape well and resists stretching under the weight of everyday items.
What hook size should I use for a tote bag pattern? A 4.5mm to 5mm hook pairs well with worsted weight cotton yarn, creating a firm, structural fabric.
How much yarn do I need for an easy crochet tote bag? Expect to use 300 to 400 grams depending on the size you choose from the sizing chart above.
Do I need to line a crochet tote bag? It’s optional, but a fabric lining helps prevent smaller items from slipping through the stitches and adds extra structure to the bag.
How long does it take to crochet a tote bag? Most crocheters finish a medium-sized tote in about 6 to 10 hours, including the base, sides, and handles.
Conclusion
This easy crochet tote bag pattern proves that a genuinely useful, everyday item can be just as satisfying to make as a decorative piece. With the materials list, sizing chart, and step-by-step instructions above, you have everything you need to create a sturdy tote you’ll actually reach for again and again.
Grab your cotton yarn, start your base today, and work your way up to those sturdy handles. Once your tote is finished, share it with your crochet community — a handmade bag this practical is always worth showing off.