Handmade Crochet Daisy Tote Bag for Beginners
The tutorial video is at the bottom of the article.👇
There’s a particular kind of pride that comes from carrying a bag you made with your own two hands — something practical, beautiful, and entirely yours. A handmade crochet daisy tote bag might sound like an advanced project reserved for experienced crocheters, but with the right approach, it’s genuinely achievable even if you’re still fairly new to the craft. By keeping the bag body simple and adding charm through separate daisy motifs, you get a stunning result without needing complicated shaping or techniques.
Why a Crochet Daisy Tote Bag Works for Beginners
The secret to this project’s beginner-friendliness lies in how it’s built. The bag itself relies on just single crochet and double crochet, worked in simple, repeating rounds or rows. There’s no complex shaping involved — you’re essentially building a sturdy fabric tube or rectangle and then adding straps. The daisy motifs, which give the bag its signature charm, are crocheted separately as small individual pieces and then simply attached at the end, which means you can practice the motif on its own before committing it to the larger project.
Beyond being achievable, this project is also deeply motivating. Unlike a scarf or blanket that takes weeks to become useful, a tote bag is something you’ll actually carry and use the moment it’s finished. It’s also a fantastic way to use up leftover cotton yarn from other projects, since the daisy motifs only require small amounts of contrasting colors.
What You’ll Need
For the bag body, reach for a sturdy worsted weight cotton yarn — cotton holds its shape under weight far better than acrylic or wool, which matters a great deal once you start loading the bag with everyday items. For the daisy motifs, you’ll want a contrasting color for the petals (white or a soft pastel works beautifully) and yellow for the centers, giving that unmistakable daisy look. A firm hook, somewhere between 4.5mm and 5mm, helps keep your stitches tight enough for structure. Round out your supplies with a yarn needle, scissors, and stitch markers to help track your rounds.
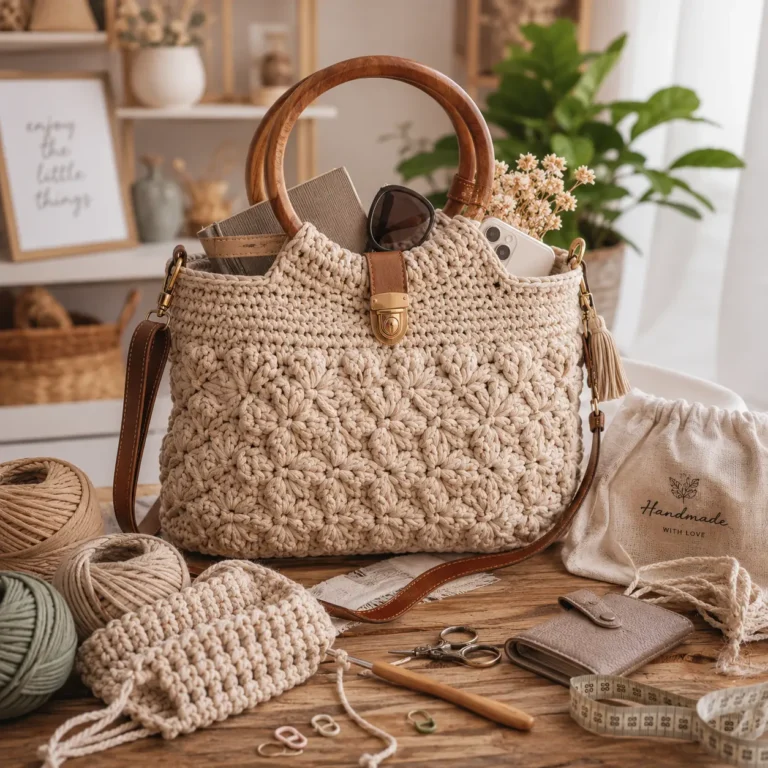
If you want to take the bag a step further, consider adding a fabric lining for extra durability, or swapping a crocheted strap for purchased wood or leather handles for a more polished, boutique-style finish.
When choosing yarn, cotton really is the ideal choice for a tote bag. It’s strong, machine-washable, and holds structure even when the bag is fully loaded. Stretchy or fluffy yarns, on the other hand, tend to sag under weight, which can leave your beautifully crocheted bag looking limp after just a few uses. If you want extra reinforcement, a cotton blend with a touch of nylon can add durability without sacrificing that classic cotton look.
Making the Bag, Step by Step
Begin by crocheting the base of your bag, starting with an oval or rectangular foundation chain depending on the shape you prefer. Work rounds of single crochet evenly around this base to build up the sides, keeping your stitch count consistent so the bag doesn’t flare out or pucker inward as it grows.
Once your base and initial rounds are established, continue building the body of the bag. You can switch to double crochet at this stage if you’d like the fabric to grow more quickly, though single crochet will give you a denser, sturdier fabric overall. Consistency is key here — counting your stitches at the end of each round helps you catch any accidental increases or decreases before they throw off the shape of your bag.
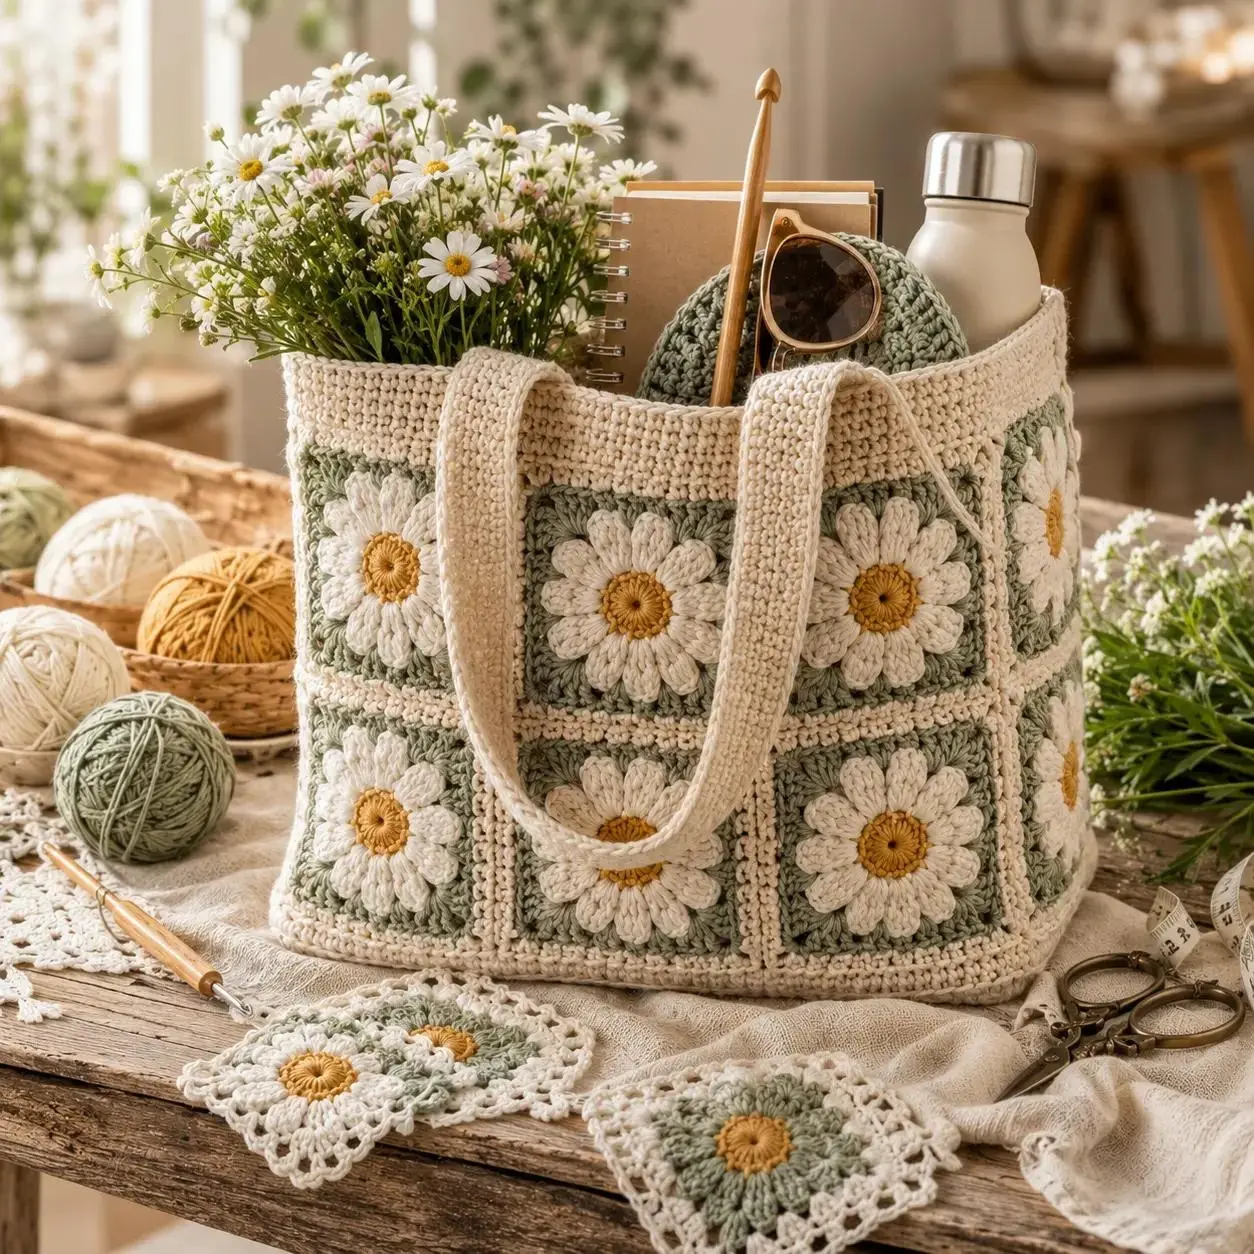
With the body complete, it’s time for the fun part: the daisy motifs. Crochet several small daisies separately, using a simple puff or petal stitch technique to form the rounded petals around a contrasting center. Once you have as many daisies as you’d like, use a yarn needle to attach them to the front of the bag, either spacing them evenly across the surface or clustering them together for a more modern, asymmetrical look.
Finally, finish your tote with handles. You can crochet a simple strap using a long chain reinforced with a round of single crochet, or attach purchased wood or leather handles for a sturdier, more polished look. Weave in all your ends, add a fabric lining if you’d like extra structure, and block the finished bag to help it hold a clean, even shape.
Getting the Sizing Right
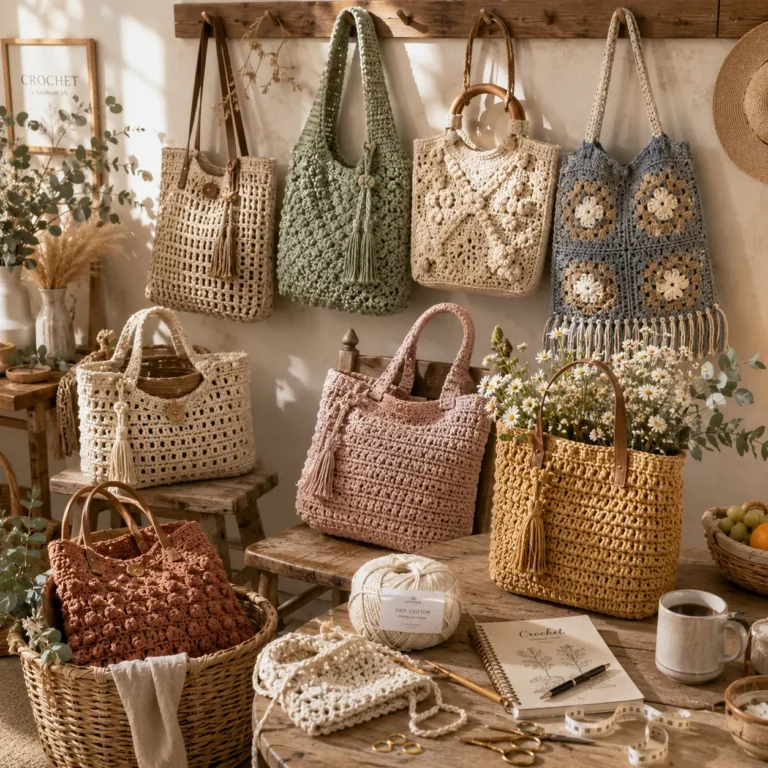
Tote bags can be sized to fit whatever purpose you have in mind. A smaller bag, around 8 by 10 inches, works well as a market basket or for quick errands. A medium size, closer to 12 by 14 inches, is ideal for everyday carry — think books, groceries, or daily essentials. If you want something roomier, sizing up to 16 by 18 inches creates a bag substantial enough for the beach or an overnight bag’s worth of essentials.
A Few Tips for a Sturdy, Beautiful Tote Bag
For a bag that truly holds up under everyday use, crochet a bit more tightly than you might for a garment — using a slightly smaller hook relative to your yarn weight creates a denser fabric that resists stretching and sagging. Adding a fabric lining is a simple way to give the bag a polished interior finish while also helping it maintain its shape over time. When it comes to the daisy motifs, feel free to experiment: evenly spaced daisies give a classic, symmetrical look, while a cluster of daisies in one corner creates a more contemporary, artistic feel.
Frequently Asked Questions
What yarn is best for a handmade crochet daisy tote bag? Worsted weight cotton is the best choice, since it’s strong, washable, and holds its shape well under the weight of everyday items.
How long does it take to make a crochet daisy tote bag? Most beginners can complete the bag body and daisy motifs over the course of a weekend, depending on the size of the bag and how many daisies are added.
Is this tote bag pattern really beginner-friendly? Yes — the bag itself relies on basic single and double crochet, while the daisy motifs are made separately as small, simple pieces and attached at the end.
Do I need to line the bag? Lining is optional, but it helps the bag maintain its shape and resist stretching, which is especially helpful for larger totes carrying heavier items.
Ready to Start Stitching?
There’s something incredibly satisfying about slinging a handmade tote bag over your shoulder, knowing every stitch — daisies included — came from your own hands. This project proves that beautiful, functional crochet doesn’t have to be complicated; it just takes a sturdy stitch, a bit of patience, and a handful of cheerful daisy motifs to make something you’ll reach for again and again. Gather your cotton yarn, pick your favorite daisy colors, and give this pattern a try. Once it’s finished, share a photo of your tote — there’s nothing quite like seeing a garden of daisies carried out into the world.