How to Crochet Beautiful Wind Spinners: A Colorful Garden Craft Anyone Can Make
The tutorial video is at the bottom of the article.👇
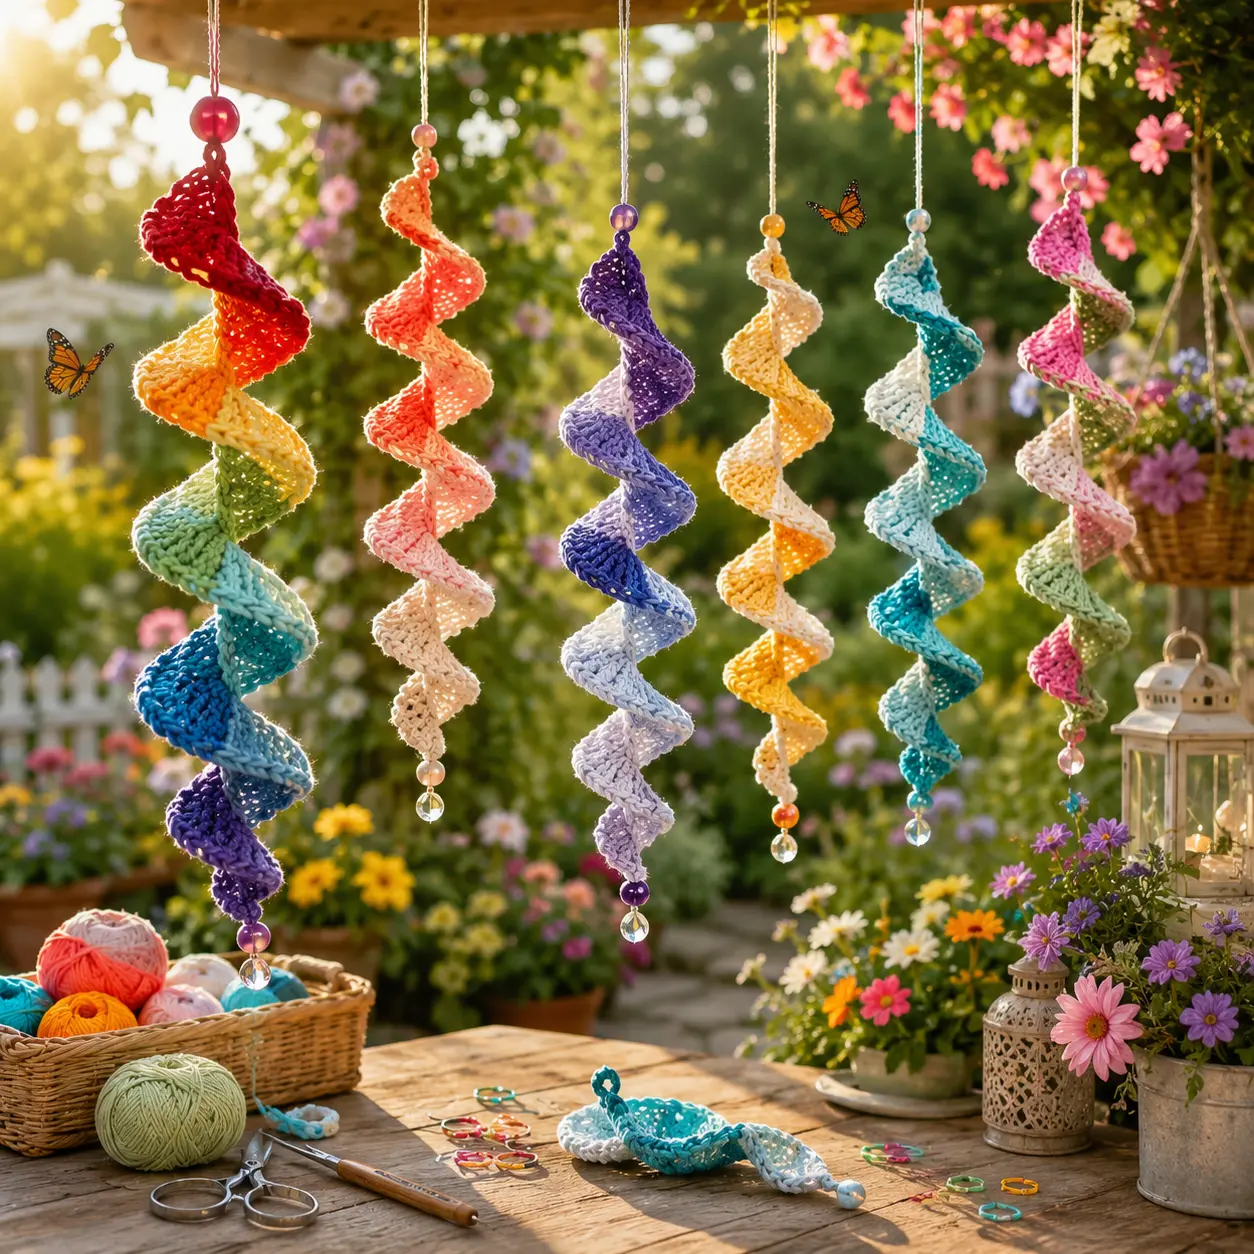
There’s something almost hypnotic about watching a handmade piece of color twirl gently in the breeze, catching the light as it spins on a porch or garden stake. If you’ve been wondering how to crochet beautiful wind spinners that hold their shape outdoors and turn heads with every gust of wind, this guide takes you through the entire process — from your first stitch to hanging your finished piece outside.
By the end, you’ll have a clear path to creating a wind spinner that’s as durable as it is eye-catching.
Why Crochet Wind Spinners Are a Joyful Craft Project
Wind spinners bring together two things crocheters love: colorful yarn work and functional home décor. Unlike garments or blankets, a spinner is a fast project with an immediate, striking payoff — within a single sitting, you can create something that instantly transforms a porch, garden, or window into a livelier space.
They’re also a wonderful way to use up small leftover balls of yarn. Because spinners are usually built from small motifs, you don’t need a full skein to get started, making them a satisfying, low-waste project for any crocheter’s stash.
What You’ll Need – Materials & Tools
| Item | Recommended Choice | Notes |
|---|---|---|
| Yarn | Acrylic or weatherproof outdoor yarn | Resists fading and moisture better than cotton |
| Hook Size | 3.5mm – 4.5mm (US E/4 – G/7) | Adjust based on motif size and yarn weight |
| Fabric Stiffener | Liquid stiffening spray or starch | Helps the spinner hold its shape outdoors |
| Fishing Line or Clear Thread | Strong, weather-resistant | For hanging without visible thread |
| Swivel Clip | Small metal swivel | Allows the spinner to rotate freely in the wind |
| Beads or Charms (optional) | Weather-resistant beads | Adds sparkle and movement |
Acrylic yarn is often the better choice for outdoor projects since it resists moisture damage far better than natural fibers like cotton or wool.
Basic Stitches Used in This Pattern
| Abbreviation | Stitch Name |
|---|---|
| ch | Chain |
| sl st | Slip Stitch |
| sc | Single Crochet |
| dc | Double Crochet |
| tr | Treble Crochet |
Most wind spinner motifs are worked in the round, similar to a granny square or doily, which is what gives them their circular, spinning motion once hung.
Choosing a Wind Spinner Design
| Spinner Shape | Difficulty Level | Visual Effect |
|---|---|---|
| Spiral | Easy | Continuous swirling motion |
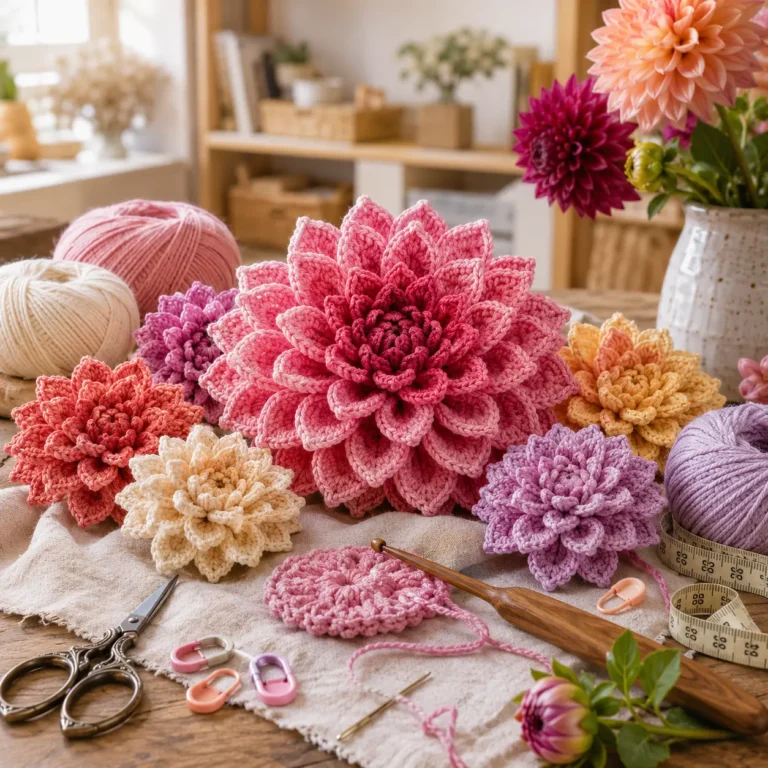
| Flower Motif | Easy–Moderate | Bright, layered petals |
| Mandala | Moderate | Intricate, detailed pattern |
| Star | Moderate | Sharp, dynamic movement |
For your first spinner, a simple flower or spiral motif is the most forgiving — both work up quickly and still catch plenty of wind movement once finished.

How to Crochet a Wind Spinner – Step-by-Step Pattern
Crocheting the Center Motif
- Ch 4, join with sl st to form a ring.
- Round 1: Ch 3 (counts as first dc), work 15 dc into ring, join with sl st. (16 sts)
- Round 2: Ch 1, 2 sc in each st around, join.
Building Outer Layers for Movement and Color
- Round 3: Attach a new color, ch 5, sl st into next st repeat around to form the first layer of loops.
- Round 4: Attach another color to the base and repeat with longer chains (ch 6–7) for a second, larger layer.
Stiffening the Motif for Outdoor Durability
- Once the motif is complete, lay it flat and apply fabric stiffener evenly across the entire piece.
- Shape the petals or spiral arms while damp, then let it dry completely (usually 12–24 hours) before handling.
Assembling the Spinner and Attaching the Hanging Line
- Once fully dry and rigid, attach a length of fishing line through the center point of the motif.
- Tie the line to a small swivel clip so the spinner can rotate freely in the wind.
Finishing Touches for a Weatherproof Spinner
- Apply a waterproof sealant spray over the stiffened motif for extra protection against rain.
- Double-check that the hanging point is centered so the spinner spins evenly rather than tilting to one side.
- Add small beads or charms along the hanging line for extra sparkle and movement.
- Store indoors during severe storms to extend the spinner’s lifespan.
Customization Ideas
| Theme | Suggested Colors |
|---|---|
| Spring Garden | Pastel pink, mint green, lavender |
| Summer Sunburst | Bright yellow, orange, coral |
| Autumn Harvest | Burnt orange, deep red, mustard |
| Whimsical | Rainbow gradient, glow-in-the-dark thread |
You can also chain several motifs together vertically for a longer, cascading spinner, or mix multiple shapes on one hanging line for a fuller display.
Common Mistakes to Avoid When Crocheting Wind Spinners
- Skipping the stiffening step, which leaves the spinner floppy and unable to hold its shape outdoors.
- Using yarn that isn’t weather-resistant, causing fading or damage after just a few weeks outside.
- Crocheting with uneven tension, which distorts the motif’s symmetry and affects how it spins.
- Attaching the hanging line off-center, causing the spinner to hang crookedly instead of spinning freely.
Creative Ways to Display Your Crochet Wind Spinner
- Hanging on a porch or patio for everyday color
- Mounted on a garden stake among flower beds
- Displayed in a sunny window to catch the light indoors
- Given as a handmade gift for gardening enthusiasts
- Layered in a chain of multiple spinners for a fuller garden display
FAQ – How to Crochet Beautiful Wind Spinners
What yarn is best for outdoor wind spinners?
Acrylic or specifically labeled outdoor/weatherproof yarn works best, since it resists moisture and fading far better than natural fibers.
How do I make my crochet wind spinner weatherproof?
Apply a fabric stiffener to hold the shape, then follow up with a waterproof sealant spray for extra protection against rain and humidity.
How long does it take to crochet a wind spinner?
Most simple spinner motifs take 1–3 hours to crochet, plus drying time for the stiffening step.
Do I need special tools to crochet a wind spinner?
Beyond your hook and yarn, you’ll need fabric stiffener, fishing line, and a small swivel clip for the best results.
Can beginners crochet a wind spinner?
Yes — this pattern for how to crochet beautiful wind spinners uses only basic stitches: chain, slip stitch, single crochet, double crochet, and treble crochet.
Conclusion
There’s real satisfaction in stepping outside and seeing a piece you made with your own hands catching the breeze and the sunlight all at once. This guide on how to crochet beautiful wind spinners walks you through every stage, from the center motif to the final stiffened, weatherproofed piece ready to hang outdoors.
Now it’s your turn: choose your favorite colors, grab your hook, and start with the center motif. Once your spinner is finished and dry, hang it up, share a photo of it catching the wind, and consider making a whole set to fill your garden with color and motion.