Easy Crochet Winter Shoes Pattern for Beginners: Cozy Footwear You Can Make in a Weekend
The tutorial video is at the bottom of the article.👇
There’s nothing quite like slipping your feet into something warm and handmade on a cold winter morning — especially when you made it yourself. If you’ve been searching for an easy crochet winter shoes pattern for beginners that doesn’t require advanced shaping skills or a mountain of yarn, this guide gives you a complete, step-by-step path from your first chain to a finished, wearable pair.
By the end, you’ll have everything you need to crochet cozy winter shoes for yourself, your family, or as thoughtful handmade gifts this season.
Why Crochet Winter Shoes Are the Perfect Beginner Project
Winter shoes are one of the most satisfying beginner projects you can pick up. Unlike a sweater or blanket, they work up fast — often in a single weekend — so you get that rewarding “finished project” feeling without weeks of stitching. They’re also incredibly practical: warm feet on cold mornings, made from yarn you likely already have in your stash.
Because winter shoes are small and forgiving, they’re a great way to practice shaping stitches, working in rounds, and finishing a project neatly, all without the pressure of a large, complicated garment.
What You’ll Need – Materials & Tools
| Item | Recommended Choice | Notes |
|---|---|---|
| Yarn | Chunky or bulky weight wool/wool-blend | Provides warmth and structure |
| Hook Size | 5.5mm – 6.5mm (US I/9 – K/10.5) | Adjust for a snug, not loose, fabric |
| Yarn Needle | Blunt tip, large eye | For seaming and weaving in ends |
| Non-Slip Sole Fabric (optional) | Suede or rubberized fabric | Prevents slipping on smooth floors |
| Fleece Lining (optional) | Soft fleece fabric | Adds extra warmth and comfort |
| Stitch Markers | Any style | Helps track rounds and shaping points |
Wool or wool-blend yarn is ideal for winter shoes because it traps heat naturally, while chunky weight yarn means your shoes work up quickly.
Basic Stitches Used in This Pattern
| Abbreviation | Stitch Name |
|---|---|
| ch | Chain |
| sl st | Slip Stitch |
| sc | Single Crochet |
| hdc | Half Double Crochet |
| dc | Double Crochet |
Keep your stitches snug rather than loose — winter shoes need to hold their shape and provide structure, unlike a soft, drapey scarf or blanket.
Taking Measurements for the Perfect Fit
Before starting, measure the length of your foot from heel to toe, and note your usual shoe size for reference.
| Foot Length | Approximate Starting Chain |
|---|---|
| 8.5 in (Kids) | Ch 10 |
| 9.5 in (Women’s Small) | Ch 12 |
| 10.5 in (Women’s Medium/Men’s Small) | Ch 14 |
| 11.5 in (Men’s Medium/Large) | Ch 16 |
These numbers are a helpful starting guide — always try the sole on as you go to confirm the fit before continuing.
Easy Crochet Winter Shoes Pattern – Step-by-Step
Crocheting the Sole
- Ch according to your foot length from the table above.
- Round 1: Work sc around the chain, adding 3 sc into the last stitch to turn the corner, then continue down the other side, join with sl st.
- Round 2: 2 sc in each st around the rounded ends, sc evenly along the straight sides, join.
Building the Sides and Toe Box
- Round 3 onward: Work sc in each st around, without increasing, to build the height of the shoe.
- Continue for 6–8 rounds, checking fit periodically over your foot.
Shaping the Heel and Ankle Opening
- At the ankle, work 1–2 rounds of hdc to create a slightly looser, stretchier opening.
- Fasten off, leaving a long tail for seaming or a drawstring tie if desired.
Adding Cuffs or Trim for Extra Warmth
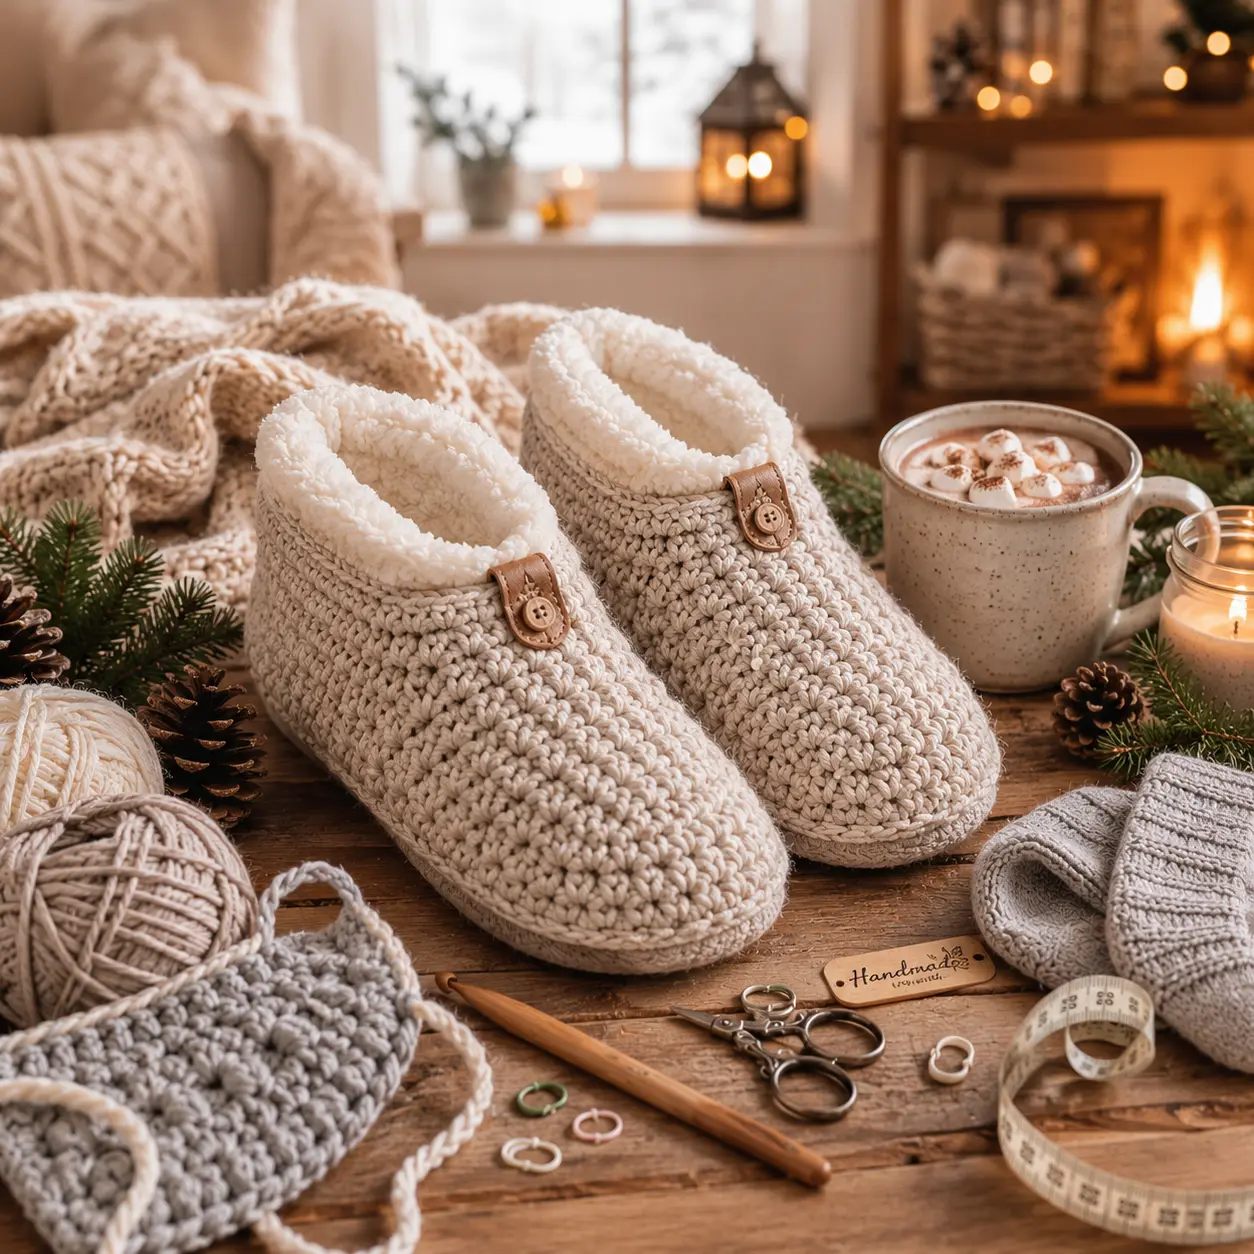
- Attach a contrasting yarn at the ankle opening and work 2–3 rounds of dc for a folded-over cuff.
- Weave in all ends securely.
Finishing Touches for Comfort and Durability
- Glue or sew a non-slip sole fabric to the bottom for indoor/outdoor wear.
- Add a fleece lining inside for extra softness against the skin.
- Lightly steam or block the shoes to even out any uneven stitches.
- Sew on buttons, ties, or elastic thread around the ankle for a more secure, custom fit.
Customization Ideas
| Style | Best For |
|---|---|
| Classic House Slipper | Everyday indoor warmth |
| Ankle Boot Style | Light outdoor wear |
| Kids’ Sizes | Playful colors, smaller chain counts |
| Gift Pairs | Matching family sets in coordinating colors |
Add pom-poms, faux fur cuffs, contrasting stripes, or simple embroidered details to make each pair unique.
Common Mistakes to Avoid When Crocheting Winter Shoes
- Using thin yarn that doesn’t provide enough warmth or structure.
- Skipping fit checks, resulting in shoes that are too tight or too loose.
- Crocheting too loosely, which leaves the sole and sides unstable.
- Ignoring gauge, which can throw off sizing significantly between projects.
Creative Ways to Wear and Gift Your Crochet Winter Shoes
- Cozy house slippers for chilly mornings
- A thoughtful, handmade holiday gift
- Matching sets for the whole family
- Layered over wool socks for extra outdoor warmth
FAQ – Easy Crochet Winter Shoes Pattern for Beginners
What yarn is best for crochet winter shoes?
Chunky or bulky weight wool or wool-blend yarn works best, since it provides both warmth and enough structure to hold the shoe’s shape.
How long does it take to crochet a pair of winter shoes?
Most beginners can finish a pair of easy crochet winter shoes in 3–5 hours, making them a great weekend project.
Can this crochet winter shoes pattern be resized for kids or men?
Yes — simply adjust the starting chain length based on foot measurement, following the sizing table in this pattern.
Do crochet winter shoes need a non-slip sole?
It’s not required for indoor use, but adding a non-slip sole fabric is recommended if you plan to wear them outside or on smooth flooring.
Is this pattern suitable for absolute beginners?
Yes — this easy crochet winter shoes pattern for beginners uses only basic stitches: chain, slip stitch, single crochet, half double crochet, and double crochet.
Conclusion
There’s a special kind of warmth that comes from shoes you made yourself — cozy, personal, and perfectly fitted to you. This easy crochet winter shoes pattern for beginners walks you through every step, from measuring your foot to adding the finishing cuff, so you can enjoy handmade comfort all winter long.
Now it’s your turn: pick out your favorite chunky yarn, grab your hook, and start with the sole. Once your pair is finished, save this pattern for next winter, and share a photo of your cozy new shoes — there’s nothing quite like seeing your first handmade pair come to life.