FREE Crochet Table Runner Pattern: Simple Elegance for Any Table
The tutorial video is at the bottom of the article.👇
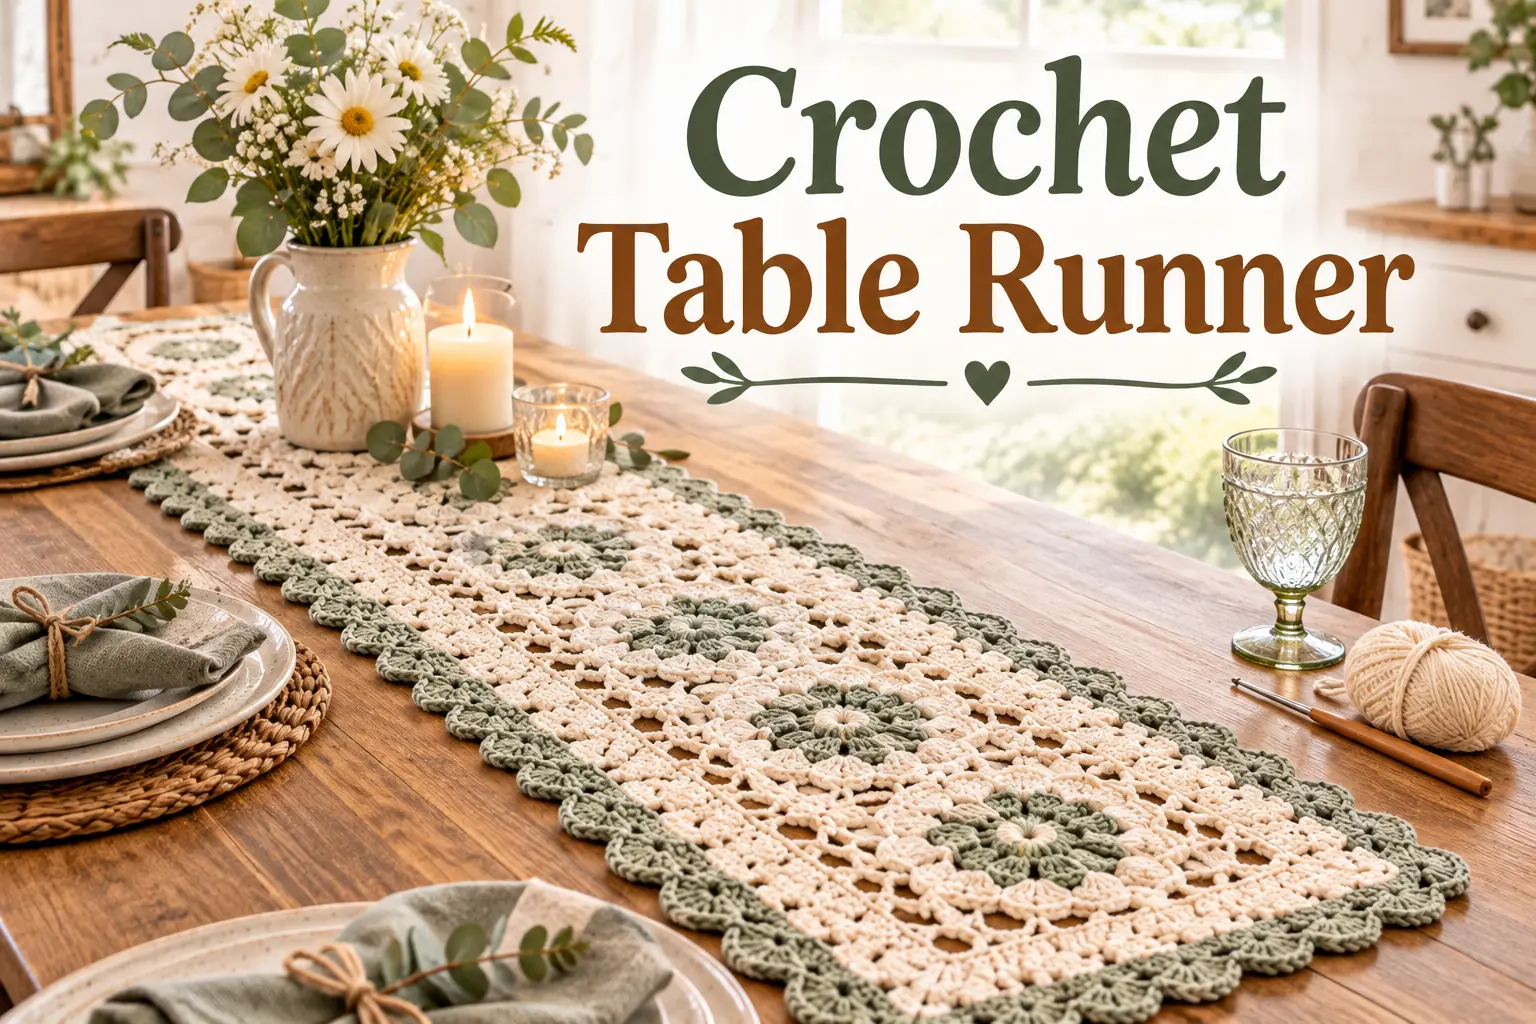
A handmade table runner has a way of turning an ordinary weeknight dinner into something that feels a little more intentional. Maybe you’ve admired the lacy, intricate table runners you’ve seen online and assumed they required years of advanced crochet experience. Here’s the reassuring truth: this free crochet table runner pattern relies on simple, repeating stitches worked in straight rows — no complicated lace charts or advanced shaping involved. By the end of this guide, you’ll have a beautiful, functional piece ready for your own table or as a thoughtful handmade gift.
Why This Free Crochet Table Runner Pattern Is Beginner-Friendly
Home decor crochet has a reputation for being intricate, but this pattern keeps things approachable from start to finish:
- Straight rows only. There’s no shaping or increasing to worry about — you simply work back and forth until you reach your desired length.
- Easy to memorize. The stitch pattern repeats consistently, so after your first few rows, you’ll be crocheting almost on autopilot.
- Fully customizable length. Because it’s worked in simple rows, adjusting the runner to fit your specific table takes no pattern rewriting at all.
- A genuinely useful piece. Unlike purely decorative motifs, a table runner gets used at nearly every meal, making the effort feel especially worthwhile.
Because the stitch pattern is so repetitive, this project is also an excellent way to practice keeping consistent tension across a long, flat piece — a skill that will serve you well in future blanket or garment projects.
Materials You’ll Need
Gather these supplies before you begin so you can work through the pattern without interruption.
| Item | Recommended Type | Notes |
|---|---|---|
| Yarn | DK or worsted weight cotton | Cotton holds its shape and drapes nicely across a table surface |
| Hook | 4mm–5mm (US G/6–H/8) | Adjust based on your yarn weight and how much drape you’d like |
| Notions | Yarn needle, scissors, measuring tape | For finishing touches and checking your length as you go |
| Optional | Contrasting border yarn, tassels | For a decorative, personalized edge finish |
Essential Stitches for This Table Runner
This pattern uses just a handful of stitches, making it accessible even if you’ve only made simple projects before.
Chain Stitch (ch)
Your foundation row, setting the overall width of your runner.
Single Crochet (sc)
Often used for the border rounds, creating a dense, clean edge.
Double Crochet (dc)
The main stitch used to build up the body of the runner quickly.
Simple Shell or Cluster Stitch
An optional textured stitch pattern that adds visual interest without requiring any advanced technique — just a repeated grouping of stitches worked into the same space.
Table Runner Size Guide
Choose your dimensions based on your table size, remembering that a runner typically hangs a few inches over each end.
| Table Size | Runner Length | Runner Width |
|---|---|---|
| Small (4-seat) | 36 in / 91 cm | 12–14 in / 30–36 cm |
| Medium (6-seat) | 54 in / 137 cm | 14–16 in / 36–41 cm |
| Large (8-seat) | 72 in / 183 cm | 16–18 in / 41–46 cm |
Step-by-Step Free Crochet Table Runner Pattern
Step 1 — Chain Your Foundation Row
Chain to your desired width from the sizing table above, adding a few extra stitches as needed depending on your chosen stitch pattern’s multiple.
Step 2 — Work the Main Stitch Pattern
Work your first row using double crochet (or your chosen shell/cluster stitch) across the full width, turning at the end of each row as you normally would.
Step 3 — Repeat Rows to Your Desired Length
- Continue repeating your chosen stitch pattern row after row.
- Measure your progress periodically against the length guide.
- Stop once you’ve reached your desired finished length.
Step 4 — Add a Border
Work one or two rounds of single crochet around the entire outer edge for a clean, finished look, switching to a contrasting color here if you’d like extra visual interest.
Step 5 — Block and Finish
Weave in all loose ends, then block the finished runner by lightly steaming or wet-blocking it to help it lie completely flat on your table.
Tips for a Flat, Even Table Runner
- Keep your tension consistent across every row — a long, flat piece shows tension inconsistencies more clearly than a smaller project would.
- Count your stitches at the end of each row to catch any accidental increases or decreases early.
- Always block your finished piece; this single step makes a noticeable difference in how flat and polished the runner looks on your table.
- Choose a firm, structured cotton yarn rather than a very soft or stretchy fiber, which can cause the runner to sag or stretch unevenly over time.
Common Beginner Mistakes to Avoid
- Drifting stitch count over long rows. Double-check your count periodically to avoid a runner that gradually widens or narrows.
- Skipping blocking. Unblocked crochet pieces often curl at the edges; blocking corrects this and improves overall drape.
- Using too soft a yarn. A structured cotton yarn holds its shape on a table far better than a very soft or drapey fiber.
- Uneven border tension. Keep your border stitches consistent in height and spacing for a clean, professional-looking edge.
Styling and Customization Ideas
- Change your color palette seasonally — pastels for spring, deep tones for autumn, classic red and green for the holidays.
- Add a contrasting border stripe in a complementary color for extra visual interest.
- Attach a simple fringe or tassel detail along each short end for a boho-inspired finish.
- Make a matching set of coasters or placemats using the same stitch pattern for a cohesive table setting.
Conclusion
This free crochet table runner pattern proves that elegant home decor doesn’t have to come from complicated lacework or advanced techniques. With just a few basic stitches worked in simple, repeating rows, you can create a genuinely beautiful, functional piece that elevates your table for everyday meals or special occasions alike. Try it in a few different colorways to match different seasons, and don’t be surprised if you end up making a whole set for your home. Share a photo of your finished table runner with your favorite crochet community and see how others have styled theirs.
FAQ
What yarn is best for a free crochet table runner pattern?
DK or worsted weight cotton works best, since it holds its shape well and drapes nicely across a table surface without excessive stretch.
How long does it take to crochet a table runner?
Most beginners complete a medium-length table runner over a few evenings, depending on the chosen stitch pattern and overall length.
How do I keep a crochet table runner from curling?
Blocking the finished piece — either by steaming lightly or wet-blocking — is the most effective way to flatten curling edges and improve the overall drape.
Can I adjust the length of this free crochet table runner pattern?
Yes. Because the runner is worked in simple straight rows, you can easily add or remove rows to fit any table length without altering the rest of the pattern.