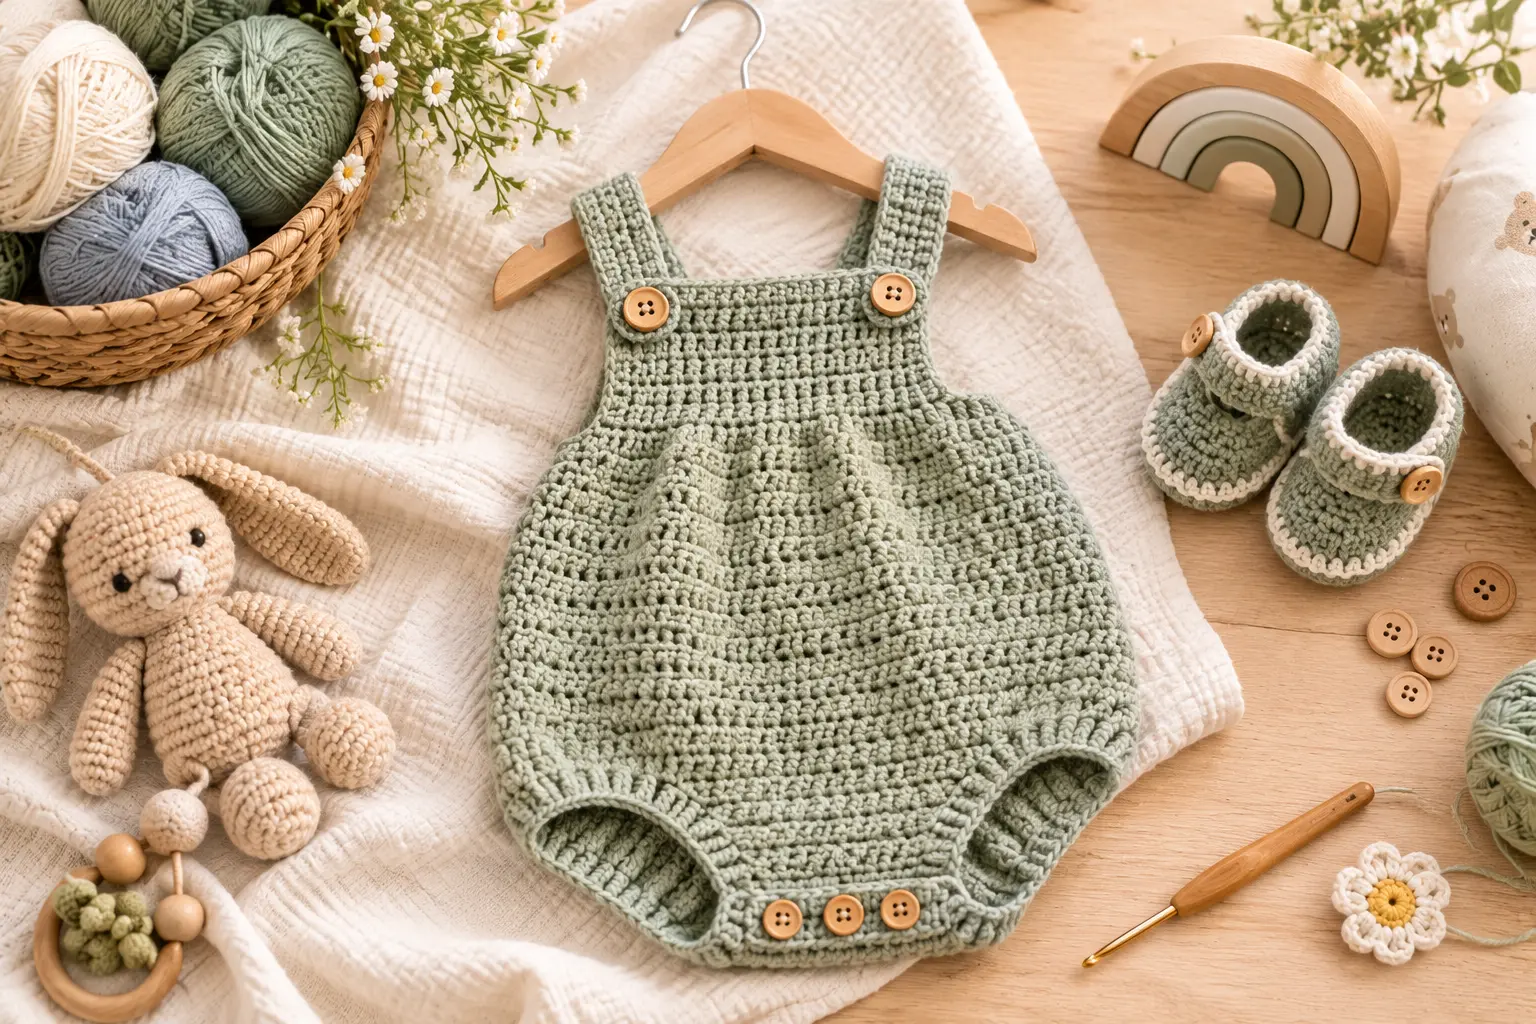
FREE Crochet Baby Romper Pattern | The Meadowlark Romper (Bottom-Up Construction)
While many baby rompers start at the bodice and work downward, the Meadowlark Romper takes the opposite approach, building from the legs upward to the shoulders. This bottom-up method lets you establish the leg openings first, which many crocheters find more intuitive for getting a comfortable, well-fitted crotch and leg shape before tackling the bodice.
This free pattern walks you through the entire process, from your first leg to the finished shoulder closure.
Why Bottom-Up Construction Offers a Different Building Experience
Starting at the legs means the trickiest fitting area, the crotch and leg openings, gets established early, while your yarn and stitch count are still fresh in your mind. From there, the piece grows upward and merges into a single bodice, finishing with a snap or button closure at the shoulder for easy diaper changes.
What makes this construction approach worth trying:
- Establishes leg fit early, rather than shaping it in at the very end
- Merges two separate leg pieces into one bodice partway through
- Shoulder closure instead of a side or back closure for simple access
- A genuinely different building order than a typical top-down romper
What You’ll Need: Materials Table
Gather your supplies before starting so you can move through both legs and the merged bodice without interruption.
| Item | Recommended Type | Approximate Amount |
|---|---|---|
| Yarn | DK weight cotton or cotton blend | 150-200g |
| Crochet hook | 3.5mm-4mm (US E/4-G/6) | 1 |
| Yarn needle | Blunt tip | 1 |
| Snap fasteners or buttons | Small, flat | 2-3 |
| Stitch markers | For tracking rounds | 2-4 |
| Scissors | Small, sharp | 1 |
Soft cotton yarn is ideal for newborn garments, since it’s breathable, gentle against delicate skin, and easy to wash after regular spit-up duty.
Sizing Guide
This pattern is written for newborn size but can be adjusted for slightly older babies by adding extra rounds to the legs and bodice.
| Size | Chest (approx.) | Body Length (approx.) |
|---|---|---|
| Newborn | 16 inches | 10 inches |
| 0-3 months | 17 inches | 11 inches |
| 3-6 months | 18 inches | 12.5 inches |
Always crochet a small gauge swatch first, especially for newborn sizing, since even a slight tension difference can change the fit noticeably at this scale.
Step-by-Step: How to Crochet the Meadowlark Romper
Step 1: Crochet the First Leg
- Chain to match half the desired leg opening circumference and join into a round.
- Work single crochet rounds evenly, without increasing, up to your desired leg length.
- Fasten off, leaving a long tail, and set this leg aside.
- This leg establishes your base stitch count for the entire romper.
Step 2: Crochet the Second Leg
- Repeat the exact same process to create a matching second leg
- Keep your stitch count and round count identical to the first leg for a symmetrical fit
- Do not fasten off after the second leg, since you’ll continue directly into the bodice
Step 3: Merge the Legs into the Bodice
- With your working yarn still attached to the second leg, work across the stitches of that leg.
- Continue directly into the stitches of the first leg, effectively joining both legs into one larger round.
- Add a few chain stitches at each side seam point to bridge any gaps and provide room for movement.
- Place stitch markers at these bridge points to track your round starts going forward.
Step 4: Crochet the Bodice
- Work even rounds upward from the merged leg point, without further increasing
- Continue until you reach the underarm depth, checking against your sizing chart
- Divide for the armholes by skipping stitches evenly on both sides
- Continue the front and back panels separately up to the shoulder line
Step 5: Add the Shoulder Closure
- Instead of joining both shoulders permanently, leave one or both shoulder seams open.
- Work a small flap or tab at each open shoulder point for attaching your closure.
- Sew snap fasteners or small buttons to secure the shoulders while still allowing easy on-and-off access.
- Weave in all loose ends securely.
Tips for a Clean, Comfortable Finish
- Keep your two legs identical in stitch and round count for a symmetrical, comfortable fit
- Test the merge point against a similar-sized garment before continuing upward, to confirm room for movement
- Choose snaps over buttons if you want a faster, fumble-free closure for frequent diaper changes
- Block gently with steam to help the bodice and legs lie flat and even
Common Mistakes to Avoid
- Mismatched leg stitch counts — creates an uneven, asymmetrical fit between the two legs
- Skipping the bridge chains at the merge point — can leave the romper too tight through the crotch area
- Rushing the shoulder closure — a loose or poorly placed closure is one of the most noticeable finishing details
- Ignoring the gauge swatch — newborn sizes are especially sensitive to small tension differences
Frequently Asked Questions
How is bottom-up construction different from a typical baby romper pattern? Bottom-up construction starts with each leg worked separately, then merges them into one bodice, rather than starting at the shoulders and working downward as many romper patterns do.
What yarn is best for the Meadowlark Romper? A soft DK weight cotton or cotton blend works best, since it’s breathable and gentle on newborn skin while still holding its shape well.
Should I use snaps or buttons for the shoulder closure? Snaps offer faster, fumble-free access for frequent diaper changes, while buttons give a slightly more classic, decorative look. Either works well with this construction.
How much yarn do I need for this bottom-up romper? Most newborn to 3-month sizes use about 150 to 200 grams of yarn, depending on your tension and stitch choice.
Can I adjust this pattern for an older baby? Yes — simply add extra rounds to both legs and the bodice, checking your measurements against a size chart for the age you’re making.
Conclusion
The Meadowlark Romper offers a genuinely different building experience from a typical top-down romper, establishing the trickiest fit points first before merging into one cohesive bodice. With the materials list, sizing chart, and step-by-step instructions above, you have everything you need to crochet a onesie using this bottom-up approach.
Grab your cotton yarn, start your first leg today, and work your way upward toward that shoulder closure. Once your romper is finished, share it with your crochet community — a bottom-up build like this one is a great new technique to add to your skills.