Easy Summer Crochet Bag Pattern
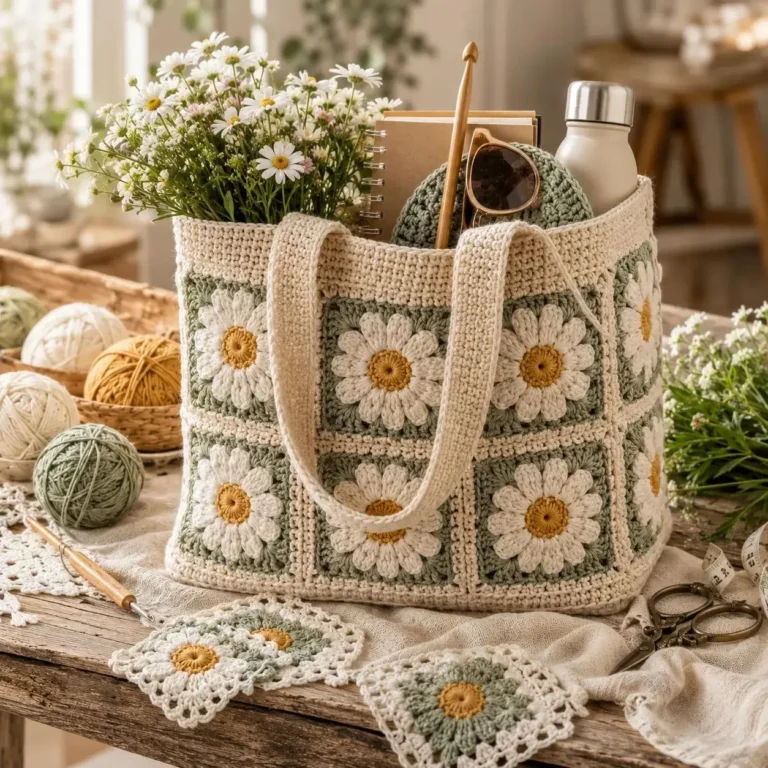
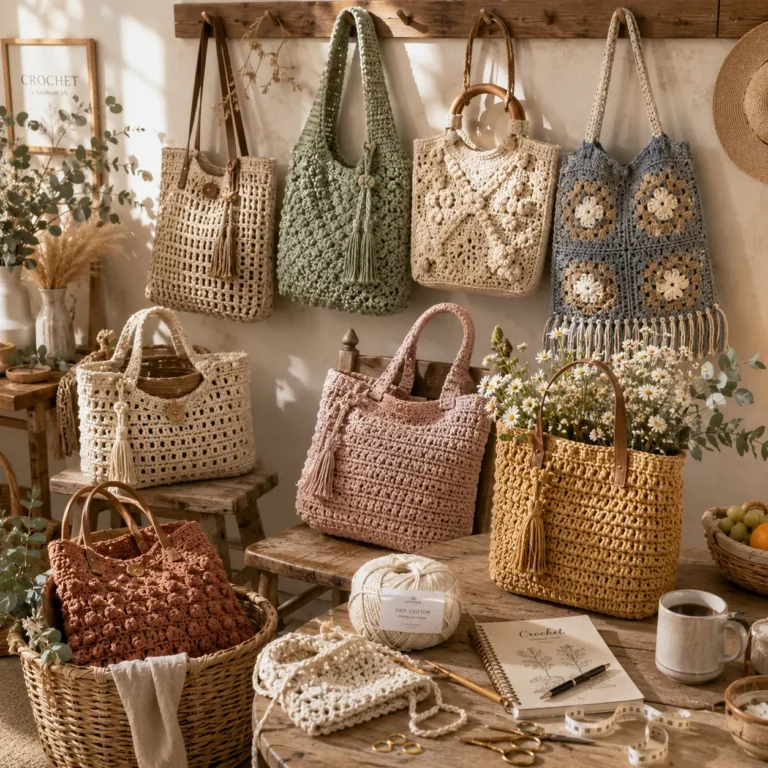
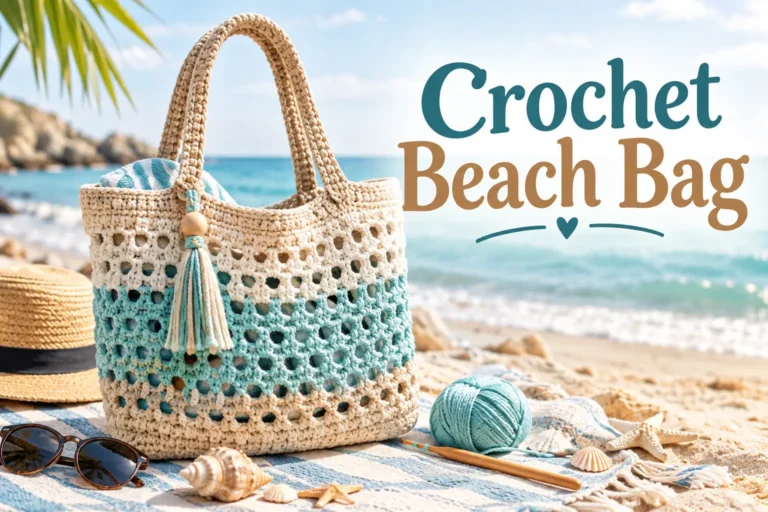
Are you looking for the perfect handmade accessory to elevate your sunny day outfits? This easy summer crochet bag pattern is designed for makers of all skill levels who want a stylish, functional piece. Whether you are heading to the beach or a local market, this project offers a chic way to carry your essentials.

Our guide provides clear, step-by-step instructions to ensure you complete your project with total confidence. We break down the process from selecting the right yarn to attaching durable handles for a professional finish. You will find helpful tips that make this crochet bag pattern accessible and fun to create.
Get ready to transform simple materials into a beautiful summer crochet bag that reflects your personal style. Let’s dive into the supplies you need to get started on this rewarding craft journey.
Key Takeaways
- Learn how to select the best materials for a durable, lightweight accessory.
- Follow beginner-friendly steps to master basic stitches with ease.
- Discover professional techniques for attaching sturdy handles securely.
- Gain confidence in finishing your project with a polished, high-end look.
- Create a versatile handmade item perfect for warm weather outings.
Supplies and Finished Bag Details
Every great handmade accessory begins with a thoughtful selection of yarn and reliable tools. Preparing your workspace with the right items ensures that your crafting time remains productive and stress-free.
Yarn, Hook, and Notions
Choosing a Lightweight Summer Yarn
For a beginner crochet bag, selecting the right fiber is essential for achieving that breezy, seasonal look. Opting for lightweight yarn crochet techniques works best with cotton or linen blends, as these fibers offer excellent breathability and durability.
These natural materials hold their shape well even when the bag is filled with daily essentials. Avoid heavy wools, which can make the finished piece feel too warm or bulky for sunny weather.
Your choice of hook significantly impacts the final texture of your fabric. A smooth, ergonomic hook helps maintain consistent tension, which is vital for beginners learning to control their stitches.
Always check the yarn label for the recommended hook size, but feel free to go down half a size if you prefer a tighter, more structured weave. Using the right tool prevents hand fatigue during longer sessions.
Expected Size, Shape, and Skill Level
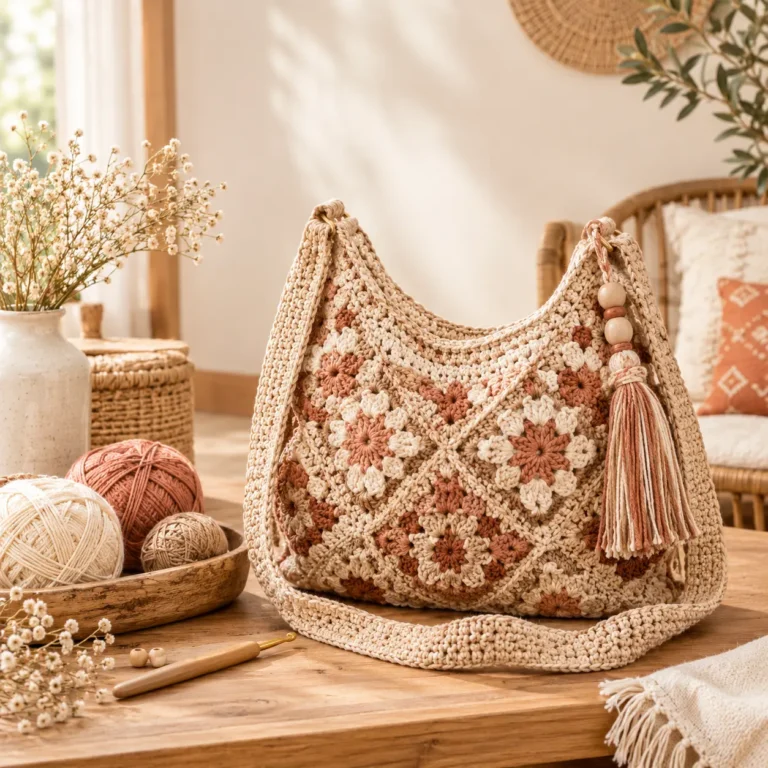
This project is designed to be an approachable beginner crochet bag that yields professional results. The finished piece features a classic oval silhouette, providing a spacious interior while maintaining a stylish, compact appearance.
Regarding the crochet bag size, you can expect a finished product that measures approximately 12 inches wide by 10 inches deep. This dimension is perfect for carrying a wallet, phone, and a light book for a day at the park.
Helpful Tools for Consistent Results
Having the right notions on hand will streamline your process and help you achieve a polished finish. The following table outlines the essential items you should keep in your project bag.
| Tool Name | Primary Purpose | Benefit for Beginners |
|---|---|---|
| Stitch Markers | Marking round starts | Prevents losing your place |
| Measuring Tape | Checking dimensions | Ensures accurate sizing |
| Yarn Needle | Weaving in ends | Creates a clean, secure finish |
| Small Scissors | Trimming yarn | Provides precise cuts |
Preparing to Crochet the Summer Crochet Bag
Success with your handmade accessory begins long before the first stitch is completed. Taking a moment to organize your materials and understand the technical requirements will save you time and frustration later. By following these foundational steps, you ensure your project remains consistent and professional.
Understanding the Pattern Abbreviations
Most patterns use a shorthand language to describe specific movements. Familiarizing yourself with these terms allows you to work through the instructions without constant pauses. Common abbreviations you will encounter include:
- ch: Chain stitch
- sc: Single crochet
- sl st: Slip stitch
- st(s): Stitch(es)
- rnd: Round
Checking Gauge Before Starting
Your crochet gauge is the most critical factor in determining the final size of your bag. If your stitches are too loose, the bag may stretch out of shape when filled with items. Conversely, a tight gauge can make the fabric stiff and difficult to work with.
Always create a small test swatch to verify your tension against the pattern requirements. This simple step confirms that your hook size and yarn weight are working in harmony to produce the desired density. Consistency is the key to a high-quality finished product.
Making and Measuring the Foundation Chain
The foundation chain crochet process serves as the structural spine of your bag. You must measure this chain accurately to ensure the base matches the intended dimensions. Use a soft measuring tape to check the length while the chain is resting flat on a table.
Keeping the Chain From Twisting
A common challenge for beginners is preventing the chain from rotating before joining it into a circle. To keep your work straight, lay the chain flat on a surface and ensure all the “V” shapes are facing the same direction. Carefully bring the ends together without flipping the strand to maintain a clean, professional start.
Planning the Bag’s Front, Back, and Side Edges
Visualizing the layout of your bag helps you maintain symmetry as you build the walls. The front and back panels typically require the same number of stitches, while the side edges provide the necessary depth. Marking these sections with stitch markers will help you stay on track during the foundation chain crochet phase. Proper planning ensures that your final crochet gauge remains uniform across all sides of the bag.
Creating the Bag Base and Body
The transition from a simple chain to a sturdy oval crochet bag base defines the structure of your accessory. Following this crochet bag tutorial, you will learn how to work around your foundation to create a solid, flat floor for your project.
Working the First Round Around the Foundation Chain
To begin, you will work stitches into the back bumps of your foundation chain. You must crochet down one side of the chain, work several stitches into the final loop to turn the corner, and then continue back along the opposite side.
This technique creates a seamless loop that forms the perimeter of your base. Ensure you maintain a consistent stitch count on both sides to keep the shape symmetrical.

Building the Flat Oval Base
As you work your rounds, you will need to increase at the ends of the oval to keep the fabric flat. Without these extra stitches, the base will begin to curl upward like a bowl too early.
Placing Stitch Markers at the Bag Ends
Use stitch markers to identify the specific turning points at each end of the oval. These markers help you track exactly where your increases belong, ensuring your oval crochet bag base remains perfectly flat as it grows.
Continuing the Sides Without Increasing
Once your base reaches the desired width, you will stop adding increases. At this point, you simply work one stitch into every stitch from the previous round to build the walls of your crochet tote bag.
This transition marks the shift from the flat base to the vertical body. You will notice the fabric naturally beginning to curve upward, forming the shape of your bag.
Maintaining Even Tension Along the Walls
Consistent tension is the secret to a professional-looking crochet tote bag. If your tension fluctuates, the walls of your bag may appear wavy or uneven, which can affect the overall durability of the finished piece.
Correcting Loose, Tight, or Uneven Stitches
If you notice loose stitches, try using a slightly smaller hook or tightening your yarn hold. Conversely, if your work feels too tight, consciously relax your grip on the yarn to allow the stitches to open up.
Regularly checking your work against a flat surface helps you spot inconsistencies early. Taking a moment to adjust your tension now ensures your handmade accessory remains balanced and upright.
Adding Texture and Shaping to the Bag
Adding texture is the secret to elevating a simple project into a professional-looking accessory. Once your base is secure, you can focus on building the walls of your bag with style and precision.
Choosing a Simple Stitch Pattern for a Breezy Fabric
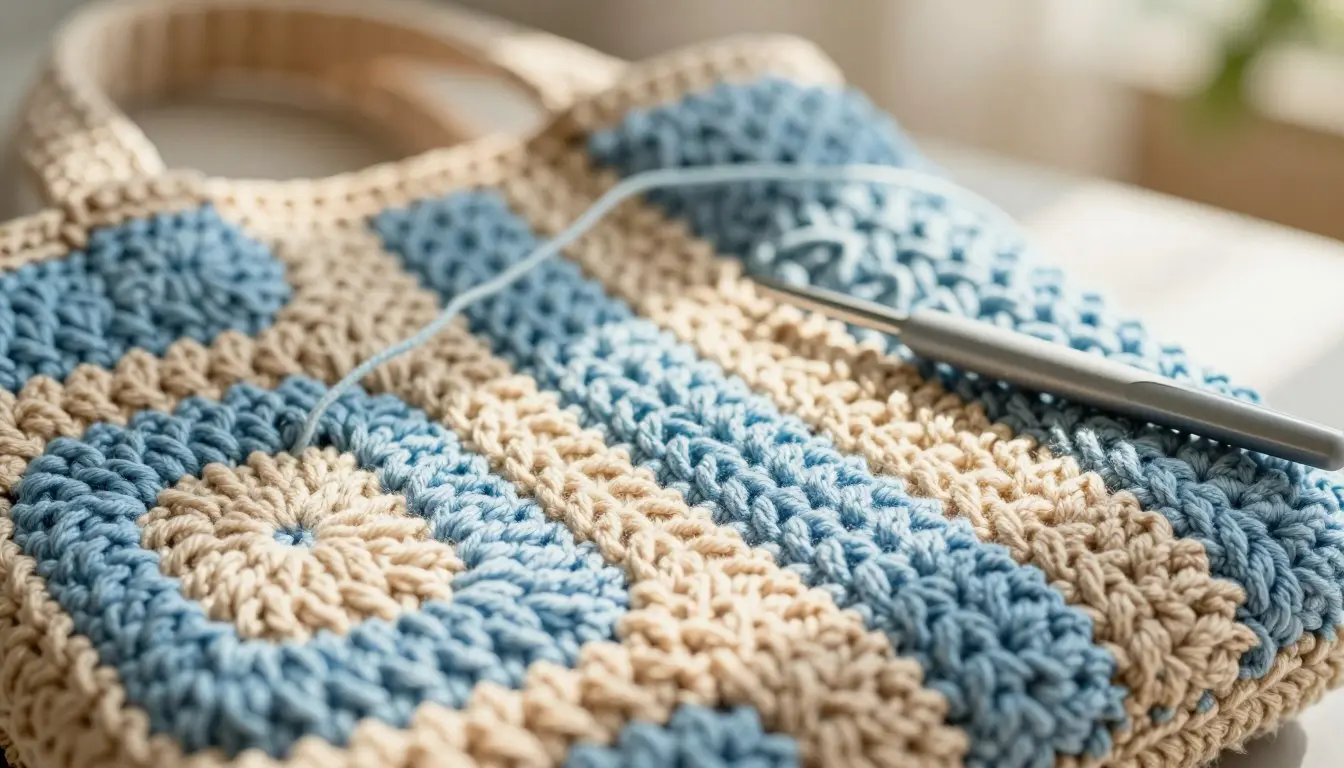
For a lightweight summer accessory, the Moss Stitch is an excellent choice. This crochet stitch pattern creates a beautiful, woven appearance that remains airy and flexible. It is perfect for beginners because it relies on simple single crochet stitches and chain spaces.
Repeating the Texture Across Each Round
To maintain a consistent look, ensure you work your stitches into the chain spaces of the previous round. This creates a rhythmic flow that makes this crochet bag tutorial easy to follow. Keep your tension steady to ensure the fabric does not pucker or pull.
Aligning Stitch Motifs at the Side Seams
If you notice your pattern shifting, take a moment to count your stitches at the side seams. Aligning your motifs ensures the bag maintains a symmetrical shape. Use a stitch marker to keep track of your starting point in every round.
Adjusting the Bag Height for Different Uses
You can easily customize the size of your bag by adding or subtracting rounds. A shorter bag works well for daily errands, while a taller design is ideal for a beach bag crochet project. Refer to the table below to help you decide on the right dimensions for your needs.
| Bag Type | Recommended Rounds | Primary Use |
|---|---|---|
| Compact Tote | 15-20 Rounds | Everyday Essentials |
| Market Bag | 25-30 Rounds | Grocery Shopping |
| Large Beach Bag | 35-45 Rounds | Towels and Gear |
Forming a Neat Top Edge
A clean top edge provides a professional finish to your beach bag crochet. Work a final round of slip stitches or single crochet to firm up the opening. This step creates a stable foundation for attaching your handles later.
Preventing the Opening From Stretching
To keep the bag from sagging, consider working the final round with a hook one size smaller than the one used for the body. This tightens the stitches and adds extra durability to the rim. Consistency is key when reinforcing the top edge of your work.
Ending the Final Round Cleanly
Finish your last round with an invisible join to hide the transition between the start and end of the row. Cut your yarn, leaving a long tail for weaving in later. Your bag is now shaped and ready for the final assembly steps.
Making and Attaching the Crochet Handles
The final step in creating your handmade summer bag involves crafting durable handles that balance style with function. Proper construction ensures your accessory remains comfortable while carrying your daily essentials.
Determining a Comfortable Handle Length
To find the ideal length, hold a measuring tape in the position you intend to carry the bag. A standard hand-carry handle usually measures about 12 to 14 inches, while shoulder straps often require 20 to 24 inches.
Avoid making them unnecessarily long, as the weight of your items will cause the yarn to stretch. Always measure twice to ensure the proportions match your personal style.
Crocheting Sturdy Handles That Resist Stretching
Using a smaller hook size than the one used for the bag body helps create a denser fabric. This simple adjustment prevents the handles from losing their shape after repeated use.
Reinforcing Handles With Tighter Stitches
You can further stabilize your crochet bag handles by working in a tight single crochet stitch or by adding a hidden strip of cotton webbing inside. This internal support acts as a skeleton, keeping the yarn from pulling apart under pressure.
“A well-constructed handle is the secret to a bag that lasts through many seasons of use.”
Positioning the Handles Evenly
Before sewing, lay your bag flat on a table to mark the attachment points with stitch markers. Ensure the distance from the side seams is identical on both the front and back panels.
| Handle Type | Recommended Length | Best Stitch |
|---|---|---|
| Hand Carry | 12-14 inches | Single Crochet |
| Shoulder Strap | 20-24 inches | Reinforced Ribbing |
| Crossbody | 35-40 inches | Double-Stranded |
Securing the Handles to the Bag
Attaching the handles requires a secure method that distributes weight across the top edge of the bag. Use a tapestry needle and a matching yarn tail to create a firm bond.
Using Strong Seams at High-Stress Points
Focus on creating a strong seam by stitching through multiple loops of the bag’s top edge. A whip stitch or a backstitch provides the most durability for a handmade summer bag that will carry heavy items.
Testing the Handle Attachment Before Finishing
Before you weave in your ends, perform a gentle load test by placing a few heavy items inside. Lift the bag to check for any uneven stretching or weak points in the crochet bag handles.
If the handles feel secure and balanced, you are ready to finish your project. This final check guarantees your hard work will withstand the rigors of daily summer adventures.
Finishing, Lining, and Styling the Handmade Bag
Transforming your crochet project into a functional accessory requires a few essential crochet bag finishing steps. These final touches ensure your work looks professional and holds its shape during daily use.
Weaving in Ends and Blocking the Bag
Start by securing all loose yarn tails on the inside of your bag using a tapestry needle. Weaving these ends back and forth through the stitches prevents them from unraveling over time.
Next, perform crochet bag blocking to refine the silhouette of your piece. Lightly mist the fabric with water and pin it into the desired shape on a foam mat until it dries completely. This process helps even out the stitches and gives your bag a crisp, polished appearance.
Adding a Fabric Lining or Crochet Interior
A crochet bag lining is a practical addition that prevents small items from slipping through the gaps in your stitches. You can sew a simple cotton fabric liner to the interior or create a dense crochet panel to serve as a protective layer.
Including a Snap, Zipper, or Interior Pocket
To keep your belongings secure, consider installing a magnetic snap or a sturdy zipper at the top opening. Adding a small interior pocket is also a wonderful way to organize your keys or phone while maintaining the lightweight summer design of your bag.
Checking the Bag for Gaps and Loose Seams
Before you head out, inspect the entire bag for any unintended gaps or loose seams. If you find an area that feels weak, reinforce it with a matching thread or yarn to ensure the structure remains sturdy under the weight of your essentials.
Styling the Finished Bag for Summer Outfits
Your handmade accessory is now ready to complement your favorite seasonal wardrobe. The natural texture of the yarn adds a touch of handmade charm to any ensemble.
Pairing the Bag With Casual and Beachwear Looks
For a relaxed day at the beach, pair your bag with a breezy linen dress or a simple swimsuit cover-up. It also works beautifully with denim shorts and a white tank top for a classic, effortless summer aesthetic.
Cleaning and Storing the Finished Crochet Bag
Proper crochet bag care is vital for maintaining the longevity of your accessory. If the bag becomes soiled, gently hand wash it in cool water with a mild detergent and lay it flat to dry.
When you are not using your bag, store it in a cool, dry place away from direct sunlight to prevent the yarn from fading. Keeping it stuffed with tissue paper will help it maintain its shape until your next summer outing.
Conclusion
Creating a handmade accessory brings a unique touch to your warm-weather wardrobe. This Summer Crochet Bag project guides you through every step, from building a sturdy foundation to attaching durable handles.
You now possess the skills to master this crochet bag pattern with confidence. Each stitch contributes to a functional piece that reflects your personal style and creative vision.
Feel free to experiment with different yarn weights or vibrant colors to make your project stand out. Adjusting the height or adding a custom lining allows you to tailor this summer crochet bag pattern to your specific needs.
Your finished Summer Crochet Bag serves as a reliable companion for beach trips or casual outings. Share your progress with fellow makers to inspire others in the crafting community.
Building your own accessories remains a rewarding way to spend your time. Start your next project today and enjoy the process of creating something beautiful by hand.
FAQ
What is the best type of yarn for this Summer Crochet Bag pattern?
For a stylish handmade accessory that remains functional in the heat, it is best to use a lightweight summer yarn such as Lion Brand 24/7 Cotton or Lily Sugar ‘n Cream. These cotton-based yarns create a breathable fabric and provide the necessary durability for an oval silhouette without losing shape.
Why is it important to check the gauge before starting the foundation chain?
Checking the crochet gauge ensures that your handmade accessory matches the intended dimensions. If your tension is too loose, the breezy fabric may become too floppy; if it is too tight, the bag may be smaller than expected. Proper gauge is essential for accurate handle placement and overall fabric density.
How can I prevent the foundation chain from twisting when starting the base?
When working the foundation chain crochet, ensure the stitches are facing upward before joining or working into the back loops. Using clear instructions and beginner-friendly tips, you should work the first round carefully around both sides of the chain to establish a solid flat oval base.
What tools are needed to maintain consistent results throughout the project?
Beyond a Clover Amour crochet hook, you should use stitch markers to identify the turning points and side seams. A measuring tape is necessary for checking the bag height, and a yarn needle is required to weave in ends for a professional finish.
How can I make sure the crochet handles do not stretch over time?
To create sturdy handles that resist stretching, you can use reinforced rows and tighter stitches. It is also helpful to perform a gentle load test before finalizing the strong seams at the high-stress points where the handles meet the top edge of the bag.
Can I customize the size of this bag to be a beach bag?
Yes, this summer crochet bag pattern is highly adaptable. You can increase the foundation chain length or add more rounds to the walls to transform the design into a larger beach bag crochet project suitable for carrying towels and sunscreen.
Should I add a lining to my handmade crochet bag?
Adding a fabric lining or an interior crochet panel is highly recommended to prevent small items from falling through the breezy fabric. You can also sew in a snap, zipper, or an interior pocket to keep your belongings secure while styling the finished bag for summer outings.
What is the best way to clean and store a finished crochet bag?
To maintain the handmade accessory, follow specific crochet bag care instructions: hand wash with a mild detergent like Eucalan, reshape the bag through crochet bag blocking, and lay it flat to dry. Store it in a cool, dry place to prevent the lightweight summer yarn from stretching or fading.