DIY Crochet Kids Dress | FREE Handmade Dress Pattern
The tutorial video is at the bottom of the article.👇
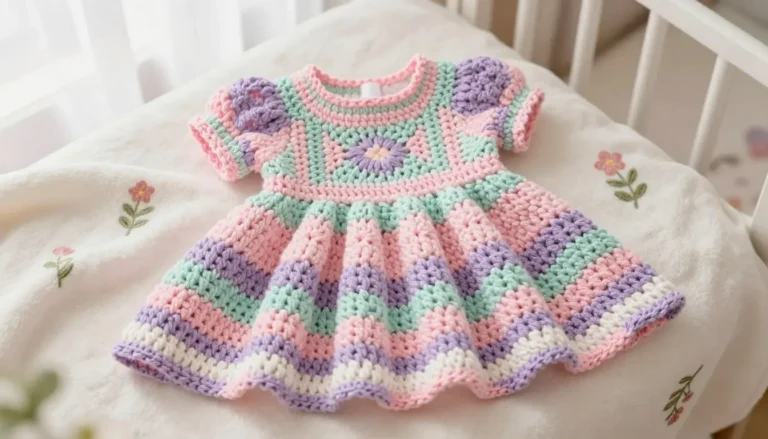
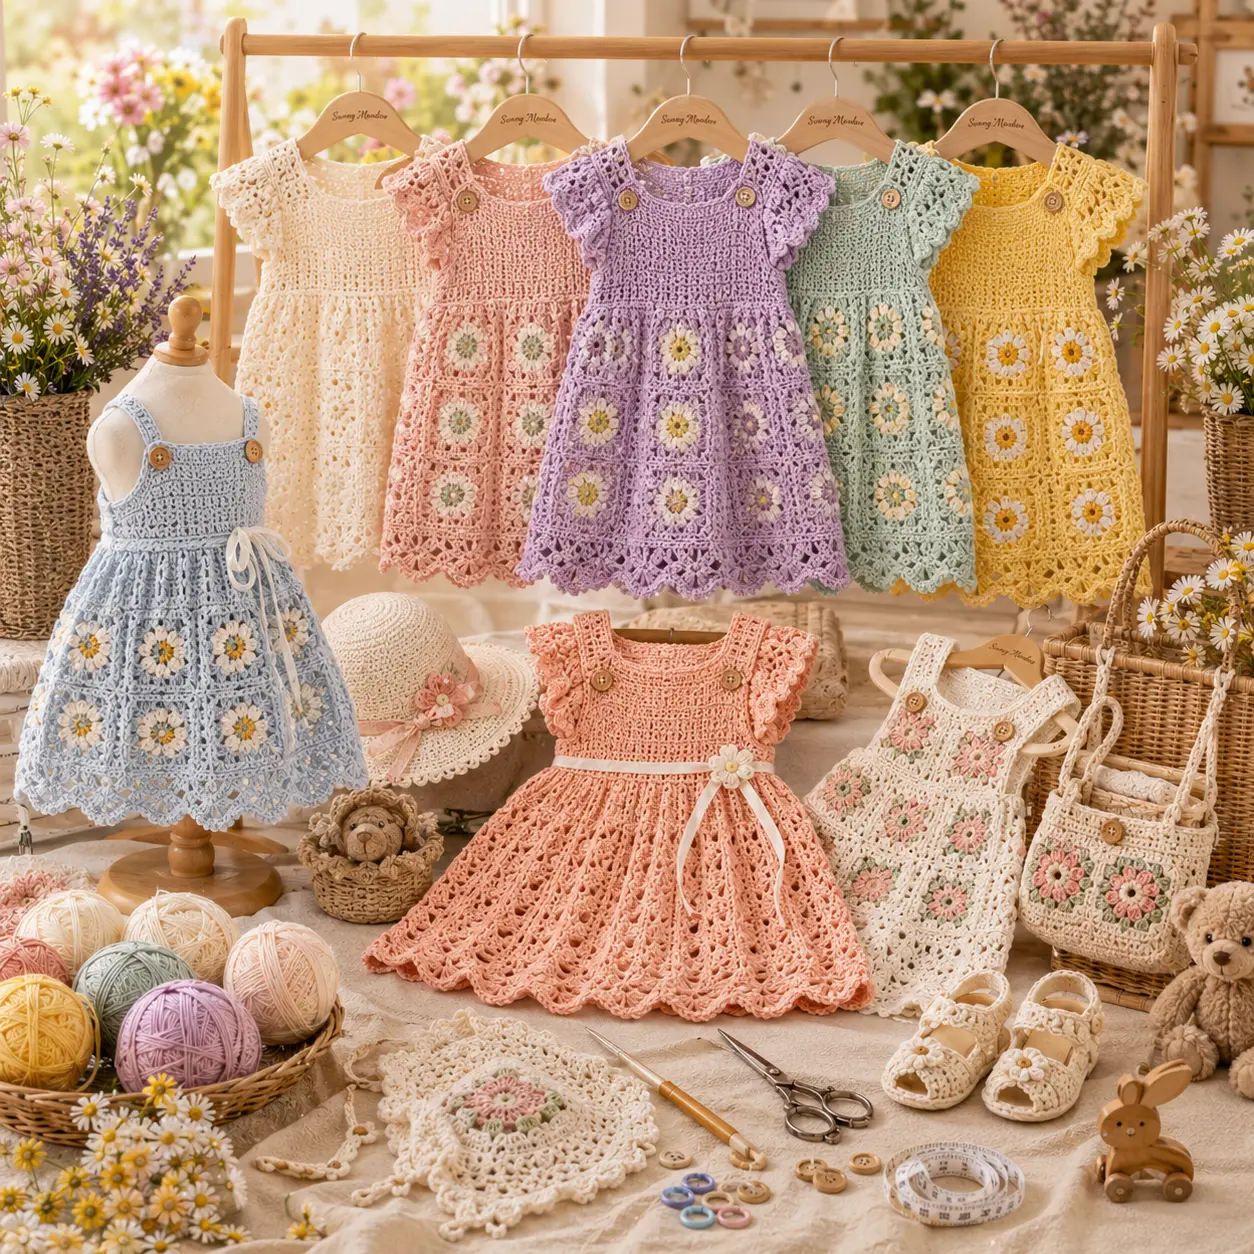
Sometimes the best pattern isn’t the fanciest one — it’s the one you can rework endlessly, in any size, any yarn, any color scheme you have on hand. This DIY crochet kids dress pattern was built to be exactly that: a flexible, customizable base you can return to again and again, whether you’re making a single gift or a whole closet of handmade dresses.
Instead of a single fixed size, this guide focuses on the underlying formula so you can resize it confidently for any child, at any age, using whatever yarn is already in your stash.
Why This DIY Approach Works Better Than a Fixed-Size Pattern
Most patterns lock you into one specific size and yarn weight. This DIY method teaches you the ratios and checkpoints behind the construction, so once you understand it, you’ll never need to hunt down a new pattern every time a child grows.
What makes this approach worth learning:
- Works for any age once you know your gauge and measurements
- Adapts to whatever yarn weight you already own
- Teaches the underlying logic instead of a single fixed result
- Endlessly customizable with stripes, lace, or solid color blocks
What You’ll Need: Materials Table
Because this is a DIY, gauge-based approach, exact yardage will depend on your yarn choice and the size you’re making. Use this table as a flexible starting guide.
| Item | Recommended Type | Approximate Amount |
|---|---|---|
| Yarn | Any weight (adjust hook to match) | 150-400g depending on size and weight |
| Crochet hook | Sized to match your yarn’s label | 1 |
| Yarn needle | Blunt tip | 1 |
| Stitch markers | For tracking rounds | 4-6 |
| Measuring tape | Flexible | 1 |
| Notebook or note app | For recording your custom measurements | 1 |
Keeping a small notebook of your gauge, hook size, and row counts turns this single project into a reusable formula for every future dress you make.
Step 1: Establish Your Gauge and Measurements
Before touching your DIY formula, you need two numbers: your gauge (stitches per inch) and the child’s chest measurement.
- Crochet a 4×4 inch swatch in your chosen stitch and yarn.
- Count how many stitches and rows fit into that 4-inch square.
- Measure the child’s chest circumference and desired dress length.
- Record all of these numbers before starting the dress itself.
| Age (reference only) | Chest (approx.) | Dress Length (approx.) |
|---|---|---|
| 2-3 years | 21 inches | 15 inches |
| 4-5 years | 23 inches | 18 inches |
| 6-8 years | 25 inches | 21 inches |
Step-by-Step: The DIY Dress Formula
Step 2: Calculate and Crochet the Bodice
- Multiply your stitch gauge by the chest measurement to get your starting chain count.
- Join into a round and work even rounds up to the underarm depth.
- Use your row gauge to calculate how many rounds that depth requires.
- Keep a stitch marker at the start of each round for accurate counting.
Step 3: Shape the Armholes
- Skip a small, even number of stitches on both sides for the armholes
- Divide the front and back panels and work them separately
- Continue straight rows up to the shoulder line
- Join the shoulders with a simple seam
Step 4: Calculate and Crochet the Skirt
This is where your DIY numbers really pay off:
- Decide on your desired skirt fullness, then calculate your increase rounds accordingly.
- Switch to a taller stitch for more drape if desired.
- Increase evenly around the waistline every round or two.
- Continue using your row gauge until you reach the target dress length.
Step 5: Finish the Details
- Add straps by chaining a length based on the shoulder width you measured
- Weave in all ends securely
- Add a simple border, buttons, or a ribbon tie as a finishing detail
- Block gently with steam to help the dress hang evenly
Tips for Making This DIY Method Work Every Time
- Always swatch first, even if you’re in a hurry — it saves far more time than it costs
- Write your gauge and row counts down immediately so you can reuse them
- Test your calculated chain against the actual chest measurement before committing to a full round
- Keep your increases evenly spaced to avoid a lopsided skirt
Common Mistakes to Avoid
- Skipping the gauge swatch — this is the single most common cause of a dress that doesn’t fit
- Guessing measurements instead of measuring directly — leads to too-tight or too-loose results
- Uneven increases in the skirt — creates an off-center or twisted flare
- Not recording your numbers — forces you to start from scratch on your next dress
Frequently Asked Questions
Can I really make a kids dress without a fixed-size pattern? Yes — with an accurate gauge swatch and the child’s measurements, you can calculate every part of the dress yourself using the steps above.
What yarn weight works best for a DIY crochet kids dress? Any weight works, as long as you match your hook size to the yarn label and adjust your gauge swatch calculations accordingly.
How do I know how many stitches to chain for the bodice? Multiply your stitch gauge (stitches per inch) by the chest measurement, plus a small amount of ease for comfort.
How much yarn do I need for this DIY dress method? This varies by size and yarn weight, but most kids’ dresses use between 150 and 400 grams total.
Can I reuse this DIY method for different ages? Yes — that’s the main advantage of this approach. Once you understand the formula, you can resize it for any age simply by updating your measurements.
Conclusion
This DIY crochet kids dress method trades a single fixed pattern for something far more valuable: a reusable formula you can apply to any size, any yarn, and any child. With your gauge swatch, measurements, and the step-by-step calculations above, you’re equipped to make dress after dress without ever needing to search for a new pattern again.
Grab your yarn, swatch your gauge, and jot down your numbers today. Once your first DIY dress is finished, share it with your crochet community — a handmade dress built from your own calculations is something to be proud of.