Crochet a Cozy Chenille Bear Ear Beanie for Kids
The tutorial video is at the bottom of the article.👇
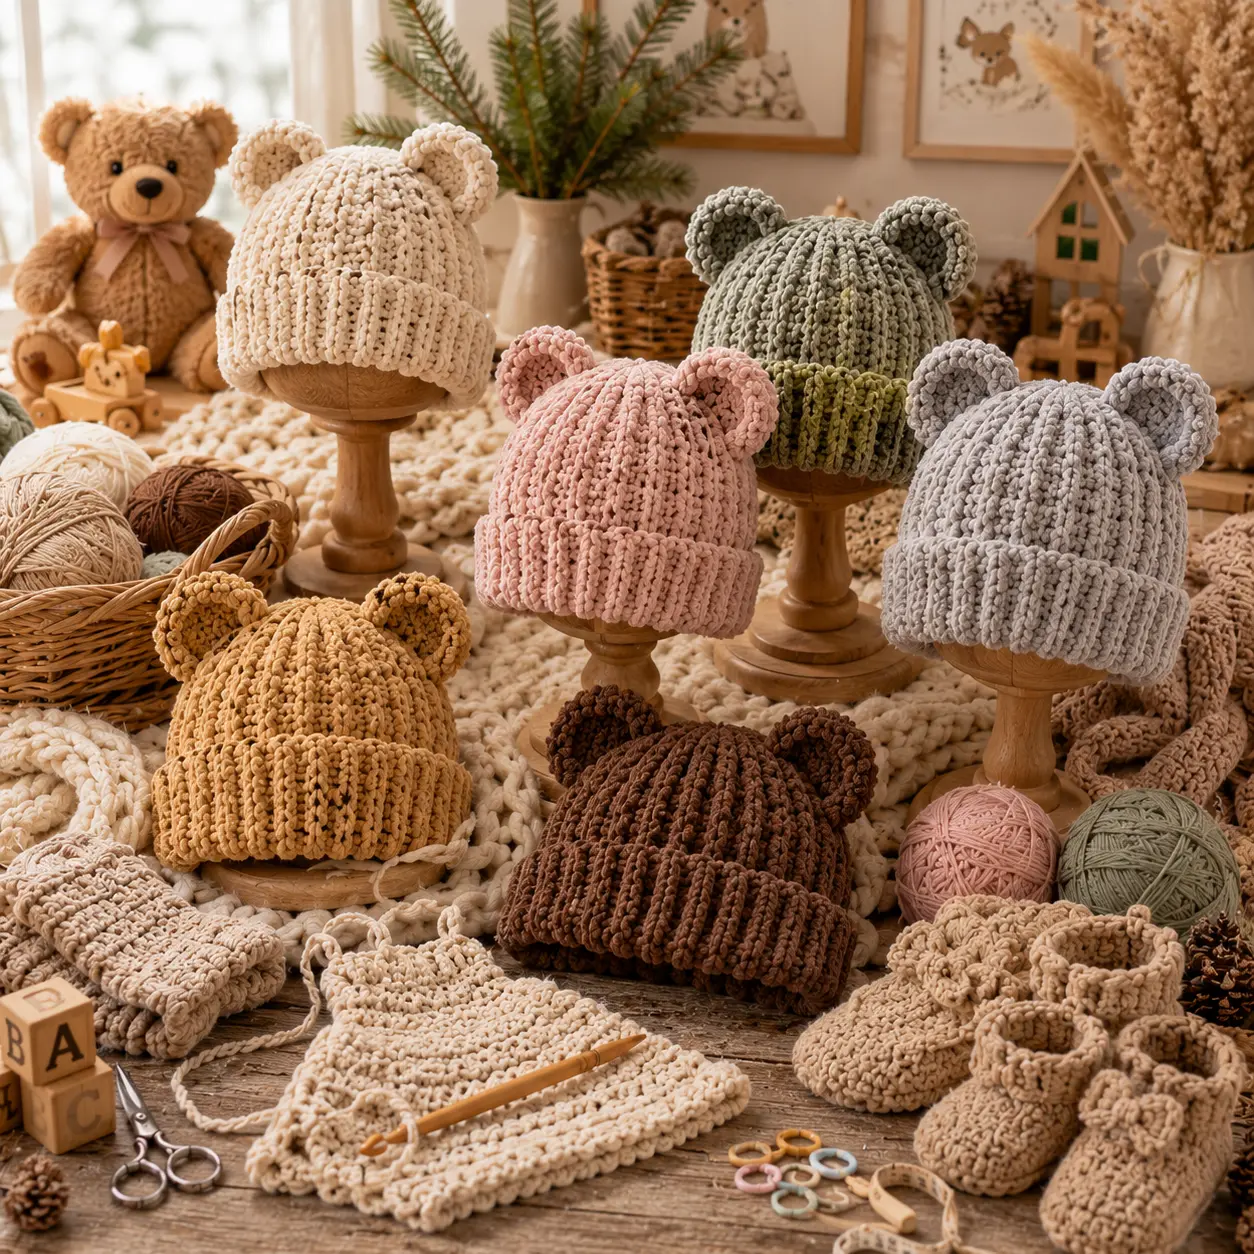
There’s a reason chenille bear ear beanies sell out fast at craft markets every winter: they’re soft enough to sleep in, cute enough to photograph endlessly, and simple enough that a weekend crocheter can make one from start to finish. If you’ve been wanting to crochet a cozy chenille bear ear beanie for kids, this guide gives you everything you need, from yarn choice to attaching those irresistible little ears.
Chenille yarn feels like a plush toy in your hands, which makes this project as enjoyable to work on as it is to gift.
Why Chenille Yarn Makes the Coziest Bear Ear Beanie
Chenille yarn has a soft, velvety texture that regular acrylic or cotton yarn simply can’t replicate. It drapes beautifully around a child’s head, resists itchiness, and gives the finished beanie a plush, huggable feel that kids love to wear.
Reasons this project is worth making:
- Chenille yarn creates an ultra-soft fabric perfect for sensitive skin
- The beanie shape is one of the fastest garments to crochet
- Bear ears add a playful detail with very little extra effort
- Works up quickly, even for larger head sizes
What You’ll Need: Materials Table
Gather your supplies before you begin so you can work through the pattern in one sitting.
| Item | Recommended Type | Approximate Amount |
|---|---|---|
| Yarn | Chenille, medium or bulky weight | 100-200g depending on size |
| Crochet hook | 5mm-6mm (US H/8-J/10) | 1 |
| Yarn needle | Large eye, blunt tip | 1 |
| Stitch markers | For tracking rounds | 2-4 |
| Stuffing (optional) | For rounded bear ears | Small amount |
| Measuring tape | Flexible | 1 |
Chenille yarn tends to split more easily than standard yarn, so a slightly larger hook helps keep your stitches even and reduces frustration while working.
Sizing Guide for Kids’ Head Measurements
Beanies rely on head circumference rather than chest size, so measure carefully before starting your foundation ring.
| Age | Head Circumference (approx.) | Beanie Height (approx.) |
|---|---|---|
| 1-2 years | 18 inches | 6 inches |
| 3-5 years | 19.5 inches | 7 inches |
| 6-8 years | 20.5 inches | 7.5 inches |
Crochet a small gauge swatch with your chenille yarn first, since its stretch and drape can vary noticeably between brands.
Step-by-Step: How to Crochet the Beanie
Step 1: Start the Crown
- Begin with a magic ring or chain 4, joined into a circle.
- Work single crochet in the round, increasing evenly to keep the circle flat.
- Continue increasing every round until the circle matches the child’s head circumference.
- Use a stitch marker at the start of each round to avoid losing track.
Step 2: Crochet the Body of the Beanie
- Stop increasing once the crown reaches the right width
- Work even rounds without increasing to build the height of the beanie
- Continue until you reach the desired length for a snug, cozy fit
- Keep tension slightly loose, since chenille yarn can feel dense if worked too tightly
Step 3: Finish the Brim
- Switch to a slightly smaller hook if you want a tighter, ribbed-looking edge.
- Work one or two rounds of single crochet through the back loop for texture.
- Fasten off and weave in the end securely.
- Fold the brim up slightly if you want extra warmth over the ears.
Step 4: Make and Attach the Bear Ears
- Crochet two small circles, increasing every other round for a rounded shape.
- Leave a small opening and add a pinch of stuffing so the ears hold their shape.
- Flatten the base slightly and close the opening with a few stitches.
- Sew the ears onto the top of the beanie, spaced evenly apart.
Tips for the Coziest, Cutest Result
- Keep your tension relaxed with chenille yarn to avoid a stiff, dense fabric
- Use a stitch marker every round, since chenille’s texture makes stitches harder to count visually
- Slightly under-stuff the ears for a soft, floppy look instead of a stiff one
- Choose a slightly larger size if the beanie needs to last through the season
Common Mistakes to Avoid
- Using too small a hook — chenille yarn needs extra room to avoid a stiff, uneven fabric
- Overstuffing the ears — leads to a rigid shape rather than a soft, natural droop
- Skipping the gauge swatch — chenille varies significantly in stretch between brands
- Rushing the increases — uneven increases create a beanie that sits crooked
Frequently Asked Questions
Why use chenille yarn for a bear ear beanie? Chenille yarn creates an especially soft, plush texture that feels comfortable against a child’s skin and gives the beanie a cozy, huggable look.
What hook size works best for chenille yarn? A 5mm to 6mm hook is generally recommended, since chenille yarn is thicker and softer than standard acrylic or cotton yarn.
How much yarn do I need to crochet a chenille bear ear beanie? Expect to use 100 to 200 grams depending on the child’s head size and how tall you make the beanie.
Is chenille yarn hard for beginners to crochet with? It can split more easily than standard yarn, but using a slightly larger hook and working at a relaxed tension makes it manageable even for newer crocheters.
Can I make this bear ear beanie without stuffing the ears? Yes, unstuffed ears will simply lie flatter against the beanie, which still looks charming and works well if you prefer a no-sew, low-fuss finish.
Conclusion
A cozy chenille bear ear beanie is one of those projects that delivers maximum cuteness for a relatively small time investment. With the materials list, sizing chart, and step-by-step instructions above, you have everything you need to create a beanie that feels as soft as it looks and fits a child’s head comfortably through the colder months.
Grab your chenille yarn, measure your gauge swatch, and start your crown today. Once your beanie is finished, share it with your crochet community — a bear ear beanie this soft and sweet is always worth showing off.