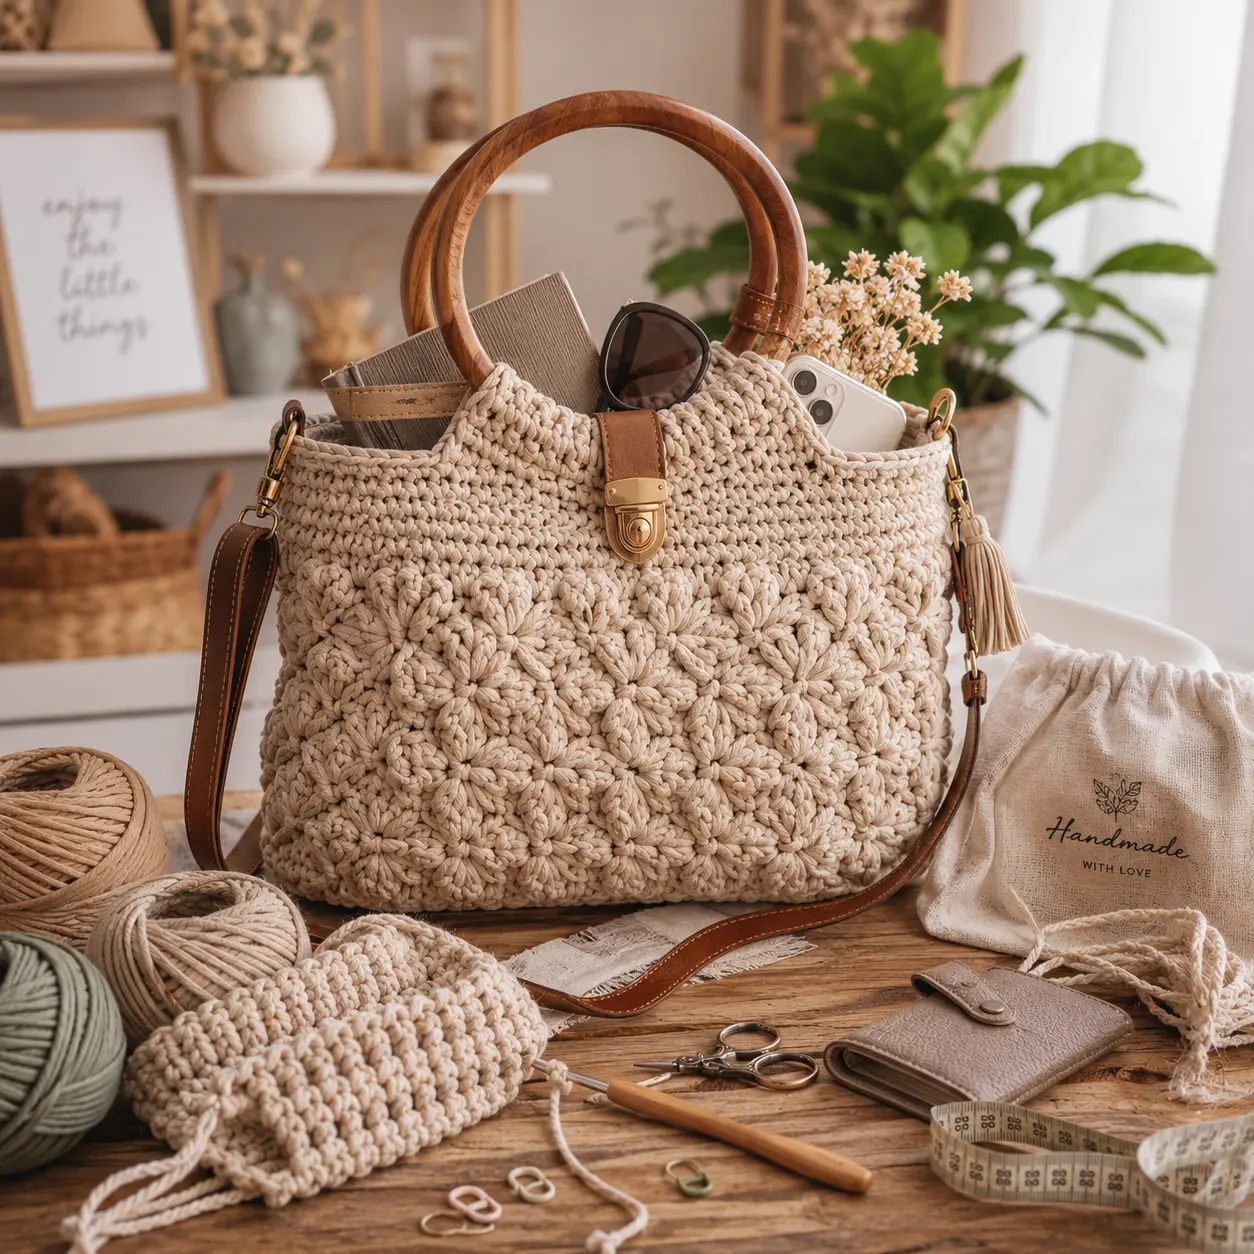
How to Crochet a Handbag for Beginners: A Step-by-Step Guide to Your First Handmade Bag
The tutorial video is at the bottom of the article.👇
There’s a specific kind of satisfaction that comes from walking out the door with a bag you made yourself — one that no one else on earth has, stitched together during quiet evenings with nothing but yarn and a hook. If you’ve been wondering how to crochet a handbag for beginners without getting lost in confusing patterns or advanced techniques, this guide walks you through the entire process, from your first chain to your finished strap.
By the time you reach the end, you’ll have a clear, beginner-friendly path to a handbag you’ll actually want to carry.
Why Crochet a Handbag? The Appeal for Beginners
A handbag is one of the most rewarding first projects you can choose. Unlike a blanket, it works up quickly. Unlike amigurumi, it teaches you structural stitches you’ll use again and again. And unlike anything you’d buy in a store, it’s entirely yours — the color, the shape, the size, all chosen by you.
It’s also a wonderfully practical way to build real skills. You’ll learn how to control tension for structure, how to shape rounds evenly, and how to finish a project so it looks polished rather than homemade in the wrong way.
What You’ll Need – Materials & Tools
| Item | Recommended Choice | Notes |
|---|---|---|
| Yarn | Cotton or cotton-blend, worsted weight | Holds shape better than acrylic |
| Hook Size | 4mm – 5mm (US G/6 – H/8) | Smaller hook than yarn label suggests, for tighter stitches |
| Yarn Needle | Blunt tip, large eye | For seaming and weaving ends |
| Lining Fabric (optional) | Cotton or canvas | Adds structure and hides stitches inside |
| Magnetic Snap or Zipper (optional) | Any size | For a secure closure |
| Stitch Markers | Any style | Essential for tracking rounds |
Cotton yarn is especially recommended for beginners because it doesn’t stretch out of shape the way acrylic can, which keeps your bag looking sturdy over time.
Basic Stitches Every Beginner Needs to Know
| Abbreviation | Stitch Name |
|---|---|
| ch | Chain |
| sl st | Slip Stitch |
| sc | Single Crochet |
| hdc | Half Double Crochet |
| dc | Double Crochet |
A quick tip: stitch tighter than you normally would for garments. Loose stitches make a bag that sags and loses its shape, while tighter stitches create the structure a handbag needs.
Choosing the Right Handbag Shape and Size
| Bag Shape | Difficulty for Beginners | Best For |
|---|---|---|
| Tote | Easy | Everyday use, market runs |
| Bucket Bag | Easy–Moderate | Casual outings |
| Clutch | Moderate | Evening wear |
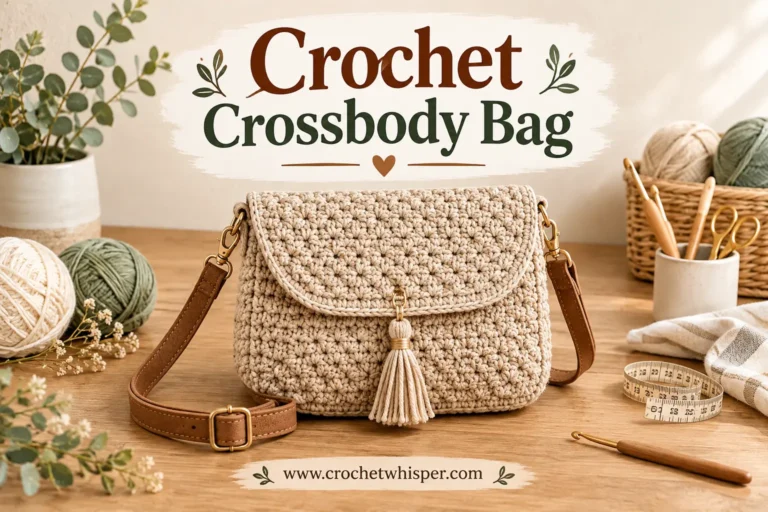
| Crossbody | Moderate | Hands-free everyday carrying |
For your very first project, a simple tote or bucket shape is the most forgiving — straight sides and a flat base leave little room for shaping mistakes.
How to Crochet a Handbag – Step-by-Step Pattern
Crocheting the Base
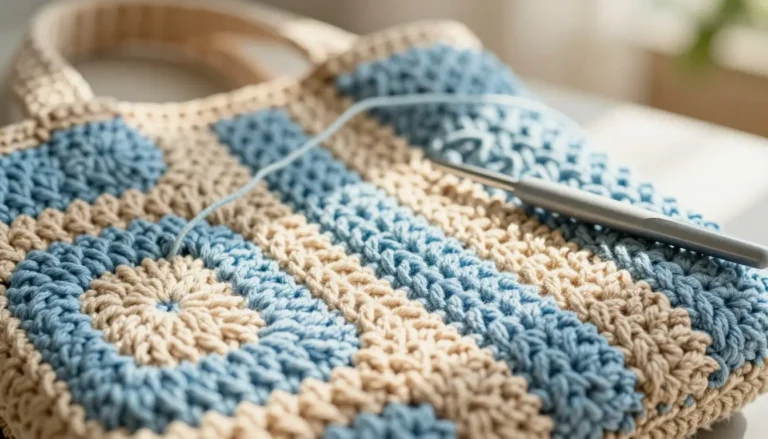
- Ch 4, join with sl st to form a ring.
- Round 1: Ch 1, work 8 sc into ring, join. (8 sts)
- Round 2: 2 sc in each st around. (16 sts)
- Round 3: sc, 2 sc in next st repeat around. (24 sts)
- Continue increasing every round until your base reaches your desired diameter (roughly 8–10 inches for a medium tote).
Building Up the Sides
- Once the base is complete, stop increasing and work even rounds of sc (no increases) to form the sides.
- Continue for 8–12 rounds, or until the bag reaches your desired height.
Shaping the Top Opening
- Work 1–2 rounds of hdc to slightly tighten the top opening for a neater finish.
- Fasten off and weave in ends.
Adding the Strap or Handles
- Chain a length equal to your desired strap length, then work sc back across the chain (2–3 rows for extra strength).
- Sew the strap securely to the inside top edges of the bag on both sides.
Finishing Touches for a Professional Look
- Add fabric lining by hand-sewing it just inside the top edge — this hides yarn tails and adds structure.
- Attach a magnetic snap or zipper for a secure, polished closure.
- Lightly steam or block the bag to even out any uneven stitches.
- Add embellishments like buttons, tassels, or a crochet flower for a personal touch.
Customization Ideas
| Style | Combination Idea |
|---|---|
| Everyday Tote | Neutral tones, chunky yarn, wide straps |
| Beach Bag | Bright stripes, raffia or cotton yarn |
| Evening Clutch | Metallic yarn, beaded trim |
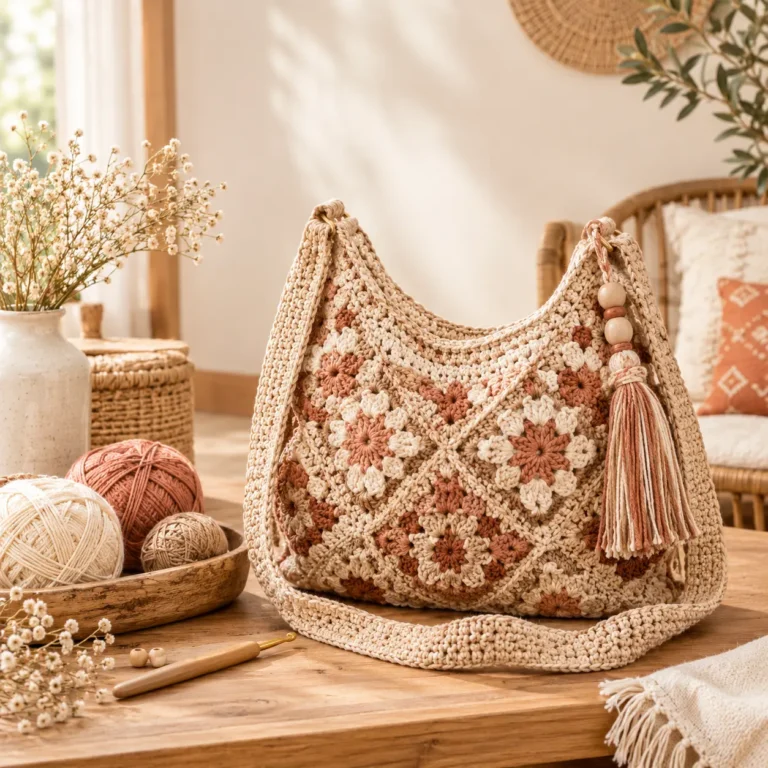
| Boho Style | Granny square panels, fringe, tassels |
Common Mistakes Beginners Make (and How to Avoid Them)
- Using yarn that’s too stretchy, causing the bag to lose its shape over time.
- Crocheting too loosely, resulting in a floppy, unstructured bag.
- Skipping the lining step, which leaves stitches visible and reduces durability.
- Choosing a hook size too large for the yarn weight, weakening the fabric.
Creative Ways to Use and Style Your Crochet Handbag
- An everyday tote for groceries or errands
- A beach bag for summer trips
- A thoughtful handmade gift for a friend or family member
- A market bag for weekend shopping
- A statement accessory for evening outings
FAQ – How to Crochet a Handbag for Beginners
What is the best yarn for a beginner crochet handbag?
Cotton or cotton-blend worsted weight yarn works best because it holds its shape and doesn’t stretch out over time.
How long does it take to crochet a handbag as a beginner?
Most beginners can complete a simple tote-style handbag in 4–8 hours, spread across a few sessions.
Do I need to line a crochet handbag?
Lining isn’t required, but it’s highly recommended — it adds structure, hides yarn ends, and extends the life of your bag.
What stitch makes a crochet bag sturdy?
Single crochet worked tightly creates the firmest, most structured fabric for handbags.
Can I crochet a handbag with only basic stitches?
Yes — this entire pattern uses only chain, slip stitch, single crochet, half double crochet, and double crochet.
Conclusion
Finishing your first crochet handbag is one of those milestones that makes all the practice worth it — you go from a simple ring of stitches to a bag you’ll actually reach for again and again. This guide on how to crochet a handbag for beginners gives you everything you need to go from your very first chain to a finished, functional piece you’re proud to carry.
Now it’s your turn: pick your yarn, grab your hook, and start with the base. Once you’ve finished your bag, save this pattern for your next project, and share a photo of your finished handbag — there’s nothing quite like seeing your first handmade accessory come together.