Easy Crochet Snowflake for Beginners
The tutorial video is at the bottom of the article.👇
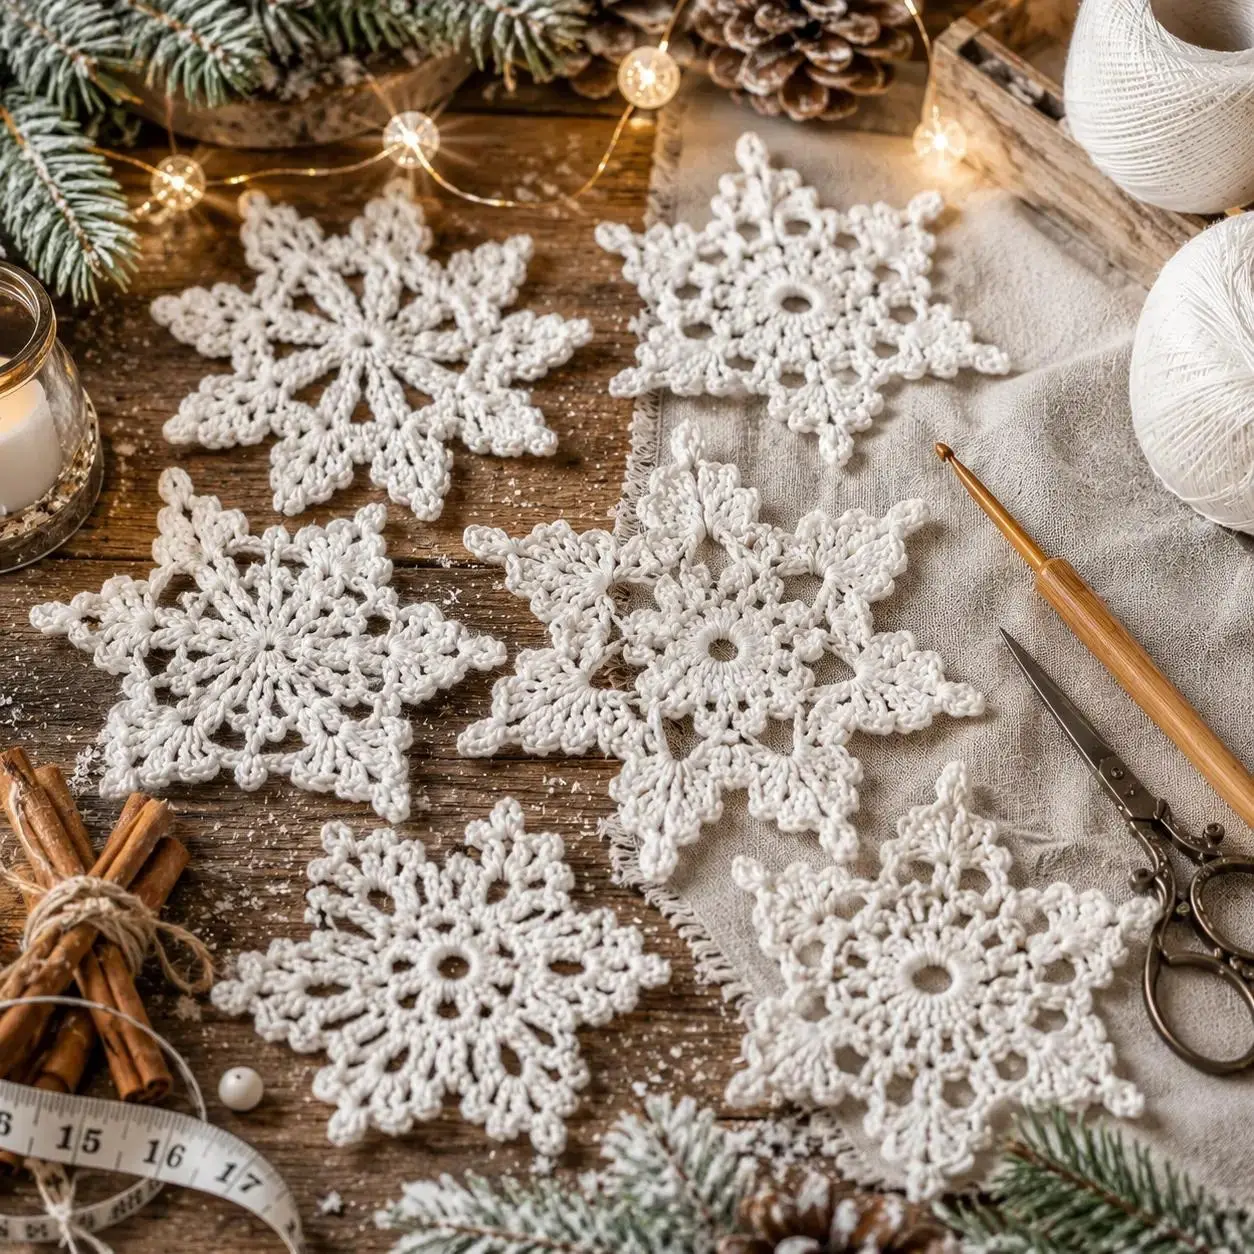
There’s something magical about a snowflake that never melts — one you made yourself, stitch by stitch, that can hang on a tree, decorate a window, or top a wrapped gift year after year. Crochet snowflakes have a reputation for looking intricate and delicate, which can make them feel intimidating if you’re new to crochet. The truth is much simpler: this pattern uses just a few basic stitches repeated in a pleasing sequence, making it one of the most rewarding small projects you can try as a beginner.
Why Crochet Snowflakes Are a Great Beginner Project
Unlike garments or blankets that take weeks to complete, a single snowflake comes together in 20 to 40 minutes once you’re familiar with the pattern. It relies on stitches you likely already know — chains, single crochet, and slip stitches — arranged into repeating points around a small center ring. Because the project is so compact, it’s also incredibly forgiving. If one point looks uneven, you can simply unravel that section and redo it without losing much time or yarn.
Snowflakes are wonderfully versatile too. A finished piece can become a tree ornament, a gift tag, a garland accent, or even framed as simple winter wall art. Once you’ve made one, you’ll likely want to make a whole set, since each one only takes a few minutes longer than the last.
What You’ll Need
For this project, cotton or cotton-blend yarn works best — either a lightweight yarn or crochet thread, depending on how delicate you want the finished piece to look. Cotton holds its shape well, which matters if you plan to stiffen your snowflakes for ornaments. You’ll also need a hook sized appropriately for your yarn, typically somewhere between 2.5mm and 4mm, along with a yarn needle and scissors for finishing touches. If you want your snowflakes to hold a crisp, flat shape, keep fabric stiffener or diluted glue, some straight pins, and a piece of foam board on hand as well.
When choosing yarn, avoid anything fuzzy or heavily textured. Snowflakes rely on clean, visible stitch definition to show off their delicate points, and fuzzy yarns tend to blur that detail. Classic colors like white, silver, or icy blue give a traditional look, but there’s no reason you can’t experiment with jewel tones or pastels for a more modern take on winter decor.
Making the Snowflake, Step by Step
Begin by creating the center of your snowflake with a small foundation chain joined into a ring, or use a magic ring if you’re comfortable with that technique. Work an even number of stitches into this ring to establish the base round that all your points will branch out from.
From there, you’ll build each point by chaining a set number of stitches and then working slip stitches back down the chain toward the base. Along the way, you can add small picots — tiny chain-3 loops — to give each point extra texture and that classic, delicate snowflake detail. Repeat this point pattern evenly all the way around your center ring, usually creating six points to match the natural symmetry of a real snowflake.
Keeping your tension consistent as you repeat each point is what makes the difference between a slightly wonky shape and a beautifully symmetrical one. Once all your points are complete, weave in your ends securely. If you’d like a firmer, more ornament-ready snowflake, this is the point to stiffen it: a light coating of fabric stiffener or diluted glue, followed by pinning the piece flat on foam board to dry, will leave you with a crisp, sturdy shape that holds up beautifully for hanging or display.

Getting the Sizing Right
Snowflake size really depends on what you plan to use it for. For something small, like a gift tag or a delicate ornament, aim for a diameter of about 2 to 3 inches using thread or fine cotton yarn. If you’re making garland accents to string together, a slightly larger size of 3 to 4 inches using a light or DK weight yarn tends to work well. For a bold, standalone decor piece — something you might frame or hang alone in a window — sizing up to 5 inches or more with a worsted weight yarn creates a striking statement piece.
A Few Tips for Perfect Snowflakes Every Time
Symmetry is what makes a snowflake feel truly snowflake-like, so counting your stitches carefully for each point helps keep all six points matching in length and shape. Placing a stitch marker at the very first point of your round is a simple trick that helps you always know exactly where you started, especially useful when you’re still getting comfortable with the repeating pattern. Finally, don’t skip blocking or stiffening if you want that crisp, flat finish — without it, snowflakes can curl slightly at the edges instead of lying perfectly flat.
Frequently Asked Questions
What yarn is best for an easy crochet snowflake? Cotton yarn or thread works best, since it holds sharp, defined points and responds well to stiffening if you’re making ornaments.
How long does it take to crochet a snowflake? Most beginners can finish one snowflake in about 20 to 40 minutes, depending on the size and how much picot detail is included.
Do I need to stiffen my crochet snowflake? Not necessarily. Stiffening is optional, but it helps snowflakes hold a crisp, flat shape, which is especially useful for ornaments or window decorations.
Can beginners really make a crochet snowflake? Yes — despite the intricate appearance, this pattern only uses basic chain, single crochet, and slip stitches, repeated in a simple, easy-to-follow sequence.
Ready to Start Stitching?
There’s a special kind of joy in watching a simple loop of yarn transform into a delicate, six-pointed snowflake in your hands. This project is quick enough to make a whole collection in an afternoon, yet detailed enough to feel like a genuine winter craft achievement. Pick your favorite color, grab your hook, and give this pattern a try. Once you’ve finished your first snowflake, you’ll likely find yourself making just one more — and then another — until you’ve got a beautiful set ready for the tree, the window, or a gift topper.