Easy Crochet Strawberry Plush – Free Pattern & Video Tutorial
The tutorial video is at the bottom of the article.👇
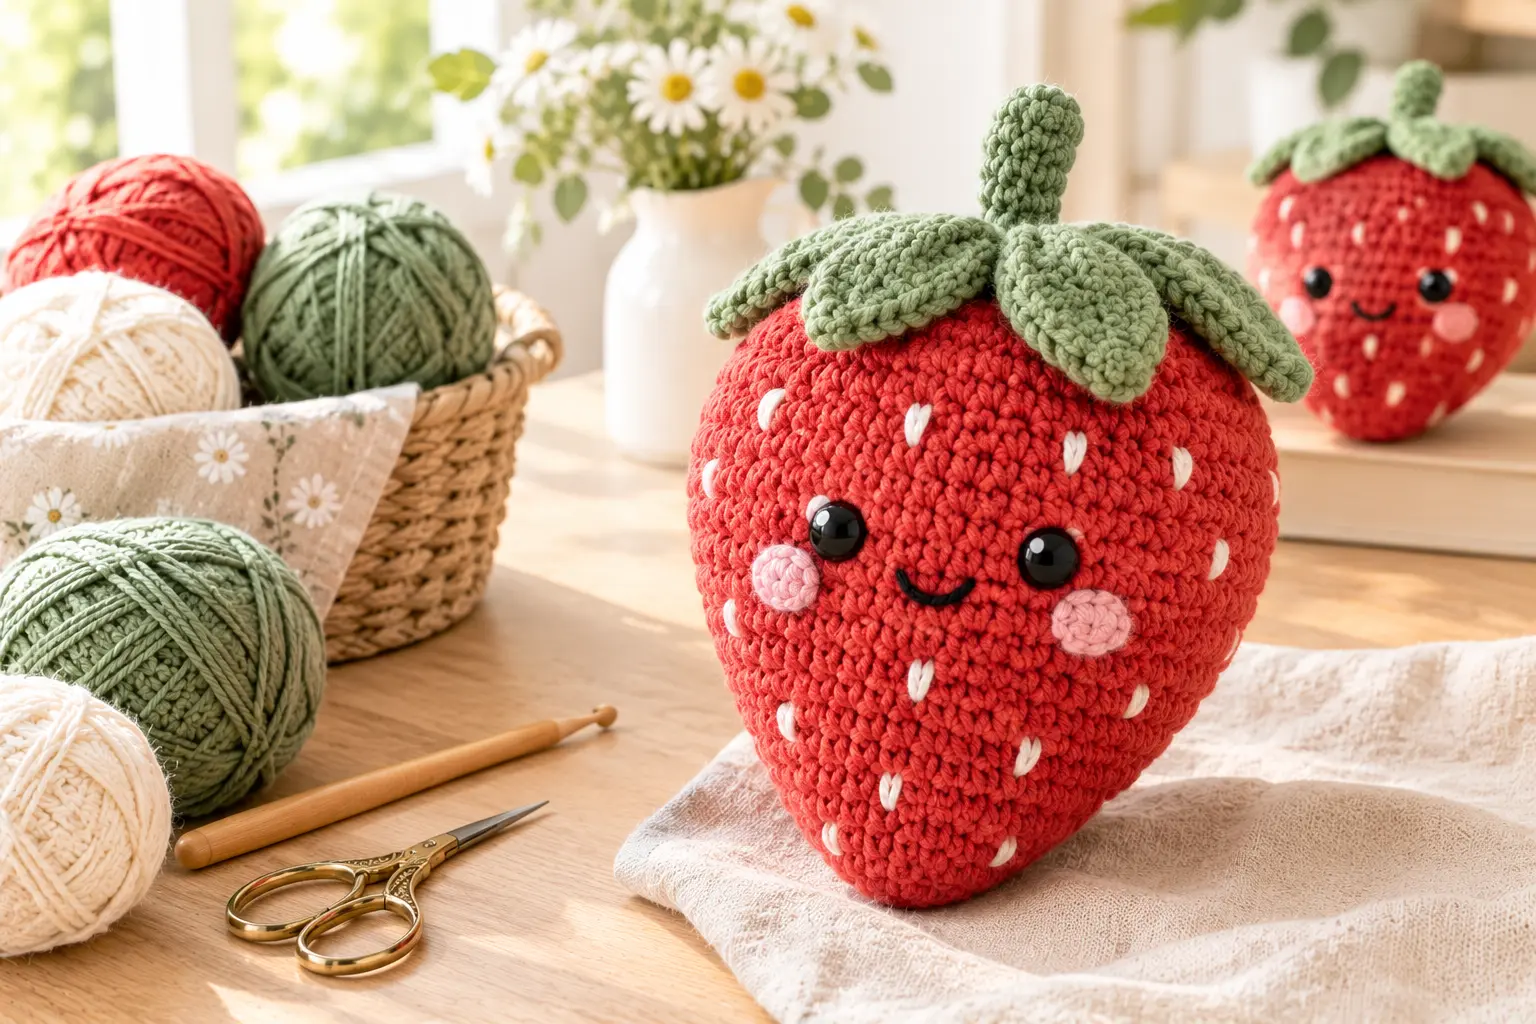
There’s something special about turning a few strands of yarn into a tiny, adorable creation. If you love colorful amigurumi projects, this crochet strawberry plush is a sweet addition to your handmade collection. With its bright red body, little green leaves, and optional embroidered seeds, this charming fruit makes a lovely gift, playful decoration, or weekend crochet project.
Whether you’re learning amigurumi or looking for a quick project between larger makes, this guide will help you understand the materials, techniques, and finishing steps involved. Follow the written instructions alongside the video tutorial, and enjoy creating your own handmade strawberry.
Why You’ll Love This Crochet Strawberry Plush Pattern
A crochet strawberry is small, cheerful, and easy to personalize. You can make one in classic red or experiment with pastel colors for a different look.
Here are a few reasons to try this project:
- Beginner-friendly techniques: The pattern can use basic stitches and simple shaping.
- A quick handmade gift: A finished strawberry is a thoughtful present for friends, family, or fellow crochet lovers.
- Easy to customize: Change the colors, add embroidered seeds, or create a cute face.
- Perfect for scrap yarn: Small amounts of leftover yarn may be enough for the body and leaves.
- Fun to collect: Make several strawberries in different sizes to display together.
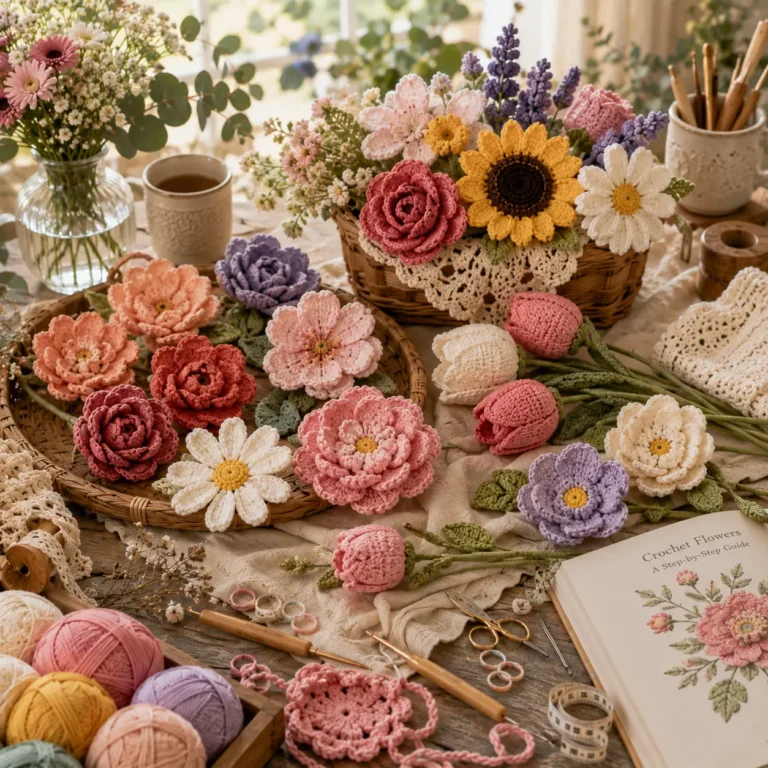
If you enjoy making amigurumi, this project also pairs beautifully with crocheted flowers, mushrooms, and other fruit plushies.
Materials for Your Crochet Strawberry Plush
Gather your supplies before beginning. The exact yarn quantities and hook size depend on your chosen pattern and the finished size you want.
| Material | Purpose |
|---|---|
| Red yarn | Creates the strawberry body |
| Green yarn | Makes the leaves and optional stem |
| Yellow or white yarn | Adds decorative strawberry seeds |
| Crochet hook | Works the stitches at the appropriate tension |
| Polyester fiberfill | Gives the strawberry a soft, rounded shape |
| Yarn needle | Attaches pieces and weaves in loose ends |
| Stitch marker | Marks the beginning of each round |
| Scissors | Trims yarn ends |
| Optional embroidery thread | Adds a face or extra details |
Choosing the Right Yarn and Hook
Smooth cotton or acrylic yarn can work well for a crochet strawberry plush, provided it suits the pattern. Choose yarn that makes your stitches easy to see, especially if you’re new to amigurumi.
For a firm fabric, amigurumi projects are often worked with a smaller hook than you might use for a loose crochet blanket. Follow the tested pattern’s hook recommendation and check that the stuffing cannot easily show through the stitches.
Crochet Stitches and Techniques You’ll Need
Before starting, familiarize yourself with the stitches used in your pattern.
- Magic ring: Creates a closed center for working in the round.
- Single crochet (sc): Builds the dense fabric of the strawberry.
- Increase (inc): Adds stitches to widen the shape.
- Decrease (dec): Reduces stitches to shape the body.
- Slip stitch (sl st): Joins or finishes work when required.
You’ll also need to know how to work in continuous rounds. Place a stitch marker in the first stitch of each round and move it as you progress. Counting your stitches regularly helps prevent an uneven shape.
If you’re new to amigurumi, practice a few single crochet stitches in a small circle before beginning the strawberry.
How to Crochet a Strawberry Plush Step by Step
The following steps explain the general construction process. Use the exact round-by-round stitch counts from your chosen pattern to achieve the intended shape.
Step 1: Crochet the Strawberry Body
Begin with the starting ring or foundation specified in the pattern. Work the initial rounds in red yarn, using increases to build the rounded body.
Keep your tension consistent and count each round. The shape should gradually widen before narrowing toward the top or bottom, depending on the design.
Step 2: Shape the Strawberry
Follow the pattern’s increase and decrease instructions carefully. These changes create the familiar strawberry silhouette.
If the body begins to look lopsided, check your stitch count before continuing. Correcting a missed stitch early is easier than trying to fix the shape after several rounds.
Step 3: Add the Stuffing
Once the body is large enough, begin adding small amounts of polyester fiberfill if the pattern calls for stuffing before closing.
Distribute the filling evenly and gently shape the sides with your fingers. Avoid packing in too much stuffing, as it can stretch the stitches and make gaps visible.
Step 4: Close the Strawberry
Continue with the prescribed decrease rounds until the opening is small enough to close. Follow the pattern’s finishing method, secure the yarn, and weave in the end neatly.
Take a moment to check the shape before adding the leaves.
Step 5: Crochet the Green Leaves
Use green yarn to create the leafy top. Depending on the pattern, the leaves may be crocheted as one piece or made separately and attached afterward.
Position the leaves around the top of the strawberry, then sew them securely in place. Arrange the points evenly for a balanced finish.
Step 6: Add Seeds and Optional Details
For a classic strawberry look, embroider small seed marks across the red body using yellow, cream, or white yarn.
You can also add embroidered eyes and a tiny smile for a playful amigurumi character. Secure all yarn ends carefully so the finished plush looks tidy.
Important: If you plan to give the plush to a baby or young child, avoid detachable safety eyes and other small parts that could present a choking hazard.
Crochet Strawberry Plush Video Tutorial
A video can make unfamiliar techniques easier to follow, particularly when you’re learning to shape the body, attach the leaves, or close the final opening.
Watch the video tutorial here: Embed your matching crochet strawberry tutorial in this section.
As you follow along, pause the video whenever you need more time to count stitches or adjust your tension. Keep the written pattern nearby so you can check round numbers and stitch counts.
For the best results, make sure the video matches the written pattern rather than relying on instructions from a different strawberry design.
Tips for Making the Perfect Crochet Strawberry
A few simple habits can make your finished project look more polished.
- Count every round: A stitch marker helps you keep track of the beginning of each round.
- Maintain even tension: Consistent stitches create a smoother body.
- Stuff gradually: Small amounts of filling are easier to distribute evenly.
- Check the leaves before sewing: Position them first so you can adjust their arrangement.
- Weave in ends securely: This gives your strawberry a clean finish and helps prevent loose yarn tails.
If the stuffing shows through, try a smaller hook or adjust your tension. If the strawberry looks uneven, check for missed stitches and review the increase and decrease rounds.
Easy Ways to Customize Your Strawberry Plush
Once you understand the basic construction, you can make each strawberry your own.
Try a blush-pink body with green leaves, or use cream yarn for a whimsical decorative version. You can also make a collection of strawberries in different sizes by changing the yarn weight and using a compatible hook.
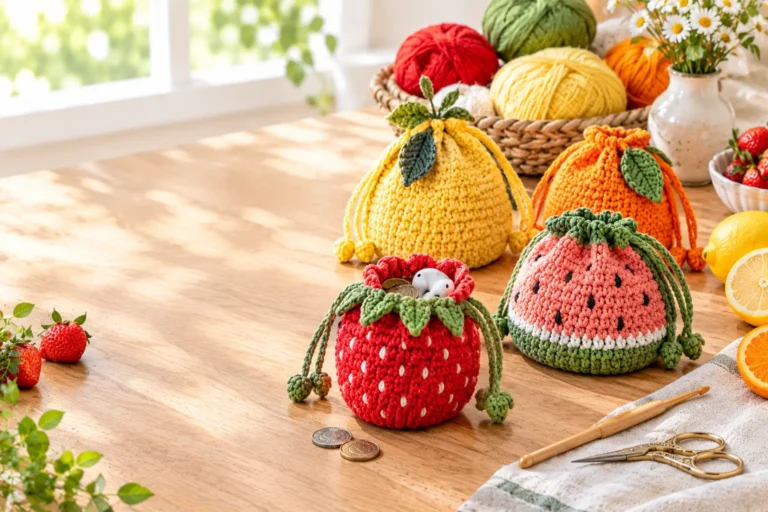
For a gift, pair your strawberry with crocheted flowers or other fruit-inspired creations. Just remember that changing yarn and hook sizes can affect the finished dimensions and amount of stuffing needed.
Frequently Asked Questions
Is This Crochet Strawberry Plush Suitable for Beginners?
It can be a good beginner amigurumi project if you’re comfortable with basic stitches and working in the round. If you’re completely new to crochet, practice single crochet, increases, and decreases first.
How Long Does It Take to Crochet a Strawberry Plush?
The time depends on your experience, yarn, and pattern complexity. A small design may be completed in one sitting, but allow extra time if you’re learning new techniques or adding decorative details.
What Yarn Is Best for a Crochet Strawberry Plush?
Smooth cotton or acrylic yarn is a practical choice because the stitches are easy to see. Use the yarn weight recommended by your pattern for the intended size and texture.
Can I Make a Strawberry Plush Without Safety Eyes?
Yes. You can leave the strawberry plain or embroider a simple face using yarn. Embroidered details are often preferable for toys intended for young children, although all parts should be secured safely.
Can I Sell Finished Strawberry Plushies?
Check the designer’s terms for the specific pattern before selling finished items. Do not assume that permission to make an item also permits redistribution of the written pattern or video.
Conclusion
Making a crochet strawberry plush is a delightful way to turn leftover yarn into something cheerful and handmade. With a rounded red body, leafy green top, and a few thoughtful finishing touches, you can create a charming little piece for your collection or as a gift.
Gather your yarn, follow the written instructions, and use the video tutorial whenever you need extra guidance. Once you’ve finished your strawberry, share your creation and tell us which colors you chose!
For more beginner-friendly crochet inspiration, free patterns, and cozy handmade ideas, visit www.crochetwhisper.com and discover your next project.