FREE Textured Crochet Blanket Pattern: Cozy Dimension Without the Complexity
The tutorial video is at the bottom of the article.👇
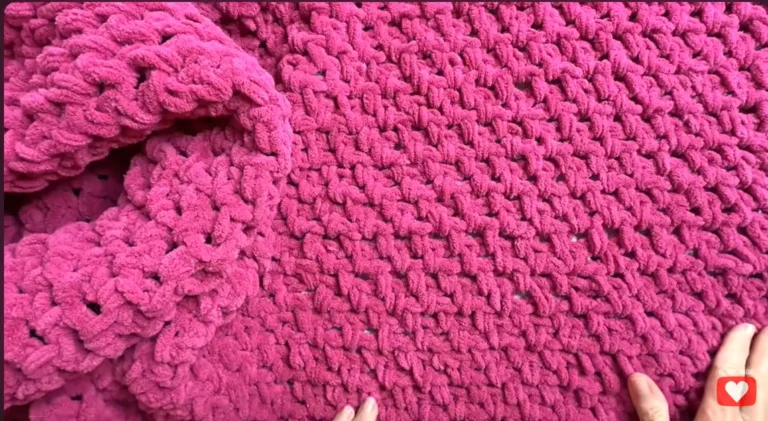
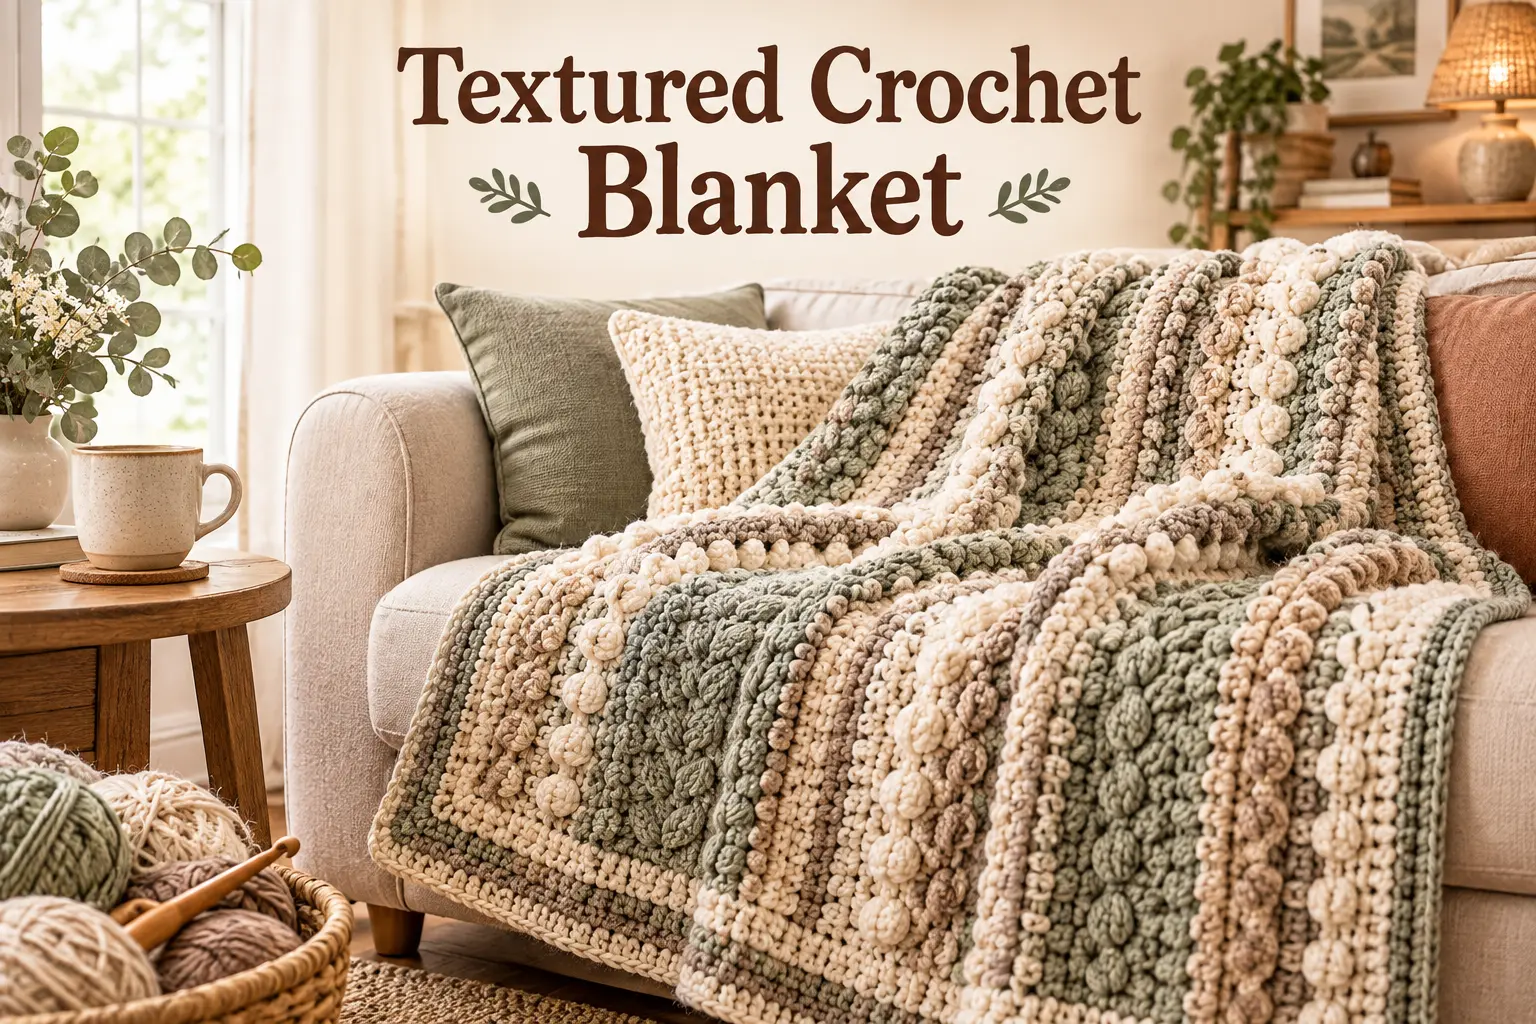
There’s a particular kind of comfort in a blanket with real texture — the kind you can feel with your hands even before you see it. Maybe you’ve scrolled past ribbed, cabled, or richly dimensional crochet blankets and assumed they required advanced charts or complicated colorwork. Here’s the good news: this free textured crochet blanket pattern creates that same dramatic depth using just one simple repeated stitch. No charts, no color changes, no advanced shaping — just a rhythm your hands will pick up quickly and a blanket that looks far more complex than it actually was to make.
Why This Free Textured Crochet Blanket Pattern Works for Beginners
Textured blankets have a reputation for being an intermediate or advanced project, but this particular approach keeps things genuinely simple:
- One repeating stitch pattern. The entire blanket relies on a single alternating stitch technique, repeated row after row.
- No color changes. Unlike colorwork blankets, there’s no need to track multiple yarns or follow a charted design.
- Texture from structure, not skill. The dimension comes from working stitches around the post of previous stitches rather than into the top loops — a technique that’s easy to learn and quick to repeat.
- Fully resizable. The same basic pattern scales up or down for anything from a small lap blanket to a full bed-sized throw.
Because you’re really only learning one new technique and then repeating it, this is an excellent first large project once you’re comfortable with basic single and double crochet.
Materials You’ll Need
Gather your supplies before starting, since a blanket is a bigger yarn commitment than most of the smaller projects you may have tried before.
| Item | Recommended Type | Notes |
|---|---|---|
| Yarn | Worsted or bulky weight | Wool or a wool blend adds warmth; acrylic offers easy, budget-friendly care |
| Hook | 5mm–6.5mm (US H/8–K/10.5) | Adjust based on your yarn weight and how much drape you want |
| Notions | Yarn needle, stitch markers, measuring tape | For tracking your rows and checking dimensions as you go |
| Optional | Contrasting border yarn, fringe | For a decorative, personalized finished edge |
Essential Stitches for This Textured Blanket
This pattern’s entire visual impact comes from just two techniques layered onto basic double crochet.
Chain Stitch (ch)
Your foundation row, setting the overall width of your blanket.
Front Post Double Crochet (fpdc)
Worked around the front of the stitch below instead of into the top, this creates a raised, ribbed texture.
Back Post Double Crochet (bpdc)
The counterpart to the front post stitch, worked around the back of the stitch below to create the recessed part of the texture.
Basic Double Crochet (dc)
Used for the border rounds once the main body is complete.
Blanket Size Guide
Choose your dimensions based on how you plan to use the finished blanket.
| Size | Width | Length |
|---|---|---|
| Lap Blanket | 36 in / 91 cm | 48 in / 122 cm |
| Throw | 50 in / 127 cm | 60 in / 152 cm |
| Twin Bed | 66 in / 168 cm | 90 in / 229 cm |
Step-by-Step Free Textured Crochet Blanket Pattern
Step 1 — Chain Your Foundation Row
Chain to your desired width from the sizing table above, adding an extra stitch or two depending on your chosen stitch multiple.
Step 2 — Work the First Two Rows to Set the Pattern
Work a foundation row of double crochet across the full width, then begin your first row of alternating front post and back post double crochet stitches directly above it.
Step 3 — Repeat the Textured Stitch Pattern
- Continue alternating front post and back post double crochet stitches in the same column positions as the previous row.
- Repeat this row structure consistently to build the ribbed, textured effect down the length of the blanket.
- Keep your stitch count consistent at the end of every row.
Step 4 — Check Your Dimensions as You Go
Periodically lay the blanket flat and measure its length against your sizing goal, adjusting your total row count as needed.
Step 5 — Add a Border
Once you’ve reached your desired length, switch to basic double crochet and work one or two rounds around the entire outer edge for a clean, finished look.
Step 6 — Block and Finish
Weave in every loose end securely, then block the finished blanket by lightly steaming or wet-blocking it to relax the stitches and even out the overall texture.
Tips for Even Texture and a Flat Finish
- Keep your tension as consistent as possible across every row — texture patterns make tension inconsistencies more visible than a plain stitch would.
- Count your rows carefully to keep track of your pattern repeat, especially if you’re setting the blanket aside between sessions.
- Always block your finished blanket; this step significantly improves how the texture lies flat and how the piece drapes overall.
- Choose a yarn with good stitch definition (avoid very fuzzy or highly textured novelty yarns) so the front post and back post pattern shows up clearly.
Common Beginner Mistakes to Avoid
- Mixing up front post and back post stitches. Double-check which stitch goes where, especially in your first few rows, since this is what creates the visual pattern.
- Uneven edge stitches. Keep a consistent stitch count at the start and end of every row to avoid a blanket that gradually widens or narrows.
- Skipping blocking. An unblocked textured blanket often looks less crisp and defined than a properly blocked one.
- Running out of yarn mid-project. Buy a little extra yarn upfront, or confirm you can get matching dye lots later, since blankets use significantly more yarn than smaller projects.
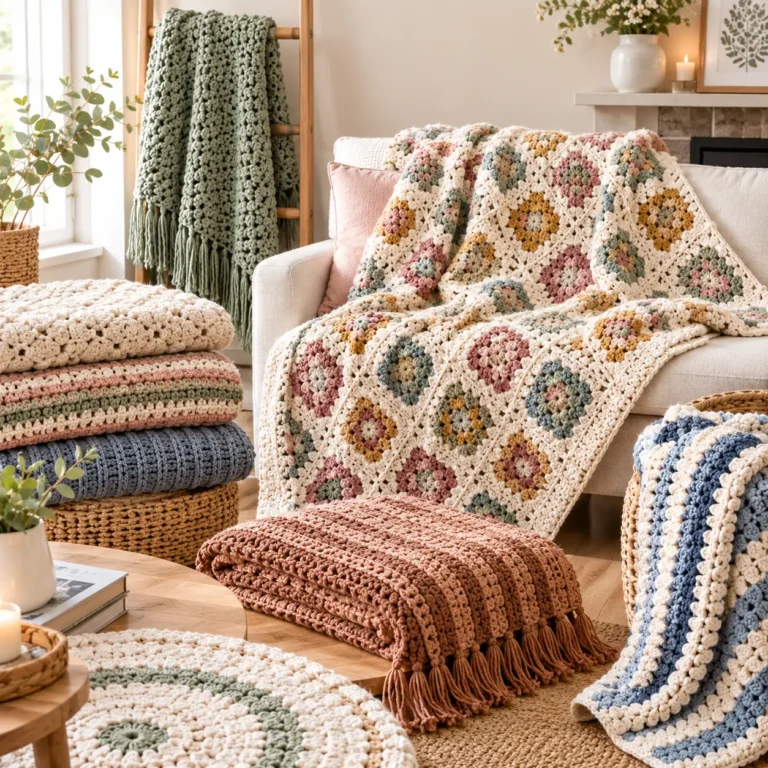
Styling and Customization Ideas
- Add a two-tone border in a contrasting color to frame the textured body.
- Choose seasonal colors — deep jewel tones for winter, soft pastels for spring.
- Finish the short ends with fringe or a simple scalloped border for extra detail.
- Mix in a slightly bulkier yarn for a faster, chunkier version of the same texture.
Conclusion
A free textured crochet blanket pattern proves that dramatic, dimensional texture doesn’t have to come from complicated techniques. By mastering just two simple post-stitch variations and repeating them consistently, you can create a genuinely impressive blanket that looks far more advanced than the skills required to make it. Start with a lap-size version to build confidence, then work your way up to a full throw or bed blanket once you’re comfortable with the rhythm. Share a photo of your finished blanket with your favorite crochet community and see how others have styled theirs.
FAQ
What yarn is best for a free textured crochet blanket pattern?
Worsted or bulky weight yarn works best. Wool or a wool blend adds extra warmth, while acrylic offers a budget-friendly, easy-care alternative with excellent stitch definition.
How long does it take to crochet a textured blanket?
A lap-sized textured blanket typically takes several weeks of regular crocheting, while a full bed-sized version can take a few months, depending on how much time you dedicate each week.
How much yarn do I need for a textured crochet blanket?
Yarn needs vary significantly by size, but a lap blanket generally requires several skeins of worsted weight yarn, while a full bed blanket may need considerably more — always buy a bit extra to be safe.
Is a textured crochet blanket pattern hard for beginners?
Not with this approach. Because the entire design relies on just one repeated post-stitch technique rather than charted colorwork or complex shaping, it’s very achievable once you’ve practiced the front post and back post stitches a few times.