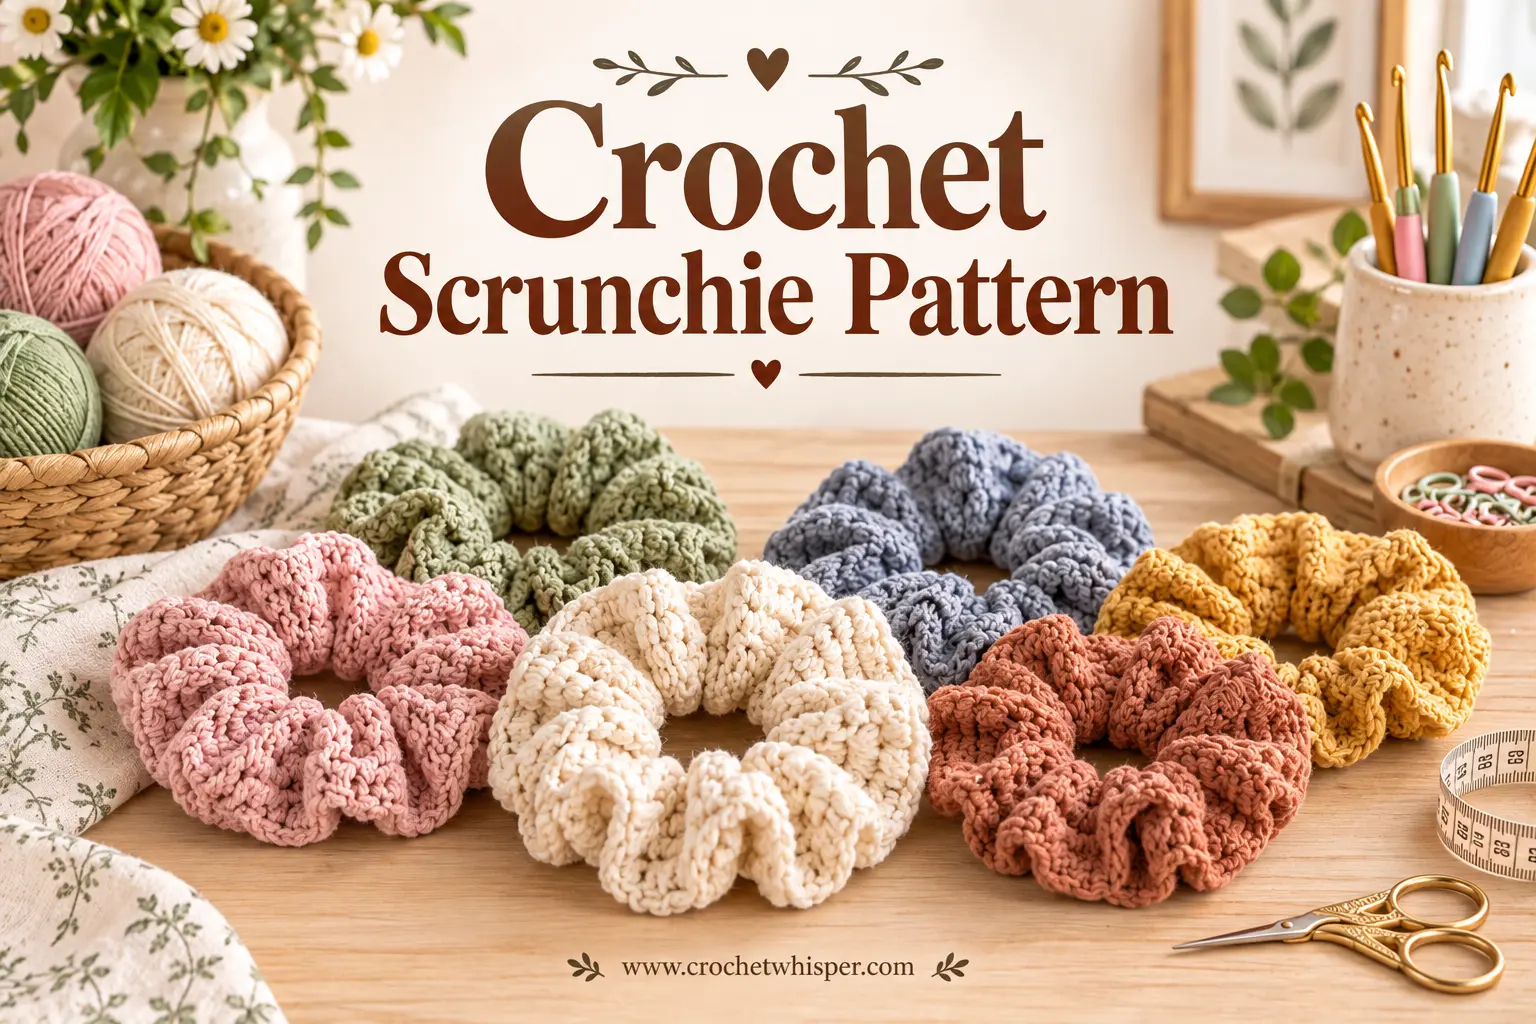
Easy Crochet Scrunchie Pattern for Beginners: Your First 15-Minute Project
The tutorial video is at the bottom of the article.👇
Some of the best handmade things aren’t the biggest ones. A blanket takes weeks. A sweater takes commitment. But a scrunchie? You can crochet one in the time it takes to watch a single episode of your favorite show — and then reach for it every single morning afterward. If you’ve been wanting to try crochet but keep putting it off because bigger projects feel intimidating, this easy crochet scrunchie pattern is exactly the low-risk, high-reward starting point you need. By the end of this guide, you’ll have a finished, wearable accessory, a new stitch skill under your belt, and probably a growing urge to make five more in different colors.
Why an Easy Crochet Scrunchie Is the Ideal First Project
There’s a reason so many crochet teachers recommend scrunchies as a very first project, even before hats or dishcloths. Here’s what makes them such a smart entry point:
- Genuinely fast. Most scrunchies take ten to twenty minutes from start to finish, so you get that satisfying “I made this” feeling almost immediately.
- Minimal yarn required. A single scrunchie uses only a few yards of yarn, which makes it perfect for testing a new color or using up leftover scraps from a bigger project.
- Teaches the core skill loop. You’ll practice chaining, single crochet, and — uniquely for this project — working stitches directly over an elastic band, a small but useful technique.
- Low stakes. If you make a mistake, you’re only a few minutes into the project, so it’s easy to simply pull it out and start again without frustration.
- Doubly useful. A finished scrunchie is both a practical daily accessory and a thoughtful, inexpensive handmade gift.
Because the entire project is essentially one continuous loop of single crochet, it builds the exact hand rhythm and tension control you’ll rely on for every future crochet project, without demanding you learn shaping, increases, or decreases.
Materials You’ll Need
One of the best things about this project is how little you need to get started. Gather these basics before you begin.
| Item | Recommended Type | Notes |
|---|---|---|
| Yarn | DK or worsted weight | Cotton gives a matte, structured look; acrylic adds extra stretch and shine |
| Hook | 4mm–5mm (US G/6–H/8) | Match your hook size to your chosen yarn weight for even, consistent stitches |
| Elastic hair tie | Thin, seamless elastic band | A standard 3–4 inch loop works well for most hair types |
| Notions | Yarn needle, scissors | For weaving in your ends neatly at the finish |
A Quick Note on Yarn Choice
Not all yarn behaves the same way once it’s wrapped around an elastic, so it’s worth thinking through your options before you start.
- Cotton yarn creates a structured, slightly matte scrunchie that holds its shape well but can feel a bit stiffer against the hair.
- Acrylic yarn tends to be softer and pairs naturally with the elastic’s stretch, making it a popular all-purpose choice for beginners.
- Velvet yarn produces a plush, retro-style scrunchie that’s currently a favorite on social media, though it can be slightly trickier to grip while crocheting due to its texture.
If this is truly your first crochet project ever, a smooth acrylic or cotton-acrylic blend is the easiest to work with while you’re still getting used to holding tension.
Essential Stitches for This Scrunchie
This might be the shortest stitch list you’ll ever need for a finished, wearable item.
Chain Stitch (ch)
Only needed if you’re adding a decorative bow or tail detail at the end — the base pattern itself doesn’t require it.
Single Crochet (sc)
The star of this pattern. You’ll work single crochet stitches directly over the elastic band, wrapping your yarn around it stitch by stitch until it’s fully covered.
Slip Stitch (sl st)
Used at the very end to join your last stitch back to your first, closing the round neatly.
Scrunchie Size Guide
Choose your elastic size based on hair thickness and how snug you’d like the finished scrunchie to sit.
| Size | Elastic Loop Length | Best For |
|---|---|---|
| Petite | 3 in / 7.5 cm | Thin or fine hair |
| Standard | 4 in / 10 cm | Most hair types |
| Thick | 5 in / 12.5 cm | Thick or long hair, or for a double-wrapped look |
Step-by-Step Easy Crochet Scrunchie Pattern
Step 1 — Prepare Your Elastic
Choose a thin, seamless elastic hair tie in your desired loop size. A thinner elastic is easier to fully cover with stitches and creates a neater finished look.
Step 2 — Work Single Crochet Around the Elastic
- Make a slip knot and place it on your hook, then insert your hook through the elastic loop.
- Work your first single crochet stitch directly around the elastic, pulling your yarn through both the elastic and your loop on the hook.
- Continue working single crochet stitches evenly around the elastic, rotating it slightly with each stitch so you’re always working into a fresh section.
- Keep going until the elastic is fully and evenly covered, with no bare sections showing through.
Step 3 — Join the Round
Once you’ve worked all the way around and the elastic is fully covered, join your final stitch to your very first stitch with a slip stitch to close the loop neatly.
Step 4 — Weave In Your Ends
Cut your yarn, leaving a short tail, and use your yarn needle to weave both the starting and ending tails securely into the stitches so nothing unravels with wear.
Step 5 — Optional Bow or Tail Embellishment
If you’d like a little extra flair, chain a short length of stitches, fold it into a small bow shape, and secure it to one side of the finished scrunchie with a few stitches or a sewn tack.
Tips for a Fuller, Prettier Scrunchie
- Hold two strands of yarn together as you work for a noticeably fuller, more voluminous scrunchie — a popular look in current trends.
- Avoid overstuffing your stitches too tightly around the elastic; this can make the finished scrunchie stiff and reduce its natural stretch.
- Count your stitches loosely as you go to make sure you’re covering the elastic evenly, without bare patches or overly bunched sections.
- If you want a slightly textured look instead of plain single crochet, try alternating with half double crochet for extra puff.
Common Beginner Mistakes to Avoid
- Stitching too tightly. This is the most common issue for first-timers — it makes the scrunchie stiff and reduces the elastic’s natural give.
- Uneven stitch spacing. Rotating the elastic evenly with each stitch helps avoid bunched sections on one side and gaps on the other.
- Skipping a stitch count check. Pausing halfway around to check your coverage saves you from having to redo an unevenly covered elastic.
- Using yarn too thin for full coverage. A thin, lightweight yarn may require significantly more stitches to fully hide the elastic — a worsted or DK weight is much more forgiving for beginners.
Batch-Making Scrunchies: A Perfect Small-Business or Gift Idea
Once you’ve made your first scrunchie, you’ll likely realize just how fast and inexpensive they are to produce in bulk — which makes them a popular option for handmade gifting or even a small craft-fair business.
- Low cost per piece. A single scrunchie uses only a small amount of yarn and one inexpensive elastic, keeping your material cost per item quite low.
- Fast batch production. Because each one takes only fifteen to twenty minutes, you can realistically make a small batch in a single evening.
- Simple packaging ideas. A small kraft paper bag, a ribbon tie, or a set of three in coordinating colors all make for an appealing, gift-ready presentation.
- Selling potential. Handmade scrunchies are a common, approachable item on craft marketplaces and at local maker fairs, especially when made in trending colorways or with velvet yarn.
Styling and Customization Ideas
Once you’re comfortable with the base pattern, there’s plenty of room to experiment:
- Try an ombre effect by gradually transitioning between two shades of the same color family as you work around the elastic.
- Swap in velvet yarn for a plush, retro-inspired finish that photographs beautifully.
- Add a small crochet bow or fabric bow to one side for a bolder, more decorative look.
- Mix textures by pairing a smooth base yarn with a chunkier accent yarn held together for extra dimension.
Caring for Your Crochet Scrunchie
A little care keeps your handmade scrunchies looking fresh for much longer.
- Hand washing in cool water is the gentlest option, especially for delicate fibers like velvet yarn.
- Machine washing is usually fine for sturdy cotton or acrylic scrunchies if placed inside a mesh laundry bag on a gentle cycle.
- Air dry rather than using a dryer, since heat can affect both the yarn’s texture and the elastic’s stretch over time.
- Store finished scrunchies in a small basket or drawer rather than stretched tightly around other items, which helps the elastic keep its shape longer.
Conclusion
An easy crochet scrunchie pattern is proof that you don’t need hours of free time or a mountain of yarn to create something genuinely useful and satisfying.
In about fifteen minutes, using just a couple of basic stitches, you can go from a plain elastic band to a soft, colorful accessory you’ll reach for daily. It’s the kind of project that builds real confidence fast — and once you’ve made your first one, it’s almost impossible to stop at just one. Try a few different yarn textures, experiment with color combinations, and consider making a small batch as gifts for friends or family. Share a photo of your finished scrunchies with your favorite crochet community and see how others have styled theirs.
FAQ
What yarn is best for an easy crochet scrunchie pattern?
DK or worsted weight yarn works best for beginners. Cotton creates a structured, matte finish, while acrylic offers extra softness and stretch that pairs naturally with the elastic base.
How long does it take to crochet a scrunchie for beginners?
Most beginners finish an easy crochet scrunchie pattern in ten to twenty minutes, making it one of the fastest complete projects you can learn.
How much yarn do I need for one scrunchie?
A single scrunchie typically uses only a few yards of yarn, so even a small leftover scrap from a previous project is often enough.
Can I make a crochet scrunchie without a hook, using only an elastic?
No — this pattern specifically uses a crochet hook to work single crochet stitches around the elastic band, which is what gives it its soft, fully covered look, unlike a plain elastic alone.
How do I keep my crochet scrunchie stretchy?
Avoid working your stitches too tightly around the elastic. Keeping your tension relaxed preserves the elastic’s natural stretch, so the finished scrunchie still gives comfortably when worn.