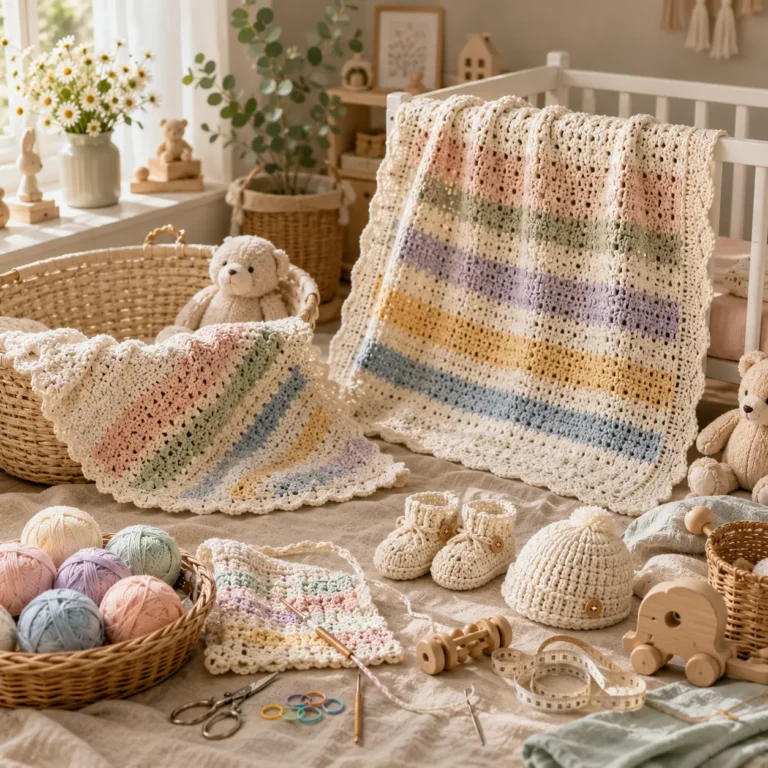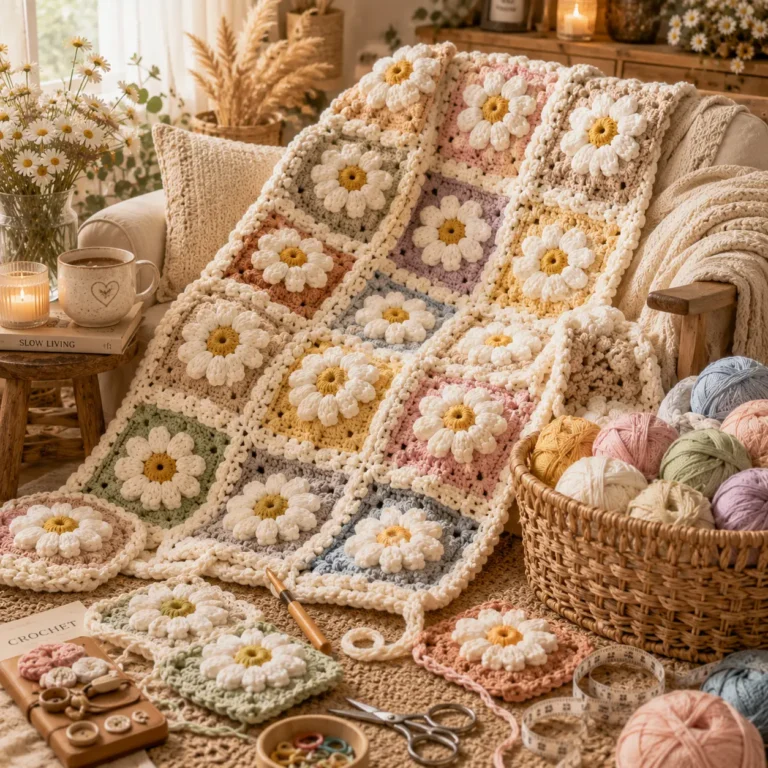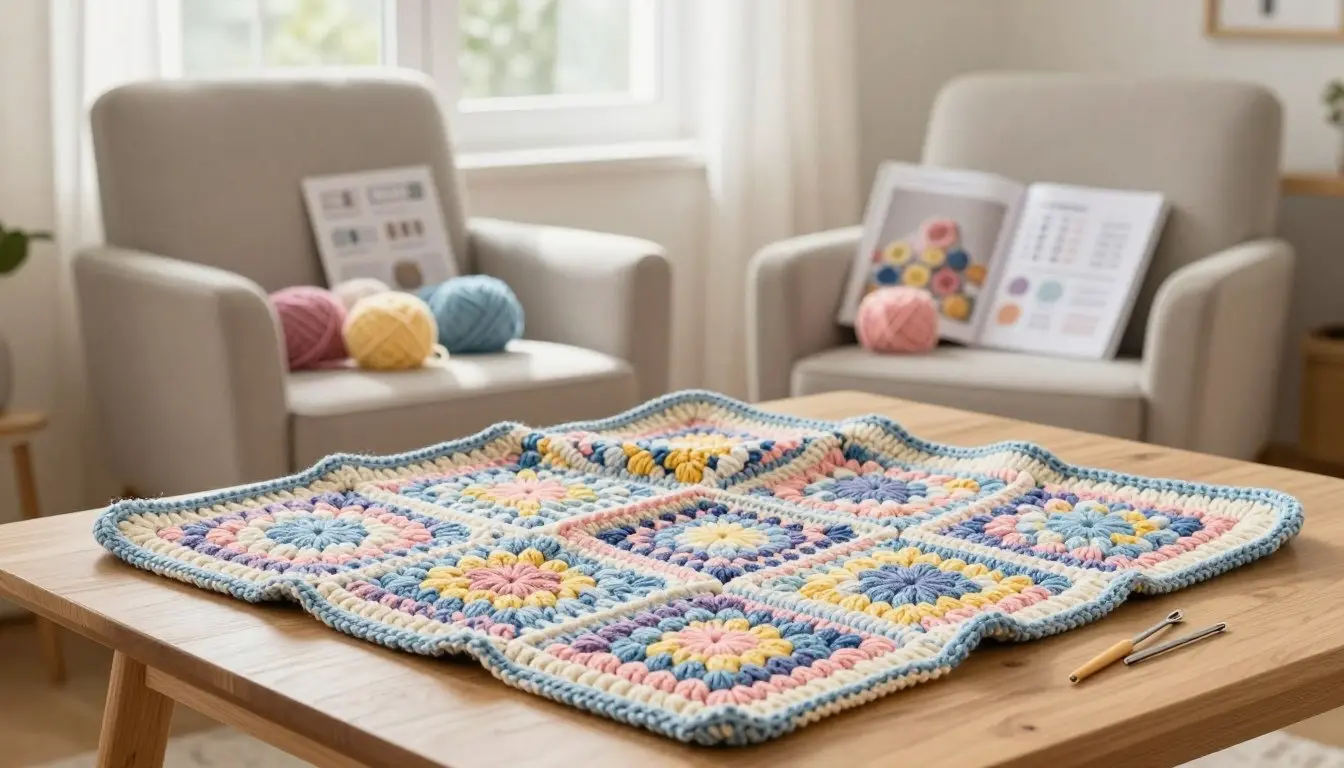
Beginner Crochet Blanket Pattern
Creating a cozy handmade item for your home is a rewarding experience that anyone can master. If you are looking for a simple project, this beginner crochet blanket pattern offers the perfect starting point. You will learn the entire process, from picking the right yarn to finishing a beautiful border.
We provide clear instructions to help you succeed with your first crochet blanket. You will discover how to form a foundation chain and maintain consistent tension throughout your work. Our guide also covers essential tips for managing color changes and fixing common mistakes.
By following these steps, you will gain the confidence needed to complete your project with ease. We also include advice on final care to ensure your creation stays soft and durable for years to come. Let us begin this creative journey together.
Key Takeaways
- Master the basics of yarn selection and hook sizing.
- Learn to create a clean foundation chain for your project.
- Discover techniques to maintain even stitch tension.
- Understand how to manage color transitions effectively.
- Follow expert tips for proper finishing and long-term care.
Materials and Tools for a Beginner Crochet Blanket
Crafting an easy crochet blanket requires only a handful of basic, high-quality supplies. Having the right tools on hand ensures that your time spent crafting remains relaxing rather than frustrating. By preparing your workspace with these essentials, you create a solid foundation for your project.
Choosing Yarn for Warmth, Texture, and Easy Stitching
When selecting the best yarn for crochet blanket projects, beginners should prioritize medium-weight acrylic or cotton blends. These fibers are durable and easy to handle, which helps prevent tangles while you learn. Look for smooth textures that allow your hook to glide effortlessly through each loop.
Choosing a light or medium color is a smart strategy for a crochet blanket for beginners. Lighter shades make it much easier to see your individual stitches, which is vital for maintaining an even tension. Avoid dark colors or novelty yarns with fuzzy textures until you feel more confident with your technique.
Selecting the Right Crochet Hook Size
The size of your hook is just as important as the yarn you choose. For most worsted-weight projects, an H/8 (5.0 mm) hook is the ideal starting point. This size provides a comfortable balance between the yarn thickness and the resulting fabric density.
You might consider using aluminum or bamboo hooks for your first project. Aluminum hooks are incredibly smooth, allowing for fast stitching, while bamboo hooks offer a bit more grip for those still mastering their tension. Both options are excellent for an easy crochet blanket.
Helpful Supplies for Measuring and Finishing
Beyond your yarn and hook, a few extra items will make your work much more professional. A flexible measuring tape is essential for checking your progress and ensuring your blanket reaches the desired dimensions. You will also need a pair of sharp scissors to trim your yarn cleanly.
A large-eye yarn needle is a must-have tool for weaving in your ends once the project is complete. Finally, keep a few stitch markers nearby to help you track your rows. These simple additions make a crochet blanket for beginners much more manageable and help you avoid common mistakes when working with yarn for crochet blanket patterns.
How to Choose the Blanket Size and Yarn Amount
Planning your project is the most important step when learning how to crochet a blanket. Before you pick up your yarn, you must decide on the dimensions that fit your specific needs. Taking time to measure and calculate ensures your project remains enjoyable from start to finish.
Common Blanket Dimensions for Baby, Throw, and Twin Sizes
Selecting the right crochet blanket size depends on who will use it and where it will live. A standard baby blanket is usually small enough for a crib, while a throw is perfect for lounging on the sofa. Twin sizes provide full coverage for a bed.
| Blanket Type | Width (inches) | Length (inches) | Estimated Skeins |
|---|---|---|---|
| Baby | 30 | 35 | 3-4 |
| Throw | 50 | 60 | 8-10 |
| Twin | 65 | 90 | 15-18 |
Estimating Skeins Without Running Short
Calculating yarn needs requires looking at your crochet hook size and the weight of your yarn. Thicker yarn works up faster but often requires more yardage to cover the same surface area. Always check the label on your yarn for the recommended hook size to maintain consistent tension.
If you are unsure about your personal tension, it is always safer to buy one extra skein. Running out of yarn mid-row can be frustrating, especially if the dye lot is no longer available. Keep your receipt and the yarn band until the project is complete.
Adjusting the Pattern for a Custom Width and Length
You can easily modify your crochet blanket size by changing the number of stitches in your foundation chain. Most beginner patterns are based on a simple multiple, such as multiples of two or three. By adding or subtracting stitches in these increments, you can customize the width without disrupting the pattern.
To adjust the length, simply work more or fewer rows until you reach your desired measurement. Remember that changing the size will also change the amount of yarn you need. When you learn how to crochet a blanket, mastering these simple adjustments allows you to create unique pieces that fit your space perfectly.
Understanding the Stitches Used in This Crochet Blanket
Every great crochet project begins with a few fundamental techniques that form the backbone of your work. By mastering these simple movements, you gain the confidence needed to complete your entire project without frustration. Consistency is the key to ensuring your fabric looks uniform from start to finish.
Making a Slip Knot and Foundation Chain
The journey starts by securing your yarn to the hook with a slip knot. Once attached, you will begin the foundation chain crochet process, which serves as the base for your entire piece. This chain acts as the anchor for every stitch that follows, so keeping your tension relaxed is vital for a professional result.
Working the Single Crochet Stitch
After your chain is ready, you will transition into the primary stitch of your project. A single crochet blanket is built by inserting your hook into the chain, pulling up a loop, and completing the stitch with a yarn-over maneuver. This stitch creates a dense, warm fabric that is perfect for beginners who want a sturdy and reliable texture.
“Crochet is a journey of patience, where every loop you pull brings you closer to a masterpiece of your own making.”
Recognizing Turning Chains, Rows, and Stitch Counts
As you reach the end of a row, you must create a turning chain to provide the necessary height for the next section. This small chain allows you to rotate your work and begin the next row smoothly. Keeping an accurate stitch count is essential to ensure your blanket maintains a perfectly rectangular shape as it grows.
How to Identify the Front and Back of the Work
Learning to distinguish between the front and back of your fabric helps you maintain a clean, polished appearance. The front side typically displays a series of clear, V-shaped stitches, while the back may look slightly more textured or knotted. By observing these subtle differences, you can ensure that your stitching remains uniform throughout the entire process.
Preparing the Foundation Chain and First Row
Setting up your foundation chain correctly ensures that your blanket remains square and tidy from start to finish. This initial step acts as the blueprint for your entire project. Proper crochet blanket tension during this phase prevents the edges from pulling or rippling later on.
Creating an Even Foundation Chain
To achieve a uniform look, maintain a steady rhythm as you pull each loop through. Avoid pulling the yarn too tightly, as this can make it difficult to insert your hook into the chain later. Consistency is key when working your foundation.
Working the First Row Without Twisting the Chain
Lay your foundation chain flat on a table before you begin the first row. Ensure that all the “V” shapes of the stitches are facing upward in the same direction. If the chain twists, your first row will spiral, making it impossible to keep the blanket flat.
Checking the Stitch Count Before Continuing
Always verify your crochet stitch count before moving to the second row. A simple recount now saves you from having to undo hours of work later. If your count is off, your crochet blanket tension might be inconsistent, or you may have accidentally skipped a stitch.
Correcting Loose, Tight, or Missed Foundation Stitches
If you notice a stitch that looks too loose or tight, do not hesitate to pull it out and redo it. A solid foundation is worth the extra effort. Use the following table to identify and fix common errors before you proceed.
| Issue | Cause | Solution |
|---|---|---|
| Tight stitches | Pulling yarn too hard | Use a larger hook for the chain |
| Loose stitches | Inconsistent grip | Slow down your hand movement |
| Missed stitches | Distraction | Use stitch markers every 10 chains |
| Twisted chain | Handling error | Lay flat on a surface to align |
Working the Main Crochet Blanket Pattern
Mastering the repetitive nature of this crochet blanket pattern is the secret to a professional-looking finish. As you move past the foundation, you will find a soothing rhythm in the stitches that makes the work go by quickly.
Repeating the Basic Rows
Placing the Hook Under the Correct Loops
To ensure your fabric looks uniform, always insert your hook under both loops of the stitch from the previous row. This creates a sturdy structure that prevents the blanket from stretching out of shape over time.
Maintaining Consistent Stitch Tension
Consistent tension is the hallmark of a beautiful handmade item. Try to hold your yarn with the same amount of pressure throughout the entire project to avoid tight or loose spots in your fabric.
Turning the Blanket at the End of Each Row
When you reach the end of a row, turn your work like you are turning the page of a book. This simple motion keeps your yarn flowing smoothly and prepares you to start the next row without tangling your supplies.
Changing Yarn Colors Cleanly
Joining a New Skein Without Bulky Knots
When changing yarn colors crochet enthusiasts often worry about visible transitions. The best way to join a new skein is to finish the last pull-through of the final stitch with the new color. This method hides the join inside the stitch, preventing bulky knots that can ruin the texture of your blanket.
Keeping the Edges Straight as the Blanket Grows
Counting Stitches and Using Row Markers
Even experienced crafters can accidentally drop or add stitches at the end of a row. Using row markers at the start and end of your work helps you keep track of your stitch count easily.
- Check your stitch count every few rows to ensure accuracy.
- Use locking stitch markers to secure your place if you need to step away.
- Count your stitches before you turn to maintain perfectly straight edges.
By following these steps, you will maintain a clean, professional look throughout your entire crochet blanket pattern. Remember that patience is your best tool when changing yarn colors crochet projects, as taking your time ensures a seamless result.
Checking Your Work and Fixing Common Crochet Mistakes
Catching mistakes early is the secret to a professional-looking finished piece. By inspecting your progress every few rows, you ensure that your foundation remains solid for a beautiful crochet blanket border later on. Taking a moment to review your work prevents small errors from compounding into larger issues.

Repairing Missed, Extra, or Split Stitches
It is common to accidentally skip a stitch or add an extra one, which can cause your fabric to grow or shrink unexpectedly. If you notice a split stitch where the hook caught only half of the yarn ply, simply pull back to that point and re-work the stitch. Precision at this stage makes the final appearance much cleaner.
Undoing Rows Safely Without Losing Your Place
When you need to fix a mistake, remove your hook and gently pull on the working yarn to unravel the stitches. This process, often called “frogging,” allows you to backtrack safely to the exact point of the error. Always count your stitches carefully as you re-work the section to ensure you are back on track.
Correcting Uneven Edges and Wavy Fabric
Uneven edges often result from inconsistent tension or missing the final stitch of a row. If your fabric looks wavy, you may have accidentally increased your stitch count. Ensuring your edges are straight now provides the perfect base for a professional crochet blanket edging.
Managing Changes in Tension Between Skeins
Tension can shift when you start a new skein of yarn, leading to visible changes in your fabric’s texture. To minimize this, try to carry the old and new yarn together for a few stitches during the transition. This technique helps maintain a consistent look throughout the entire blanket.
When to Unravel and Rework a Section
Sometimes, the best solution is to unravel a section entirely if the error is too deep to patch. If you notice a mistake several rows back that affects the overall shape, do not hesitate to restart that portion. Patience is a vital tool for any crocheter aiming for high-quality results.
| Common Issue | Primary Cause | Recommended Fix |
|---|---|---|
| Wavy Edges | Extra stitches added | Unravel and recount |
| Tight Fabric | High tension | Use a larger hook |
| Uneven Border Base | Skipped stitches | Adjust for crochet blanket border |
Creating a Neat Border and Finishing the Blanket
Transforming your handmade piece into a polished heirloom starts with these essential finishing techniques. Taking the time to secure your work ensures that your cozy creation remains intact through many years of use.
Weaving in Yarn Tails Securely
Once you finish your final stitch, cut the yarn leaving a tail of about six inches. Use a tapestry needle to weave this tail back and forth through the stitches on the wrong side of the fabric.
Always weave in multiple directions to prevent the yarn from slipping out over time. This simple step keeps your hard work from unraveling after the first wash.
Single Crochet Border Around the Blanket
Adding a simple border provides a clean, professional frame for your project. Start by joining your yarn in any corner and working single crochet stitches evenly along every edge.
Maintain a consistent tension to ensure the border does not pull or ripple. This extra layer adds structural integrity to the perimeter of your blanket.
Working Smoothly Around Corners
To keep your corners flat, you must add extra stitches at each turn. Work three single crochet stitches into the same corner space to allow the fabric to pivot without bunching.
This technique ensures that your border remains square and lays perfectly flat against the main body of the blanket. Precision at the corners makes a significant difference in the final look.
Blocking the Finished Blanket for an Even Shape
After finishing your border, you may notice that the edges look slightly uneven or wavy. The process of blocking crochet blanket projects is the best way to relax the fibers and achieve a uniform shape.
Simply dampen your blanket and pin it to a flat surface, gently stretching it to your desired dimensions. Allow it to dry completely in this position to set the stitches into a smooth, professional finish.
Trimming and Inspecting the Final Edges
Before you gift or use your blanket, perform a final inspection of the entire perimeter. Look for any missed spaces or loose loops that might need a quick adjustment with your hook.
Carefully trim any remaining yarn ends close to the fabric, being cautious not to cut the actual stitches. A thorough final check ensures your project is ready to provide warmth and comfort for years to come.
Care, Personalization, and Safe Gift-Giving Tips
Whether you are keeping your blanket or gifting it, proper care and thoughtful details make all the difference. Mastering crochet blanket care ensures that your hard work remains soft, vibrant, and structurally sound for years to come.

Washing and Drying a Handmade Crochet Blanket
Always check the yarn label for specific fiber instructions before cleaning. Most acrylic yarns are machine washable, but wool or delicate blends often require gentle hand washing in cool water to prevent shrinking or felting.
When drying, avoid hanging the blanket, as the weight of the water can stretch the stitches out of shape. Instead, lay the item flat on a clean towel and reshape it carefully. This simple habit is a cornerstone of effective crochet blanket care.
| Fiber Type | Washing Method | Drying Recommendation |
|---|---|---|
| Acrylic | Machine Wash (Gentle) | Tumble Dry Low |
| Wool | Hand Wash Only | Lay Flat to Dry |
| Cotton | Machine Wash (Warm) | Lay Flat or Tumble Dry |
Adding Stripes, Color Blocks, or a Textured Border
Personalization allows you to transform a basic pattern into a unique piece of art. Adding bold stripes or color blocks can modernize the look, while a textured border—such as a shell or picot stitch—adds a professional, polished finish.
Keep in mind that adding heavy borders or extra yarn layers will increase the overall weight of the project. These additions can make the blanket feel more substantial and cozy, which is perfect for colder climates.
Choosing a Lining or Backing for Extra Warmth
If you want to increase the thermal properties of your project, consider attaching a fabric lining. A soft flannel or fleece backing provides an extra layer of insulation and hides any loose ends on the reverse side.
This technique is particularly useful for blankets made with open, lacy stitches. It creates a durable barrier that protects the crochet work from snagging on buttons or jewelry during daily use.
Preparing a Crochet Blanket as a Baby or Housewarming Gift
When creating a baby crochet blanket, safety is the highest priority. Ensure all yarn ends are woven in securely so they cannot be pulled loose by tiny fingers, and avoid using embellishments like buttons or beads that could pose a choking hazard.
For housewarming gifts, presentation is key to making the recipient feel special. Wrap your finished piece in acid-free tissue paper and include a small card with washing instructions. This thoughtful gesture ensures your gift remains a cherished heirloom for a long time.
Conclusion
Creating a cozy blanket requires patience and focus on your stitch tension. You now possess the skills to select quality yarn from brands like Lion Brand or Red Heart to build a lasting piece. Every row you complete brings you closer to a finished item that showcases your personal style.
Mastering the basics of counting stitches and fixing errors ensures your project remains stress-free. This simple pattern serves as a perfect foundation for your future craft projects. You can easily adapt these techniques to create a unique handmade crochet gift for a loved one.
A soft blanket provides comfort for years when made with care. Whether you keep this item for your own home or share it as a thoughtful handmade crochet gift, your effort creates something truly special. Pick up your hook and enjoy the rhythm of your next project today.
FAQ
What is the best yarn for a Beginner Crochet Blanket Pattern?
For beginners, a medium-weight (Level 4) acrylic yarn is highly recommended because it is durable and offers excellent stitch definition. Popular choices like Red Heart Super Saver or Lion Brand Vanna’s Choice are affordable, come in a vast array of colors, and are easy to handle while you learn the foundation chain and single crochet stitch.
How do I choose the correct crochet hook size for my project?
Most worsted weight yarns pair best with an H/8 (5.0mm) or I/9 (5.5mm) hook. Using an ergonomic hook, such as those from the Clover Amour line, can help maintain consistent tension and prevent hand fatigue during long sessions of working on a cozy handmade blanket at home.
How many skeins of yarn will I need for a standard throw blanket?
To create a standard 50″ x 60″ throw blanket size, you will generally need between 2,000 and 2,500 yards of yarn. This typically equates to 7 to 10 skeins, depending on the specific yardage of the brand you select. Always check the dye lot numbers on the labels to ensure color consistency across your entire project.
Why are the edges of my crochet blanket becoming uneven or wavy?
Uneven edges usually occur when a stitch count is not maintained. Beginners often accidentally skip the last stitch of a row or add an extra stitch into the turning chain. Using stitch markers to identify the first and last stitch of every row is the most effective way to keep your crochet blanket edges perfectly straight.
What is the “frogging” technique and when should I use it?
“Frogging” is a term used by the crochet community (because you “rip it, rip it”) to describe unraveling your work to fix a mistake. You should frog a section if you notice missed stitches or a significant change in crochet blanket tension several rows back, as this ensures the final handmade crochet gift looks professional.
How do I join a new skein of yarn without creating bulky knots?
To join yarn cleanly, perform the final “pull-through” of your last stitch with the new strand of yarn. This creates a seamless color change. Leave a long tail of at least 6 inches for both the old and new yarn, which you will later weave in using a tapestry needle or yarn needle for a secure, invisible finish.
Is blocking necessary for a finished crochet blanket?
While not always mandatory for acrylic yarn, blocking a crochet blanket helps even out the stitches and settle the crochet blanket border. By using blocking mats and T-pins to gently stretch the blanket into its final dimensions, you can transform a slightly puckered project into a perfectly rectangular, cozy handmade masterpiece.
What is the best way to clean and care for a handmade crochet blanket?
To preserve the life of your handmade project, it is best to machine wash it on a delicate cycle using a gentle detergent like Woolite. Placing the blanket inside a large mesh laundry bag prevents the stitches from snagging on the agitator. Tumble dry on a low-heat setting or lay it flat to air dry to maintain the fabric appearance.