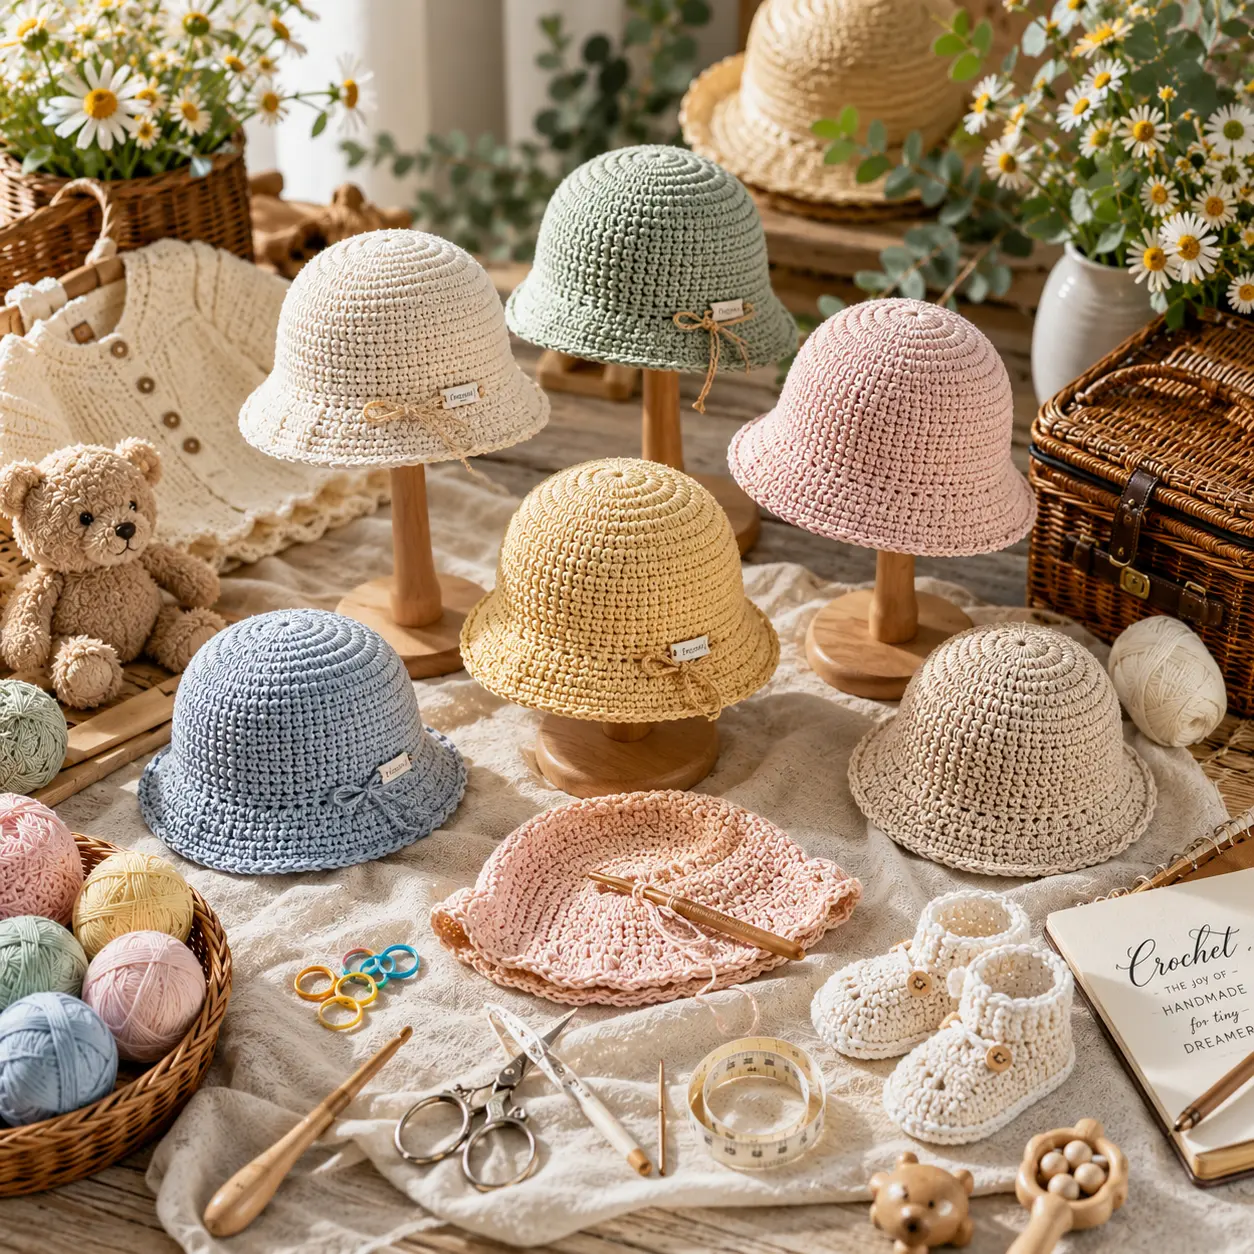
FREE Baby Crochet Bucket Hat Pattern | Chunky Ribbed Design
This third take on the baby bucket hat swaps out the smooth, plain fabric of a standard pattern for a ribbed texture, built using front post and back post stitches in a soft chunky yarn. The result is a hat with visible vertical texture and a slightly stretchier fit, giving it a completely different look and feel from a flat single crochet bucket hat.
This free pattern walks you through the ribbing technique step by step, so even if you’ve never worked front post or back post stitches before, you’ll finish with a hat that has real dimension.
Why a Ribbed Chunky Bucket Hat Feels Different
Front post and back post stitches create raised, textured columns in the fabric, similar to knit ribbing. Combined with a soft chunky yarn instead of a lighter cotton, this version trades breezy summer breathability for a cozier, more structured feel, perfect for cooler days or a slightly more textured aesthetic.
What makes this variation worth trying:
- Front post and back post stitches add visible, tactile texture
- Chunky yarn creates a plush, substantial fabric
- The ribbed texture allows a bit of stretch for a snugger fit
- A great low-stakes project for practicing post stitches
What You’ll Need: Materials Table
Gather your supplies before starting, since chunky yarn moves quickly once you’re in a rhythm with the ribbing pattern.
| Item | Recommended Type | Approximate Amount |
|---|---|---|
| Yarn | Chunky or light bulky weight, acrylic or wool blend | 120-160g |
| Crochet hook | 5.5mm-6mm (US I/9-J/10) | 1 |
| Yarn needle | Large eye, blunt tip | 1 |
| Stitch markers | For tracking rounds | 2-4 |
| Measuring tape | Flexible | 1 |
A soft chunky wool blend adds extra warmth, while a chunky acrylic option keeps the hat easier to wash and care for.
Sizing Guide
Head circumference determines fit here, so measure carefully or use these general age ranges as your starting point.
| Age | Head Circumference (approx.) | Brim Width (approx.) |
|---|---|---|
| 0-6 months | 15 inches | 2 inches |
| 6-12 months | 17.5 inches | 2.5 inches |
| 1-2 years | 18.5 inches | 2.5 inches |
Work a small gauge swatch in the ribbing pattern first, since front post and back post stitches can pull in tighter than standard stitches, affecting your final fit.
Step-by-Step: How to Crochet the Ribbed Bucket Hat
Step 1: Start the Crown
- Begin with a magic ring or chain 4, joined into a circle.
- Work single crochet in the round, increasing evenly to keep the circle flat.
- Continue increasing every round until the circle matches the target head circumference.
- Place a stitch marker at the start of each round to avoid losing count.
Step 2: Crochet the Ribbed Sides
- Stop increasing once the crown reaches the correct width
- Work one plain round of single or double crochet to establish a base row
- On the next round, alternate one front post double crochet with one back post double crochet all the way around
- Repeat this alternating front post and back post pattern for every subsequent round of the sides, keeping the same stitch above the same stitch each round to build clean ribbed columns
Step 3: Crochet the Brim
- Once the ribbed sides reach the desired depth, begin increasing again to flare the brim outward.
- Switch back to standard double crochet stitches for the brim, since ribbing isn’t needed on the flat section.
- Increase evenly around each round so the brim lies flat rather than cupping or rippling.
- Finish with a single crochet round for a clean, defined outer edge.
Step 4: Add the Finishing Touches
- Weave in all loose ends securely
- Add an optional small button or tie for extra character
- Block gently with steam, focusing on the brim so it lies especially flat
- Try the hat against a similar-sized item to confirm fit before considering it finished
Tips for Clean, Even Ribbing
- Keep the same post stitch stacked directly above the one from the previous round for the cleanest ribbed columns
- Work at a relaxed tension, since post stitches naturally pull the fabric in slightly
- Use a stitch marker at the start of every round, since post stitch rounds are easy to lose track of visually
- Practice a small swatch first if you’ve never worked front post or back post stitches before
Common Mistakes to Avoid
- Losing track of the front post/back post alternation — breaks the ribbing pattern and creates visible inconsistencies
- Working post stitches too tightly — can make the sides feel stiff rather than pleasantly textured
- Skipping the gauge swatch — ribbing can pull in more than expected, throwing off your final size
- Forgetting to switch back to standard stitches for the brim — ribbing isn’t needed once you reach the flat brim section
Frequently Asked Questions
What is front post and back post crochet? These are stitches worked around the post of a stitch from the previous round rather than into the top loops, creating raised, textured ribbing similar to knit fabric.
What yarn weight works best for this ribbed bucket hat? Chunky or light bulky weight yarn is ideal, since it shows off the post stitch texture clearly while working up relatively quickly.
Is this pattern harder than a standard bucket hat? It introduces one new technique, front post and back post stitches, but the overall construction remains simple once you get comfortable with the alternating pattern.
How much yarn do I need for this ribbed bucket hat? Expect to use 120 to 160 grams depending on the size you’re making.
Can I use this ribbing technique on other hat patterns? Yes — front post and back post ribbing can be added to almost any hat pattern’s side section to add texture and a bit of stretch.
Conclusion
This chunky ribbed bucket hat pattern takes the classic bucket hat shape in a genuinely different direction, trading smooth fabric for tactile, textured columns using front post and back post stitches. With the materials list, sizing chart, and step-by-step instructions above, you have everything you need to crochet a hat with real dimension and a slightly cozier feel.
Grab your chunky yarn, start your crown today, and enjoy learning the ribbing rhythm as you work up the sides. Once your hat is finished, share it with your crochet community — a ribbed bucket hat like this one brings something new to the table.