Crochet Christmas Baby Coat | FREE Pattern
The tutorial video is at the bottom of the article.👇
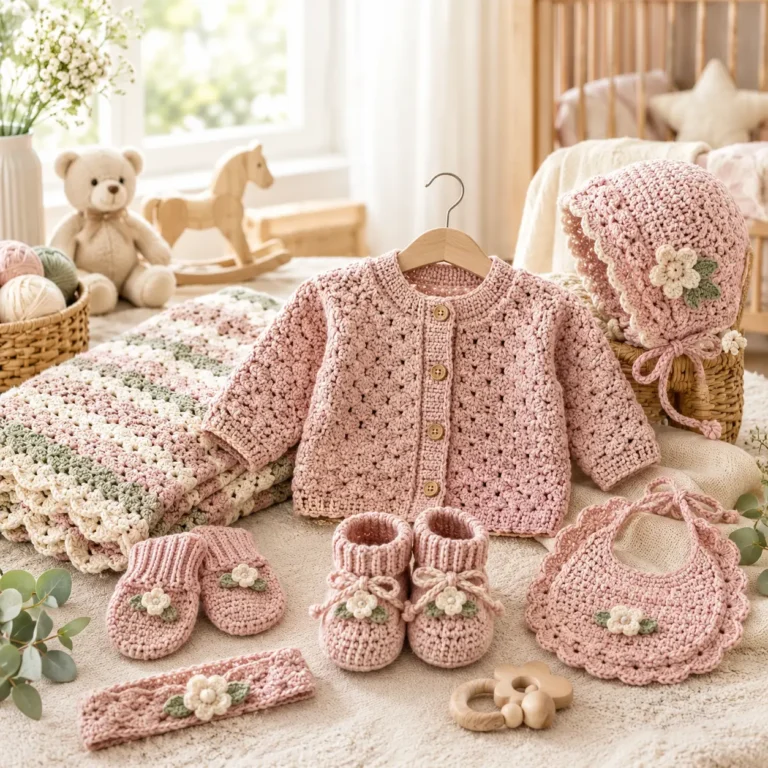
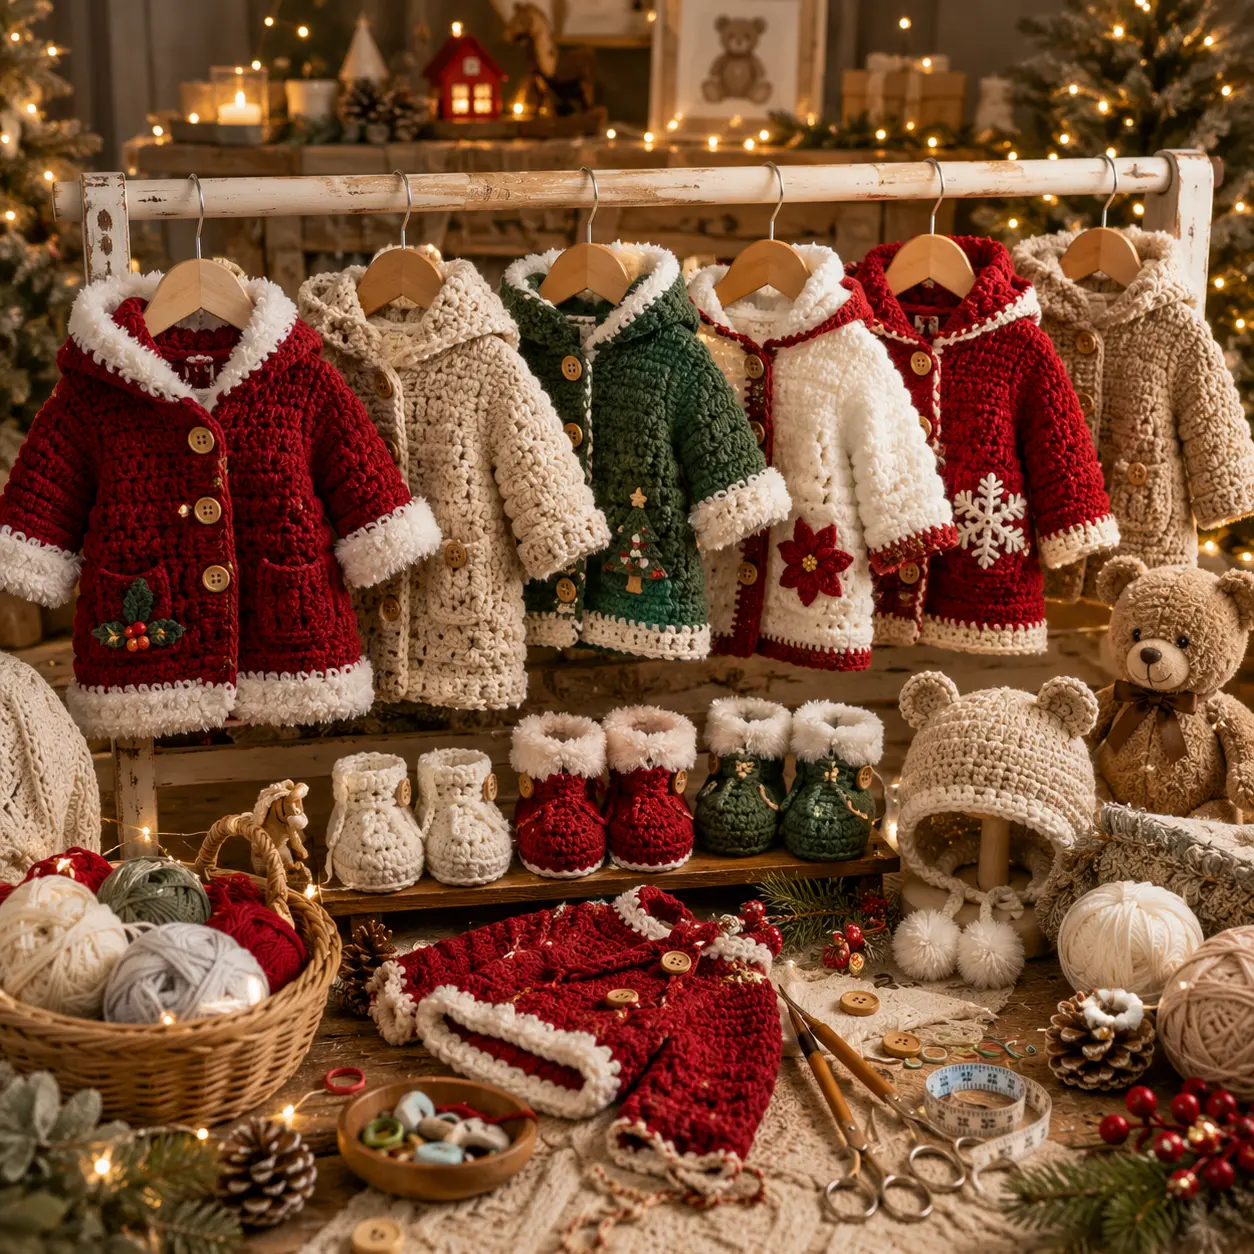
A handmade coat has a way of turning a baby’s first Christmas photos into something truly memorable. This crochet Christmas baby coat pattern combines a warm, structured silhouette with festive color options, giving you a piece that works beautifully for holiday photoshoots, family gatherings, or simply keeping a little one cozy through the season.
This free pattern walks you through every stage, from the button band to the finishing touches, so you can create a coat that looks like it came from a specialty boutique.
Why This Crochet Christmas Baby Coat Is Worth Making
A crocheted coat offers more structure and warmth than a simple cardigan, thanks to its fuller body and closed-front construction. Paired with classic holiday colors like red, cream, or forest green, this pattern turns a practical winter piece into a festive statement.
What makes this project worth your time:
- Structured coat shape offers extra warmth over a typical cardigan
- Classic color choices make it perfect for holiday photos
- Button closure adds a polished, tailored look
- Adaptable for multiple sizes with simple row adjustments
What You’ll Need: Materials Table
Gather your supplies before starting, since a coat project benefits from having everything on hand across multiple crochet sessions.
| Item | Recommended Type | Approximate Amount |
|---|---|---|
| Yarn (Main color) | Worsted weight wool blend or acrylic | 250-400g depending on size |
| Yarn (Trim/contrast) | Cream or contrasting shade | 30-50g |
| Crochet hook | 4.5mm-5mm (US 7-H/8) | 1 |
| Yarn needle | Blunt tip | 1 |
| Buttons | Medium, decorative | 3-5 |
| Stitch markers | For tracking rounds | 4-6 |
A wool blend yarn adds extra warmth for winter wear, while a machine-washable acrylic option makes holiday spills and messes easier to manage.
Sizing Guide
Baby sizes vary widely, so measure the chest directly if possible before choosing a size.
| Age | Chest (approx.) | Coat Length (approx.) |
|---|---|---|
| 0-6 months | 17 inches | 11 inches |
| 6-12 months | 18.5 inches | 12.5 inches |
| 12-18 months | 20 inches | 14 inches |
Crochet a 4×4 inch gauge swatch first, since coat-weight fabric needs to be accurate for both warmth and a comfortable range of motion.
Step-by-Step: How to Crochet the Christmas Baby Coat
Step 1: Crochet the Back Panel
- Chain to match roughly half the chest measurement, plus ease for a comfortable, layerable fit.
- Work double crochet or half double crochet rows up to the underarm depth.
- Keep tension even here, since the back panel sets the base width for the entire coat.
- Place a stitch marker at the start of each row to help track your progress.
Step 2: Crochet the Front Panels
- Work two matching front panels, each roughly half the width of the back panel
- Continue in the same stitch pattern up to the underarm depth
- Leave the center front edges open for the button band to be added later
- Keep both panels identical in row count for a symmetrical fit
Step 3: Join the Panels and Shape the Armholes
- Join the front and back panels at the side seams up to the underarm.
- Skip an even number of stitches on each side to create the armhole openings.
- Continue working the front and back separately from this point to the shoulder line.
- Join the shoulders with a simple seam or single crochet join.
Step 4: Crochet the Sleeves
- Work each sleeve separately in rounds, starting at the cuff and working upward
- Increase gradually toward the underarm for a comfortable range of motion
- Continue until the sleeve reaches the desired length
- Attach both sleeves to the body at the armhole openings
Step 5: Add the Button Band and Collar
- Work an even band of single crochet along both front edges.
- Add evenly spaced buttonholes on one side to match your buttons.
- Crochet a simple collar or add a contrast trim around the neckline.
- Sew buttons into place to align with the buttonholes.
Step 6: Add Festive Trim and Finishing Details
- Add a contrast trim in cream or white around the cuffs and hem for a classic holiday look
- Weave in all loose ends securely
- Block gently with steam to help the coat lie flat and even
- Try the coat against a similar-sized garment to double-check fit before finalizing buttons
Tips for a Polished, Festive Finish
- Choose classic holiday colors like red, forest green, or cream for a timeless look
- Keep tension consistent across all panels so the coat hangs evenly
- Use stitch markers throughout, since coat construction involves more pieces than a simple sweater
- Block each panel individually before assembly for the cleanest possible finish
Common Mistakes to Avoid
- Skipping the gauge swatch — the leading cause of a coat that doesn’t fit as expected
- Mismatched front panel row counts — creates an uneven, asymmetrical front closure
- Rushing the sleeve increases — uneven increases lead to a tight or twisted sleeve
- Placing buttons too far apart — can leave gaps in the front closure that let in cold air
Frequently Asked Questions
What yarn is best for a crochet Christmas baby coat? A wool blend adds extra warmth for winter wear, while a soft acrylic yarn is a good machine-washable alternative for easier care.
What hook size should I use for this coat pattern? A 4.5mm to 5mm hook pairs well with worsted weight yarn to create a warm, structured fabric with good stitch definition.
How much yarn do I need to crochet a baby coat? Expect to use 250 to 400 grams for the main color, plus a smaller amount of contrast yarn for the trim, depending on the size you choose.
How long does it take to crochet a Christmas baby coat? Most crocheters finish this coat in 10 to 15 hours, spread across several sessions given the multiple pattern pieces involved.
Can I make this coat in colors other than traditional Christmas shades? Absolutely — the same pattern works beautifully in any color palette if you’d prefer a coat for everyday wear beyond the holiday season.
Conclusion
A crochet Christmas baby coat is the kind of project that turns practical winter wear into a cherished holiday keepsake. With the materials list, sizing chart, and step-by-step instructions above, you have everything you need to create a warm, polished coat that’s ready for family photos and cold-weather outings alike.
Gather your festive yarn colors, start your back panel today, and work through each piece at your own pace. Once your coat is finished, share it with your crochet community — a handmade Christmas coat like this one is always worth showing off.