The Sunny Petal Chunky Blanket | FREE Crochet Pattern + Video Tutorial
The tutorial video is at the bottom of the article.👇
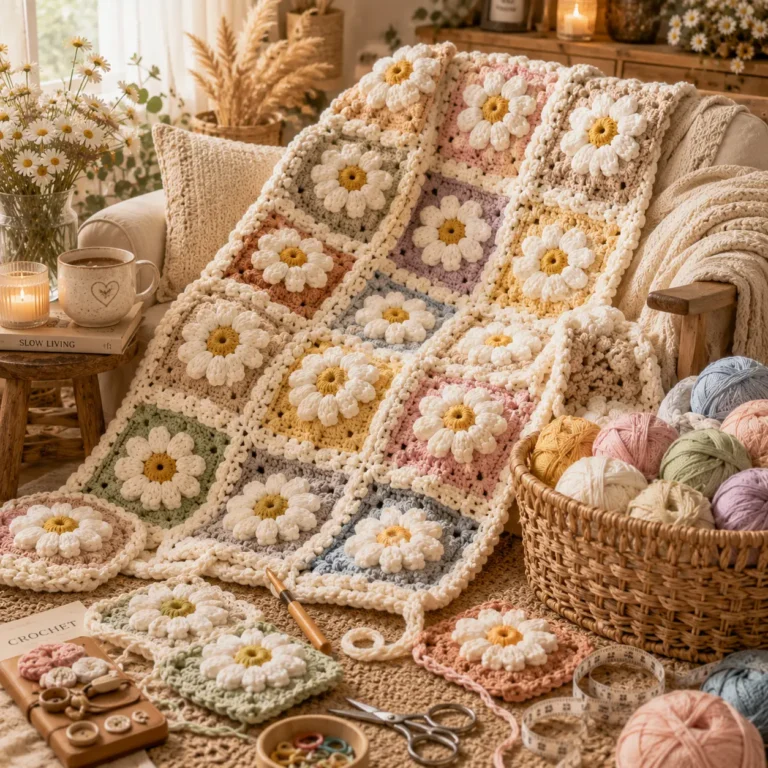
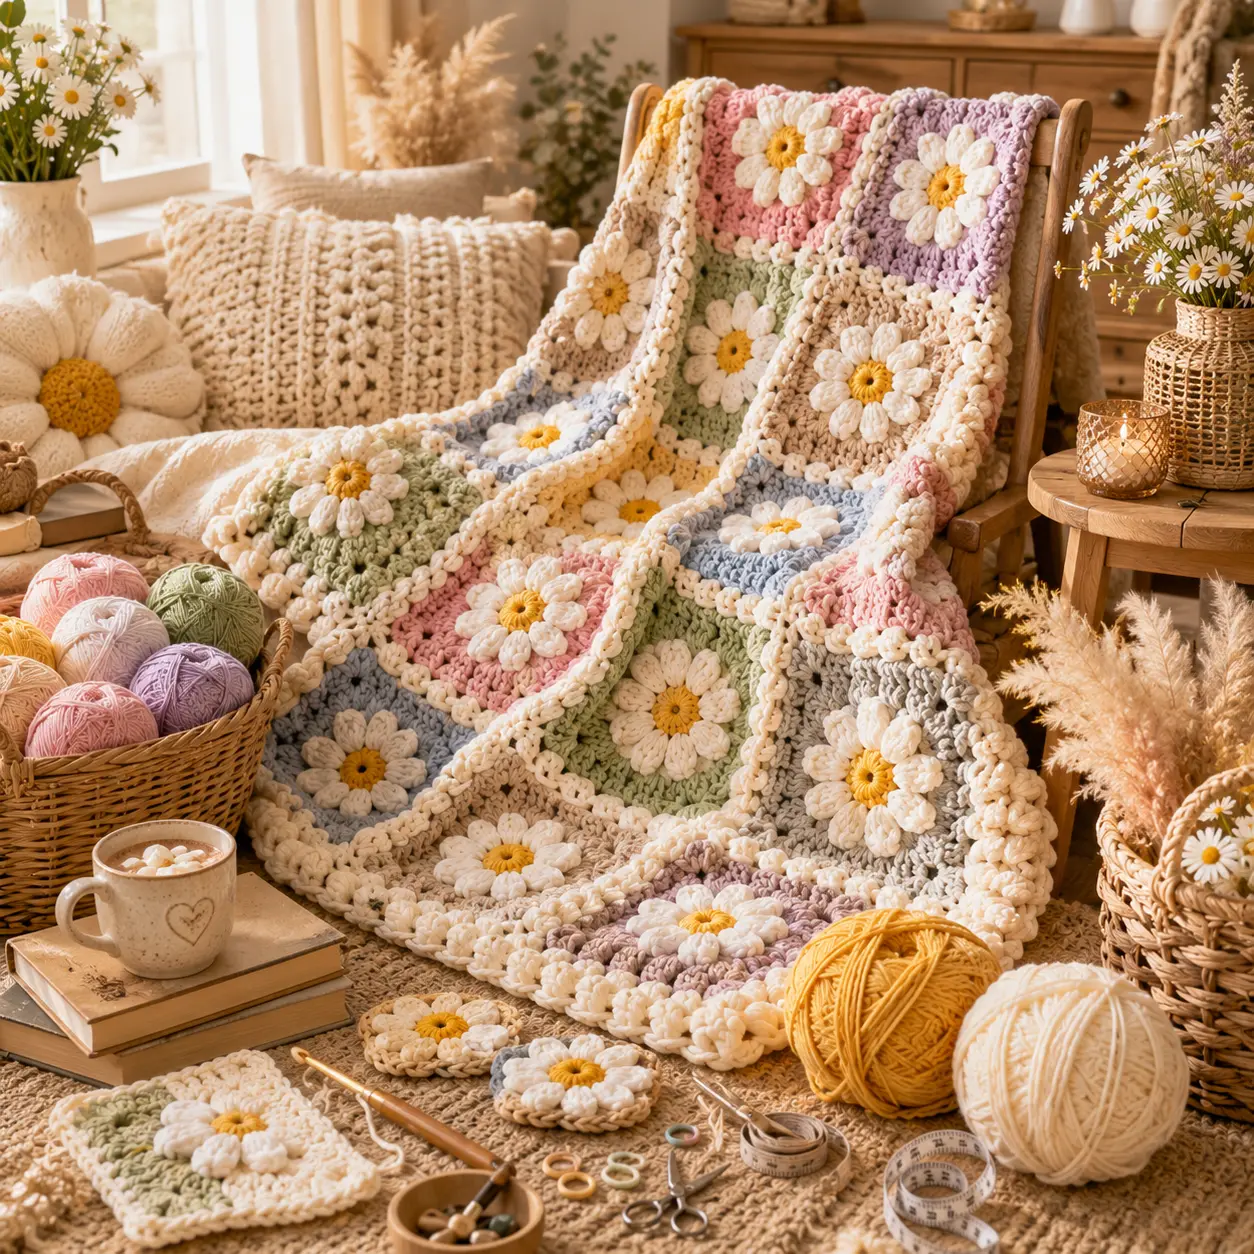
There’s something about a chunky granny square blanket dotted with cheerful flower motifs that instantly makes a room feel warmer. The Sunny Petal Chunky Blanket takes that classic granny square base and builds it into a full daisy motif, worked up quickly in bulky yarn so you can go from skein to sofa throw in far less time than a standard blanket.
This free pattern, paired with a companion video tutorial, walks you through every round of the flower motif and the full assembly process, so even a first-time blanket-maker can finish with confidence.
Why the Sunny Petal Chunky Blanket Is Worth Making
Chunky yarn does a lot of the heavy lifting here, letting you build a full-sized throw in a fraction of the time a worsted weight blanket would take. The daisy motif adds visual interest without requiring any embroidery or applique work, since the flower shape is built directly into the granny square itself.
What makes this project worth your time:
- Bulky yarn means fast progress toward a full-sized throw
- The daisy motif is built into the square, no extra embellishment needed
- Fully customizable color palette for any room or gift recipient
- Great practice project for anyone ready to move beyond scarves
What You’ll Need: Materials Table
Gather your supplies before starting so you can move through the squares without needing to restock mid-project.
| Item | Recommended Type | Approximate Amount |
|---|---|---|
| Yarn (Background) | Bulky weight, acrylic or wool blend | 7 skeins |
| Yarn (Petal color) | Bulky weight, contrasting shade | 3 skeins |
| Yarn (Flower center) | Bulky weight, accent shade | 1 skein |
| Crochet hook | 6mm-6.5mm (US J/10-K/10.5) | 1 |
| Yarn needle | Large eye, blunt tip | 1 |
| Measuring tape | Flexible | 1 |
Bulky yarn from a soft acrylic or wool blend line gives you the coziest drape while still being easy to care for, which matters for a blanket that will see regular use.
Sizing Guide
This pattern is written as a standard throw size, but the square-based construction makes it simple to scale up or down.
| Size | Squares Needed | Finished Dimensions (approx.) |
|---|---|---|
| Baby/Lap Throw | 20 squares (4×5) | 32 x 40 inches |
| Standard Throw | 42 squares (6×7) | 45 x 52 inches |
| Full Blanket | 56 squares (7×8) | 52 x 60 inches |
Block your first finished square before continuing, since bulky yarn squares can shrink slightly once blocked, which affects your final total count.
Step-by-Step: How to Crochet the Sunny Petal Motif
Step 1: Crochet the Flower Center
- Begin with a magic ring in your flower center color.
- Work single crochet stitches around the ring to form the daisy’s middle.
- Fasten off, leaving a small tail to weave in later.
- Repeat this step for every square needed in your chosen size.
Step 2: Add the Petals
- Join your petal color into any stitch of the flower center round
- Work cluster stitches evenly around the circle to form individual petals
- Follow the video tutorial here for a visual guide on cluster stitch placement
- Fasten off once the petal round is complete
Step 3: Crochet the Background Frame
- Join your background color into a corner space between two petals.
- Work rounds of half double crochet and double crochet, building out the square shape.
- Continue for 1-2 rounds until the square reaches your target size.
- Fasten off and weave in all ends before moving to the next square.
Step 4: Assemble the Blanket
- Lay out all completed squares in your desired grid pattern
- Join the squares together using slip stitch or whip stitch seams
- Continue joining rows until the full blanket top is assembled
- Weave in every remaining end for a clean, finished back
Step 5: Add the Border
- Work an even round of single crochet around the entire joined blanket.
- Add 1-2 additional decorative rounds if desired, such as a shell or picot edge.
- Fasten off and weave in the final ends.
- Block the finished blanket gently to help the squares lie flat and even.
Tips for a Clean, Cozy Finish
- Keep tension consistent across every square so they join without puckering
- Use the video tutorial as a reference the first time you crochet the petal round
- Crochet over yarn tails as you go to cut down on finishing time
- Choose a soft, machine-washable bulky yarn since blankets need frequent care
Common Mistakes to Avoid
- Uneven square sizes — leads to a lumpy, misaligned blanket top once joined
- Skipping the block-and-measure step — can throw off your total square count
- Rushing the petal round — uneven clusters make the daisy shape look irregular
- Ignoring yarn care needs — always check that your chosen bulky yarn is machine washable
Frequently Asked Questions
Is there a video tutorial for the Sunny Petal Chunky Blanket? Yes, the companion video walks through the daisy motif round by round, which is especially helpful for the petal cluster stitches.
What yarn weight is best for this chunky blanket pattern? Bulky weight yarn is recommended, since it works up quickly and gives the blanket its signature cozy, chunky texture.
How many skeins of yarn do I need for a standard throw size? A standard throw uses approximately 11 skeins total across the background, petal, and center colors, though this varies by brand and yardage.
What hook size should I use for this pattern? A 6mm to 6.5mm hook pairs well with bulky weight yarn to create well-defined granny squares.
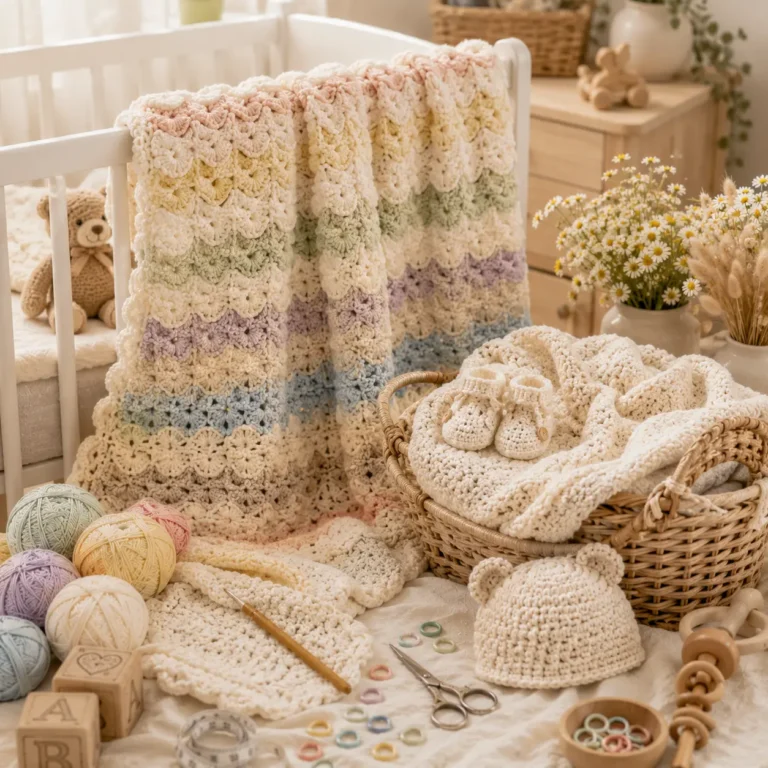
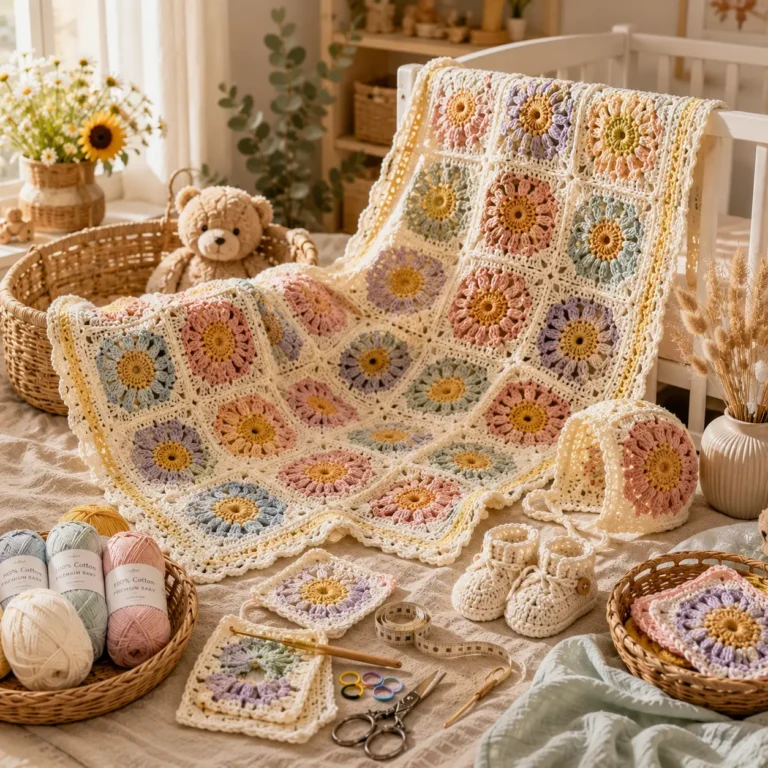
Can I make a smaller version of this blanket for a baby gift? Yes — reducing the total square count, as shown in the sizing chart above, easily scales this pattern down to a baby or lap-sized throw.
Conclusion
The Sunny Petal Chunky Blanket combines the classic charm of a granny square daisy motif with the speed and coziness of bulky yarn, making it a satisfying project from the very first square to the final border round. With the materials list, sizing chart, and step-by-step instructions above — plus the companion video tutorial — you have everything you need to create a blanket that brightens up any room.
Pick your favorite color combination, crochet your first flower center today, and follow along with the video whenever you need a visual check-in. Once your blanket is finished, share it with your crochet community — a daisy blanket this cozy is always worth showing off.