FREE Classic Granny Square Blanket Crochet Pattern
The tutorial video is at the bottom of the article.👇
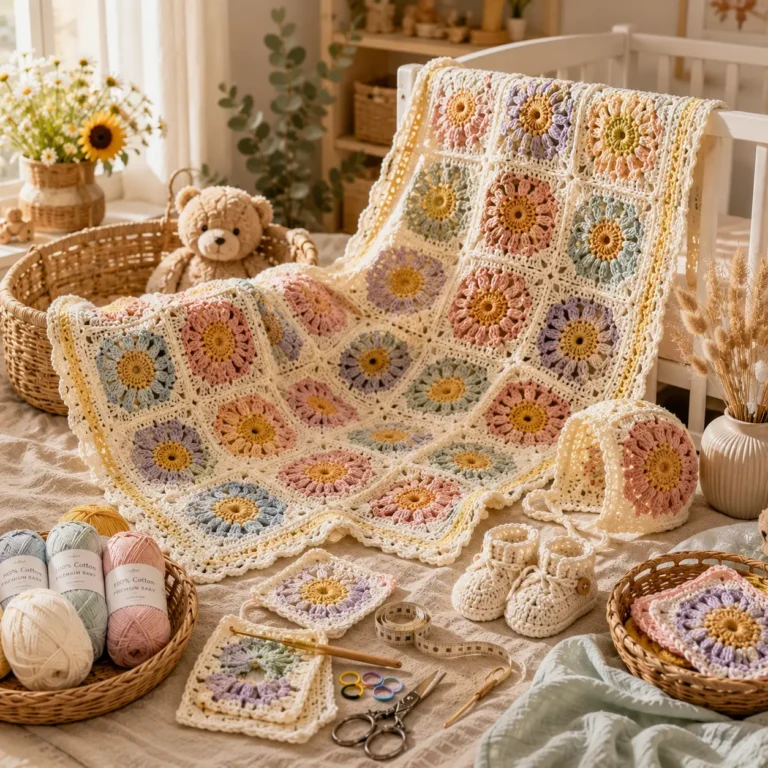
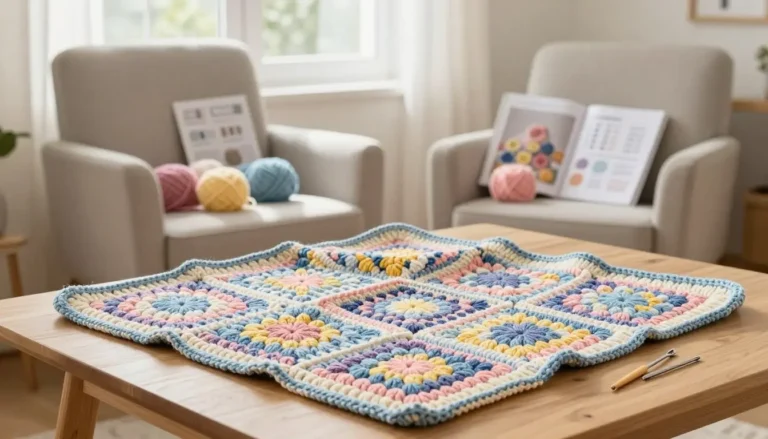
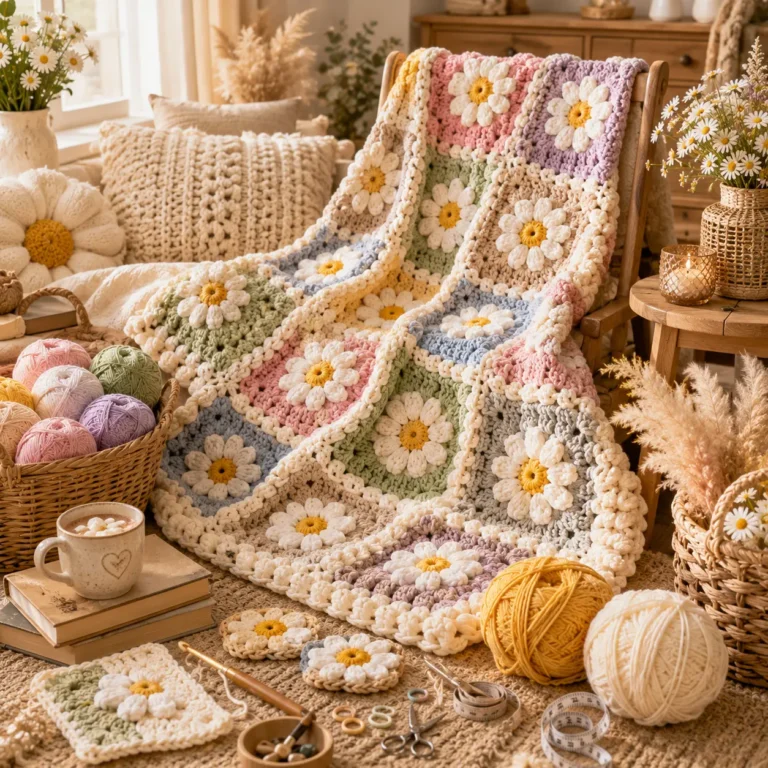
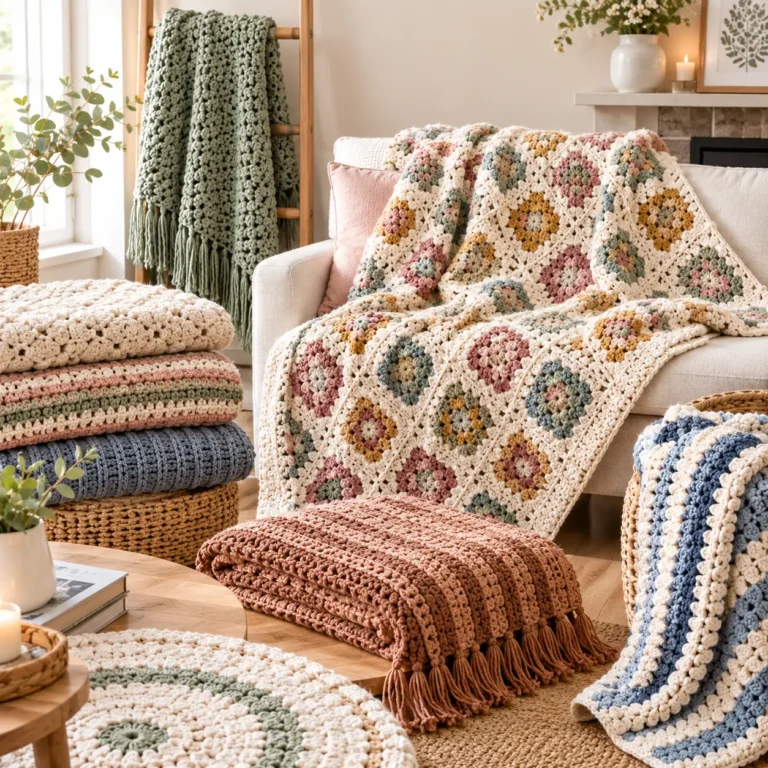
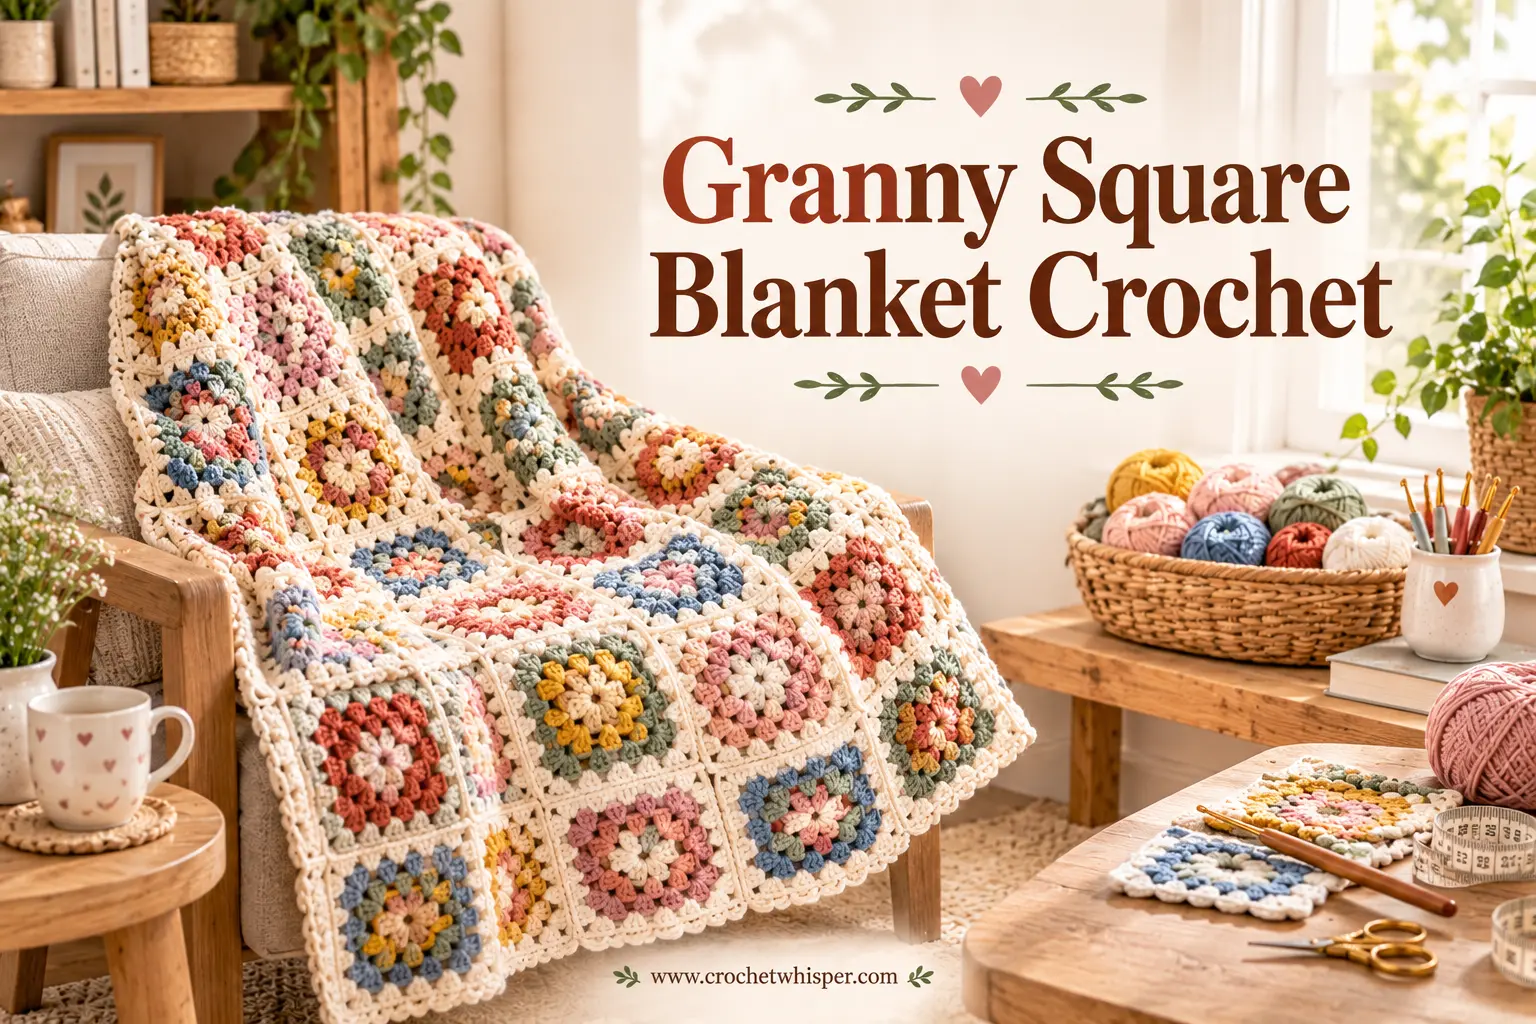
Before there were daisy motifs, sunburst textures, or corner-to-corner diagonals, there was the classic granny square, the motif that started it all. This free pattern goes back to basics, teaching the traditional granny square from scratch and showing you how to join dozens of them into a timeless blanket that never goes out of style.
If you’ve been exploring more elaborate motifs and want to return to the foundation, or if you’re completely new to granny squares, this guide is your starting point.
Why Every Crocheter Should Master the Classic Granny Square
The traditional granny square is built from simple double crochet groups worked into corner spaces, making it one of the most approachable motifs in all of crochet. Once you understand this basic structure, every other granny square variation, textured, colorwork, or oversized, becomes far easier to learn.
What makes this classic motif worth mastering:
- Simple double crochet groups, no advanced stitches required
- Endlessly scrappable, perfect for using up leftover yarn
- A foundational skill that unlocks countless motif variations later
- Timeless enough to never feel dated in your finished projects
What You’ll Need: Materials Table
Gather your supplies before starting, since granny squares are wonderfully portable once you get into a rhythm.
| Item | Recommended Type | Approximate Amount |
|---|---|---|
| Yarn (Multiple colors) | Worsted weight, acrylic or wool blend | 6-8 skeins total |
| Crochet hook | 4.5mm-5mm (US 7-H/8) | 1 |
| Yarn needle | Blunt tip | 1 |
| Measuring tape | Flexible | 1 |
| Scissors | Small, sharp | 1 |
Worsted weight yarn is the classic choice for granny squares, and this is a wonderful project for using up partial skeins from other projects in your stash.
Sizing Guide
Granny square blankets scale easily by simply adjusting your total number of squares.
| Size | Squares Needed | Finished Dimensions (approx.) |
|---|---|---|
| Baby/Lap Throw | 30 squares (5×6) | 25 x 30 inches |
| Standard Throw | 63 squares (7×9) | 35 x 45 inches |
| Full Blanket | 90 squares (9×10) | 45 x 50 inches |
Block your first finished square before continuing, since blocking can slightly change the final dimensions and affect your total square count.
Step-by-Step: How to Crochet the Classic Granny Square
Step 1: Start the Center Ring
- Chain 4 and join with a slip stitch to form a ring.
- Chain 3 (counts as your first double crochet), then work 2 more double crochet into the ring.
- Chain 2 for the corner space, then work 3 double crochet into the ring again.
- Repeat this pattern three more times to create all four corners, then join with a slip stitch to the top of your beginning chain.
Step 2: Add the Second Round
- Join a new color into any corner chain-2 space
- Chain 3, then work 2 more double crochet, chain 2, and 3 more double crochet all into the same corner space
- Chain 1, then work a group of 3 double crochet into the next corner space
- Continue around, working a full corner group in each corner and a chain-1 space along each side, then join with a slip stitch
Step 3: Continue Building Out the Square
- Join your next color into any corner space, following the same corner and side pattern as round 2.
- Continue adding rounds, changing colors as desired, until the square reaches your target size.
- Fasten off after each round if you’re using multiple colors, or continue in one color for a simpler look.
- Block your first completed square before making the rest, to confirm your final size matches your planned total.
Step 4: Repeat Until You Have Enough Squares
- Continue crocheting squares using the same method until you reach the total needed for your chosen size
- Keep a consistent number of rounds across every square so they’re uniform in size
- Lay out all your finished squares to plan your color arrangement before joining
How to Assemble the Blanket
Step 5: Join Your Squares
- Arrange your squares in your desired layout, whether color-blocked, scrappy, or evenly alternating.
- Join squares using a whip stitch, slip stitch seam, or the join-as-you-go method on your final round.
- Continue joining row by row until the full blanket top is assembled.
- Weave in every remaining loose end for a clean, finished back.
Step 6: Add the Border
- Work an even round of single crochet around the entire joined blanket
- Add 1-2 additional decorative rounds, such as a shell or picot edge, if desired
- Fasten off and weave in the final ends
- Block the finished blanket gently to help the squares lie flat and even
Tips for a Clean, Timeless Finish
- Keep consistent tension throughout every square so they join smoothly
- Plan your color scheme on the floor before joining to visualize the final pattern
- Use the join-as-you-go method on your final round if you’d like to skip a separate seaming step
- Block every square individually if not using join-as-you-go, for the cleanest possible joins
Common Mistakes to Avoid
- Inconsistent square sizes — creates a lumpy, misaligned blanket once joined
- Skipping the blocking step — can throw off your total square count for the chosen size
- Rushing the corner stitches — uneven corners distort the square’s shape over multiple rounds
- Random color placement without planning — can create a chaotic look rather than an intentional design
Frequently Asked Questions
What is a classic granny square? It’s a traditional crochet motif built from groups of double crochet stitches worked into corner spaces, expanding outward round by round to form a square shape.
What yarn weight works best for a granny square blanket? Worsted weight yarn is the classic choice, since it holds stitch definition well and is a comfortable weight for extended crochet sessions.
How many granny squares do I need for a blanket? Most blanket sizes use between 30 and 90 squares, depending on your chosen finished dimensions, as shown in the sizing chart above.
Is the classic granny square good for beginners? Yes — it’s often the very first motif new crocheters learn, since it uses only basic double crochet stitches and a simple, repeatable structure.
Can I use scrap yarn for a granny square blanket? Absolutely — granny squares are one of the most popular ways to use up leftover yarn from other projects, since each square can use a different color combination.
Conclusion
The classic granny square blanket remains one of crochet’s most enduring projects, simple enough for a first-time motif maker yet flexible enough to reflect your own color choices and creative style. With the materials list, sizing chart, and step-by-step instructions above, you have everything you need to build a timeless blanket, one square at a time.
Pick your favorite colors, crochet your first square today, and watch your blanket grow square by square. Once it’s finished, share it with your crochet community — a classic granny square blanket is a project every crocheter should make at least once.