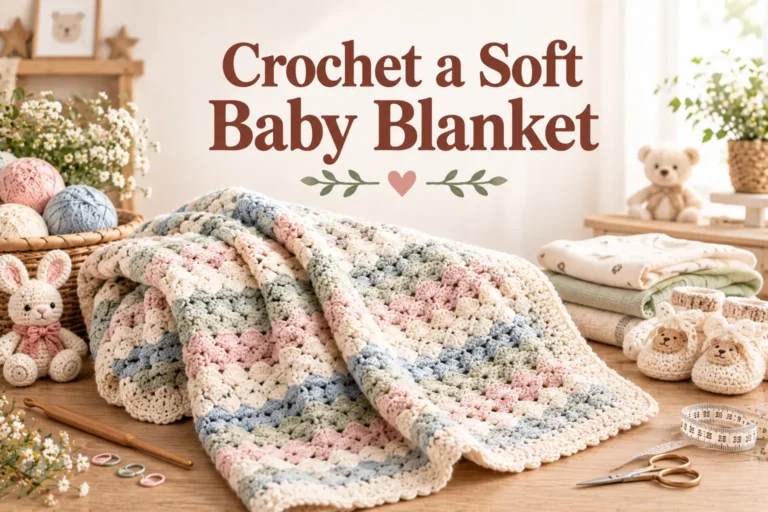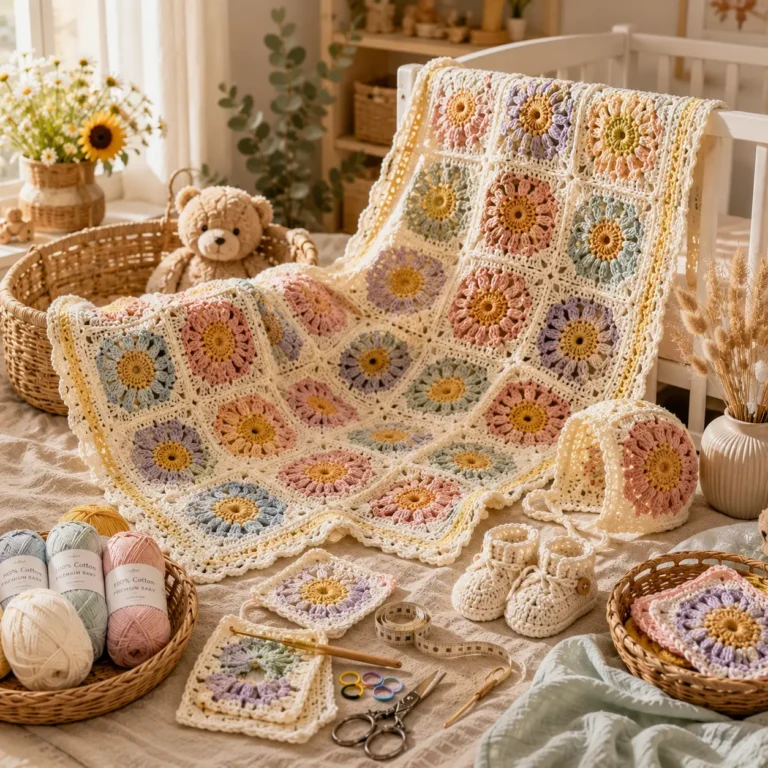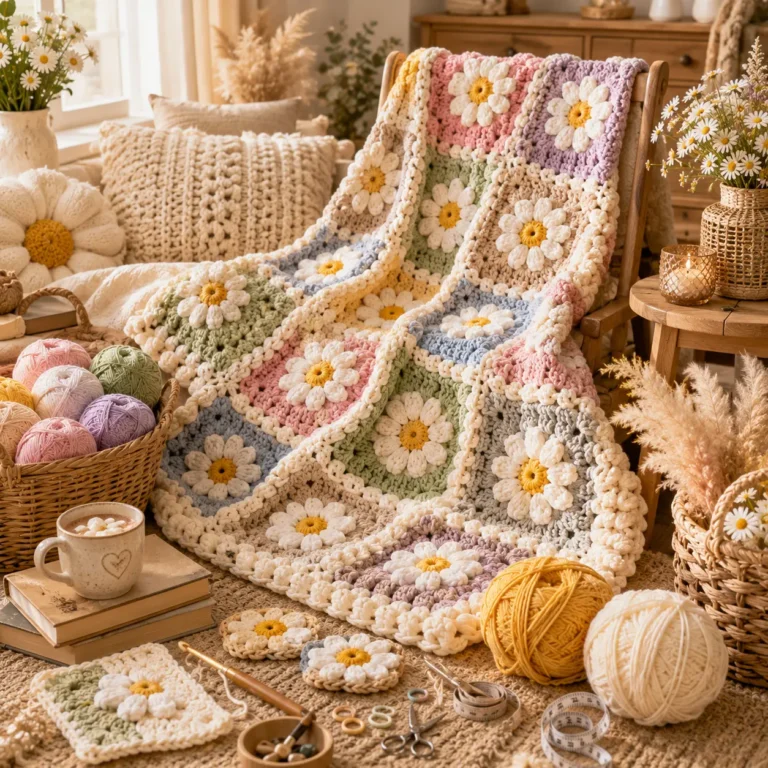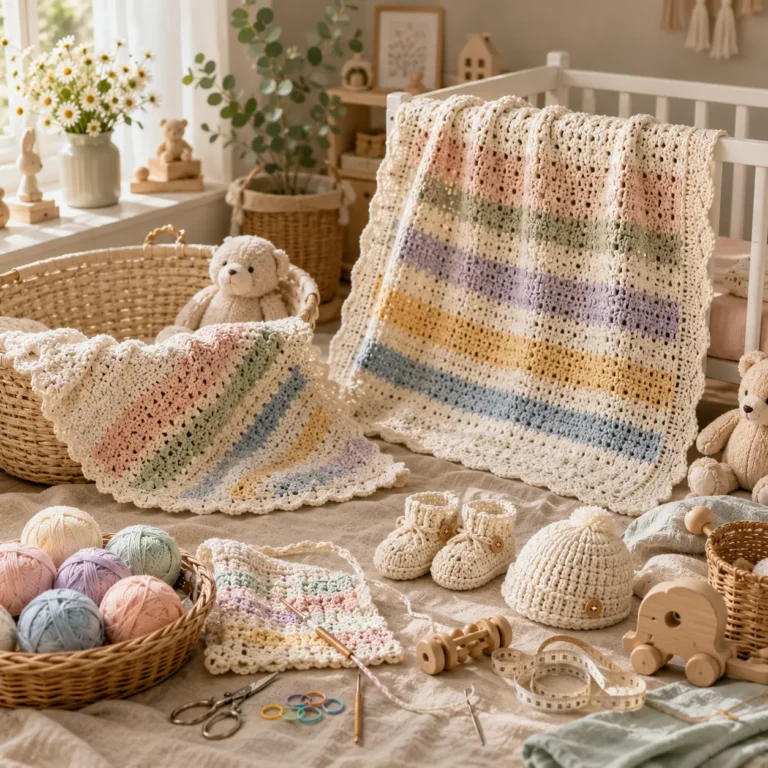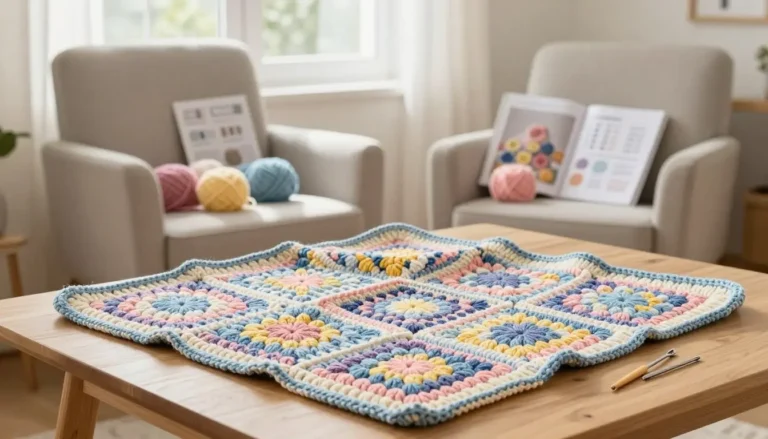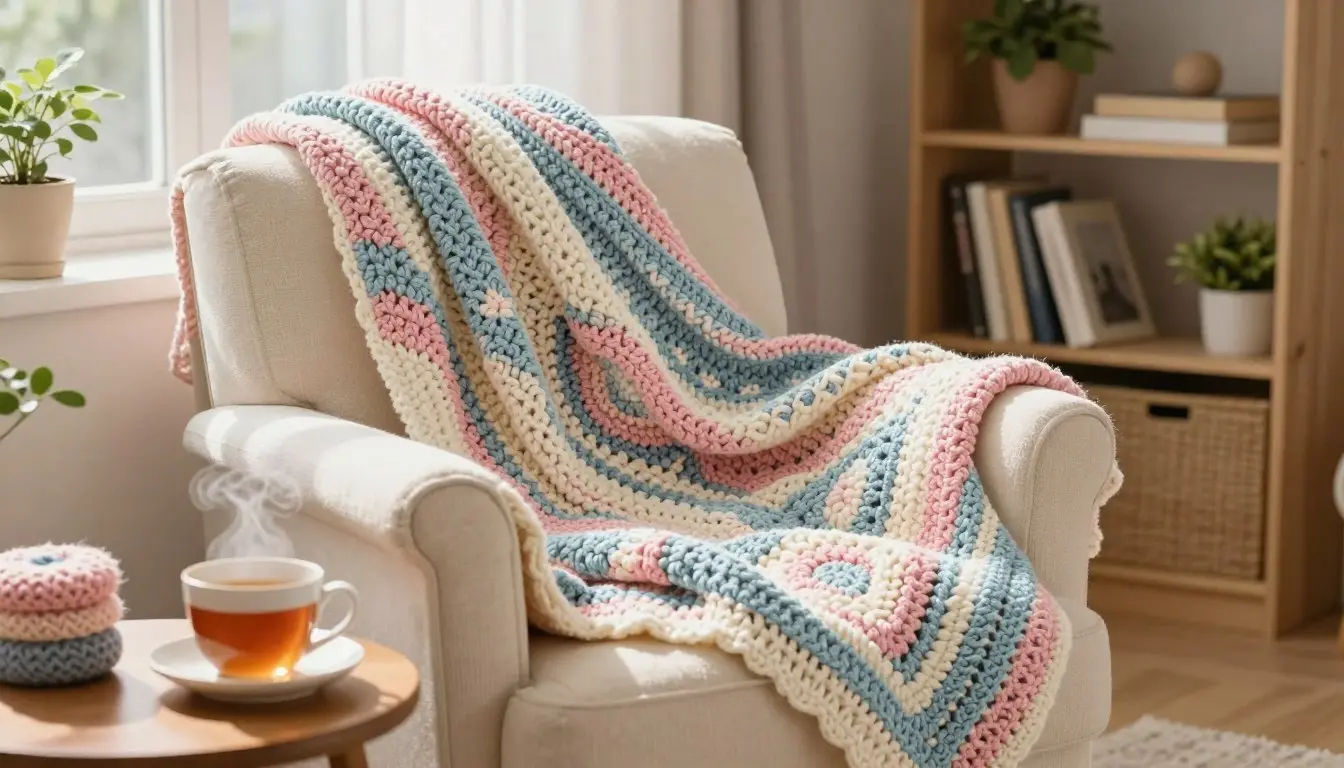
Cozy Handmade Crochet Blanket Pattern
The tutorial video is at the bottom of the article.👇
There is something deeply comforting about wrapping yourself in a soft, yarn-based creation during a chilly evening. Whether you are a beginner or a seasoned crafter, starting a new project brings a sense of peace and accomplishment to your home.
This guide offers a simple crochet blanket pattern designed to help you craft a warm, thoughtful gift or a personal treasure. We will walk through every step, from selecting the right materials to finishing your beautiful piece with confidence.
You will learn practical tips for managing yarn tension, adjusting sizing, and ensuring your final work lasts for years. Let us begin this creative journey together and turn simple loops into a cozy crochet blanket you will cherish forever.
Key Takeaways
- Master the basics of yarn selection for maximum comfort.
- Follow clear, step-by-step instructions for a stress-free experience.
- Learn essential techniques to maintain consistent tension throughout your work.
- Discover professional finishing tips to give your project a polished look.
- Gain confidence in caring for your finished piece to ensure long-lasting warmth.
Materials, Yarn, and Finished Blanket Size
Before you begin your project, you need to assemble the essential crochet blanket materials. Having everything ready before you start helps maintain your rhythm and prevents unnecessary interruptions. A well-prepared crafter is always more efficient and relaxed.
Yarn Weight, Fiber, and Color Planning
Selecting the right yarn weight for a crochet blanket is the most important decision you will make. A medium or worsted weight yarn is often the best choice for beginners because it works up quickly while providing a soft, cozy texture. Fiber content also plays a major role; wool offers warmth, while cotton provides a breathable, structured drape.
Consider your color palette carefully to match your home decor or the intended recipient’s style. You might choose solid colors for a modern look or variegated yarns to add visual interest without changing skeins. Always ensure you have enough yarn from the same dye lot to avoid color variations.
Recommended Crochet Hook and Notions
Your crochet hook size should be chosen based on the yarn label recommendations. Using the correct hook ensures your stitches are neither too tight nor too loose, which creates a professional finish. Most patterns suggest a size H/8 (5.0mm) or I/9 (5.5mm) for standard worsted weight projects.
Beyond the hook, keep a few basic notions nearby to simplify your process. You will need a pair of sharp scissors for trimming yarn, a large-eye yarn needle for weaving in ends, and a flexible measuring tape to track your progress. These simple tools are vital for a polished final result.
Blanket Dimensions and Adjusting the Foundation Chain
Standard throw blankets typically measure about 50 by 60 inches, but you can easily customize these dimensions. To change the size, you must adjust your starting foundation chain while keeping the stitch repeat in mind. Consistency in your chain tension is key to ensuring the edges remain straight throughout the project.
Calculating Stitch Multiples for a Custom Size
To create a custom width, identify the stitch multiple required by your pattern. For example, if the pattern requires a multiple of 4 plus 2, ensure your total chain count follows this mathematical rule. Always double-check your count before working the first row to avoid having to unravel your work later.
How to Prepare for the Handmade Crochet Blanket
A successful blanket begins long before the first stitch is cast onto your hook. Taking time to organize your materials and verify your technique ensures that your final piece matches your vision perfectly. Preparation is the foundation of every beautiful handmade project.
Checking the Crochet Gauge
The crochet gauge is perhaps the most important factor in determining the final size of your blanket. If your stitches are too loose or too tight, the dimensions of your finished work will vary significantly from the pattern requirements. Checking this early prevents frustration later on.
Making and Measuring a Gauge Swatch
To check your gauge, create a small square using the yarn and hook specified in your pattern. Aim for a swatch that is at least four inches square to get an accurate reading. Once finished, count the number of stitches and rows within a central four-inch area.
Compare your results to the pattern instructions to see if you need to adjust your hook size. If you have too many stitches, your work is too tight; if you have too few, it is too loose. This simple step ensures your crochet gauge remains consistent throughout the entire project.
Understanding the Stitch Pattern and Abbreviations
Before starting, take a moment to review the crochet stitch pattern and the list of abbreviations provided. Familiarizing yourself with the specific sequence of stitches helps you maintain a steady rhythm. Confidence in your pattern reading skills makes the process much more enjoyable.
If you encounter an unfamiliar term, look it up in a reliable crochet dictionary or watch a quick tutorial. Understanding the crochet stitch pattern allows you to anticipate the next move, which keeps your work flowing smoothly.
Creating a Comfortable Workspace
A dedicated, well-lit area is essential for long-term comfort while working on a large blanket. Ensure you have a comfortable chair that supports your back and good lighting to reduce eye strain. Keeping your supplies organized in a basket or bag helps you stay focused on your progress.
Preventing Tension Changes During a Long Project
Maintaining consistent crochet tension is a challenge during extended sessions. Fatigue can cause your grip to tighten or loosen, which affects the look of your stitches. Taking regular breaks and stretching your hands will help you keep your crochet tension steady from start to finish.
| Issue | Cause | Solution |
|---|---|---|
| Stitches too tight | High crochet tension | Use a larger hook |
| Stitches too loose | Low crochet tension | Use a smaller hook |
| Uneven edges | Skipped stitches | Use stitch markers |
| Inconsistent size | Variable gauge | Measure every 10 rows |
Step-by-Step Handmade Crochet Blanket Pattern
Learning how to crochet a blanket is a rewarding journey that begins with a single loop. By following a clear, logical sequence, you ensure that your project remains consistent from the first stitch to the last.
Step 1: Make the Foundation Chain
The foundation chain crochet process serves as the backbone of your entire project. Take your time to create a chain that is neither too tight nor too loose, as this sets the tension for the rest of the blanket.
Counting Chains and Keeping the Edge Straight
Always count your chains carefully to match your pattern requirements. Keeping your chain straight is vital; lay it flat on a table to ensure it does not twist before you begin working back into it.
Step 2: Work the First Pattern Row
Once your chain is ready, you will begin working your first row of stitches. Insert your hook into the designated chain space as specified by your pattern instructions.
Placing Stitches Without Twisting the Chain
Be mindful of your hook placement to avoid accidental twists in the foundation. Consistent stitch placement ensures that your first row looks uniform and professional.
Step 3: Repeat the Main Rows
After completing the first row, you will move into the main pattern repeat. This step-by-step crochet blanket method relies on repeating the same sequence of stitches until you reach your desired size.
Turning the Work and Maintaining the Stitch Repeat
When you reach the end of a row, turn your work carefully to begin the next one. Maintaining the same stitch count in every row is the secret to a perfectly rectangular blanket.
Step 4: Build the Blanket to the Desired Length
Continue working your rows until the blanket reaches your preferred length. It is helpful to periodically lay your work flat to check your progress.
Checking Width, Drape, and Row Alignment
Monitor the width of your blanket to ensure the edges remain straight. If the fabric feels too stiff, you may need to adjust your tension or try a slightly larger hook to improve the drape of the finished piece.
Step 5: Finish the Final Row and Fasten Off
Once you have reached the final row, complete your last stitch according to the pattern. This is the final stage of your step-by-step crochet blanket journey.
Securing the Last Loop and Trimming the Yarn
Cut your yarn, leaving a tail of about six inches for weaving in later. Pull the yarn tail through the final loop on your hook and tighten it securely to prevent the work from unraveling.
Finishing the Edges and Adding a Polished Border
Transforming a simple crochet project into a professional-looking heirloom requires careful attention to the final steps. These finishing touches ensure your blanket remains durable while looking beautifully refined. By taking your time with these details, you turn a handmade item into a lasting treasure.
Weaving in Yarn Ends Neatly
Properly securing your yarn is essential to prevent your hard work from unraveling over time. When weaving in ends crochet, use a tapestry needle to weave the tail through the back of the stitches in multiple directions. This technique locks the yarn firmly in place, ensuring it stays hidden even after repeated washing.
Blocking the Finished Blanket
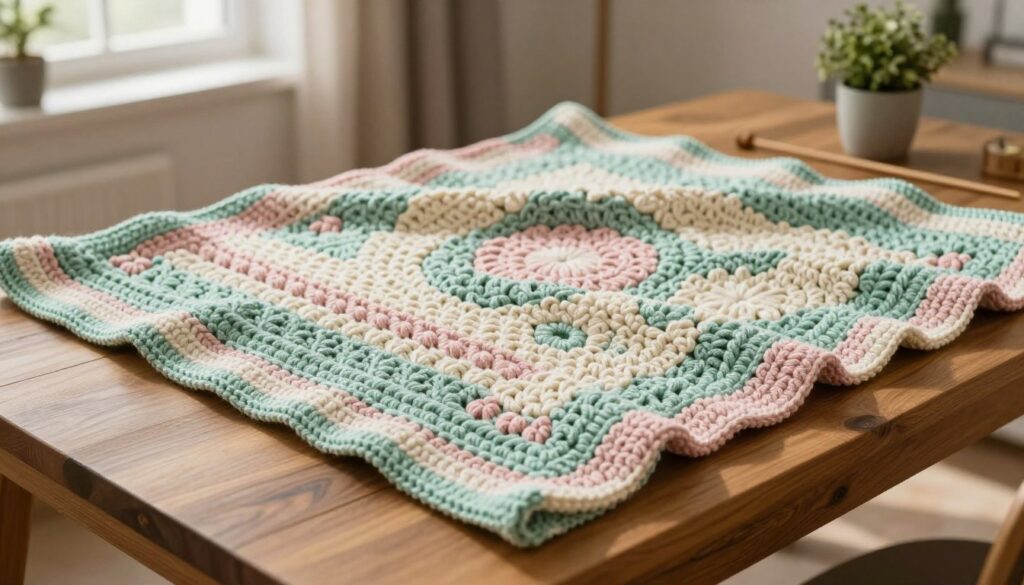
Blocking is the secret to achieving perfectly straight edges and consistent stitch definition. By blocking crochet blanket projects, you relax the fibers and allow the pattern to settle into its intended shape. This process is particularly helpful if your tension varied slightly during the creation of the blanket.
Choosing Wet Blocking or Steam Blocking
Wet blocking involves soaking the blanket in cool water with a gentle wool wash before pinning it to a flat surface. Alternatively, steam blocking uses the heat from a steam iron held just above the fabric to shape the stitches. Both methods are effective, but always check your yarn label to ensure the fiber can handle heat or moisture.
Working a Simple Single Crochet Border
Adding a single crochet border provides a clean, sturdy frame that prevents the edges from curling. Simply work one or two rounds of single crochet stitches evenly around the entire perimeter of your blanket. This simple addition creates a cohesive look that highlights the main stitch pattern.
Keeping Corners Flat and Even
To keep your corners from bunching or pulling, you must increase your stitch count at each turn. Typically, working three single crochet stitches into the same corner space provides enough room for the fabric to lie flat. Consistency is key here, so count your stitches carefully to ensure each side matches perfectly.
Adding Optional Decorative Details
If you want to add a bit of flair, consider simple embellishments like a picot stitch or a contrasting color trim. Keep these additions practical to ensure the blanket remains comfortable and easy to maintain. A thoughtful handmade project is best served by details that enhance its warmth and utility without becoming a nuisance during daily use.
Common Crochet Problems and Care Tips
Even the most experienced crafters encounter occasional hurdles while working on a handmade blanket. Learning how to fix crochet mistakes early in the process saves time and frustration. By staying observant, you can ensure your project remains consistent from start to finish.
Fixing Uneven Edges and Missed Stitches
Uneven edges often occur when you accidentally skip a stitch at the end of a row. To prevent this, always count your stitches after every row to ensure they match your foundation chain. Using stitch markers at the beginning and end of your rows helps you identify the turning point clearly.
Correcting Loose, Tight, or Inconsistent Tension
Inconsistent tension usually stems from changes in your grip or posture during long sessions. If your stitches look uneven, try taking a short break to relax your hands and shoulders. You might also consider switching to a different hook material, such as bamboo or ergonomic rubber, to improve your natural grip.
Safely Removing and Reworking Mistakes
When you spot a significant error, do not be afraid to “frog” your work by pulling out the yarn. Carefully undo your stitches one by one until you reach the point of the mistake. Patience is vital during this process, as rushing can lead to accidental snags in the yarn fibers.
Washing, Drying, and Storing the Finished Blanket
Proper crochet blanket care extends the life of your hard work significantly. When it is time to wash crochet blanket projects, always use a gentle cycle or hand wash in cool water. Lay the item flat on a clean towel to air dry, which prevents the weight of the water from stretching the fabric out of shape.
Following Fiber-Specific Care Instructions
Different materials require unique handling to maintain their texture and warmth. Refer to the table below to determine the best approach for your specific yarn choice.
| Fiber Type | Washing Method | Drying Technique | Storage Tip |
|---|---|---|---|
| Wool | Hand wash only | Lay flat to dry | Use cedar or lavender |
| Acrylic | Machine wash gentle | Tumble dry low | Cool, dry place |
| Cotton | Machine wash warm | Lay flat or tumble | Avoid direct sunlight |
| Alpaca | Hand wash cold | Air dry flat | Breathable bag |
Conclusion
Mastering the art of the Handmade Crochet Blanket transforms simple yarn into a lasting treasure. This guide provides the essential framework for every stage of your project. You now possess the knowledge to select quality materials, execute precise stitches, and apply professional finishing touches.
Your finished crochet blanket represents hours of dedication and creative expression. Whether you choose soft wool from Lion Brand or durable cotton from Bernat, the result reflects your personal style. Proper care ensures your work remains a cozy staple in your home for many years.
Consider sharing your skills by crafting a handmade gift blanket for a loved one. These items carry a unique warmth that store-bought alternatives cannot match. Start your next project today and enjoy the rewarding process of bringing a new design to life.