How to Crochet a Flower (Free Pattern) — A Simple Guide Anyone Can Follow
The tutorial video is at the bottom of the article.👇
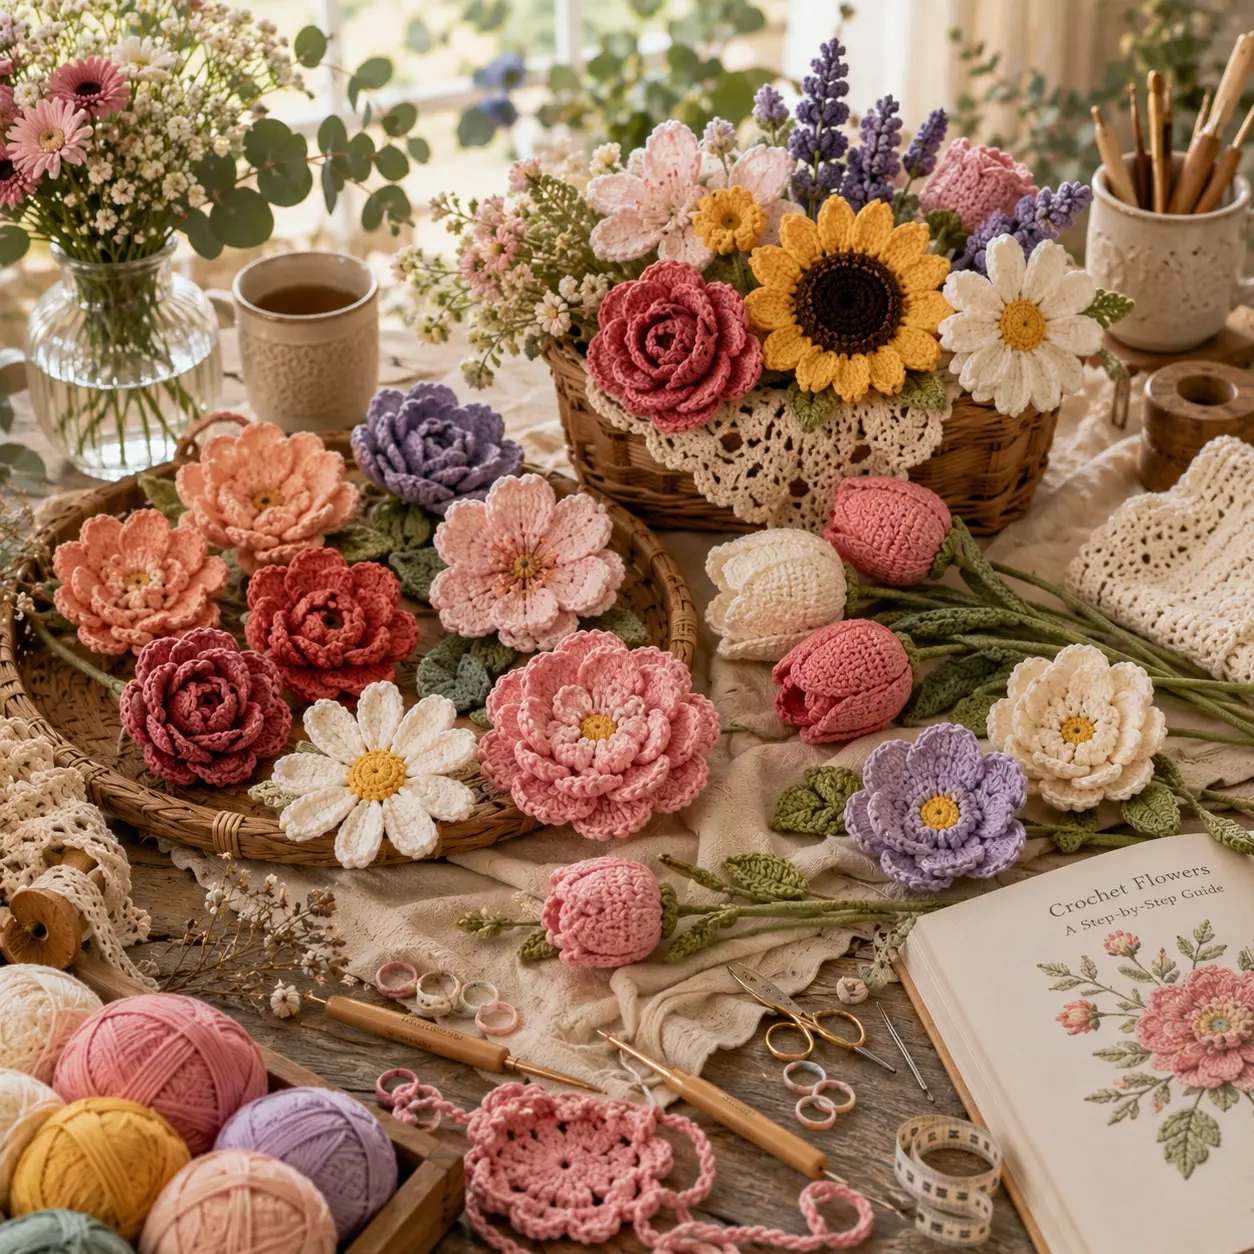
There’s a reason handmade flowers show up on hats, bags, blankets, and gift wrap everywhere you look — a single little motif can turn something plain into something special. Maybe you’ve admired these tiny crochet flowers online and assumed they required advanced skills. Here’s the truth: they’re one of the fastest, most forgiving projects you can learn. With this free pattern, you’ll go from yarn and hook to a finished flower in less than twenty minutes, even on your very first try.
Why Crochet Flowers Are a Must-Learn Motif
Before diving into the pattern, it helps to know why this little project deserves a spot in your crochet skill set:
- Fast to finish. Most flowers take ten to twenty minutes from start to finish.
- Scrap-friendly. You’ll use a tiny amount of yarn, making this the perfect project for leftover skeins.
- Endlessly versatile. Sew them onto hats, bags, headbands, or blankets, or turn them into pins and garlands.
- Skill-building. You’ll practice the magic ring, basic stitches, and the decorative picot stitch — all useful for future projects.
Because the motif is small and repeats predictably, it’s an ideal way to build confidence between simple stitches and larger, multi-piece projects.
Materials You’ll Need
Gather these before you start — most are things you likely already have on hand.
| Item | Recommended Type | Notes |
|---|---|---|
| Yarn | Worsted or DK weight, scrap-friendly | Cotton yarn holds the petal shape especially well |
| Hook | 3.5mm–4mm (US E/4–G/6) | Choose based on your yarn’s label |
| Notions | Yarn needle, scissors, stitch marker | For finishing touches and tracking rounds |
| Optional | Felt backing, brooch pin, button center | For turning your flower into a wearable accessor |
Essential Stitches for This Flower Pattern
This project uses just a handful of stitches, making it accessible even if you’ve only just learned to crochet.
Magic Ring (or Chain Ring)
Your flower’s starting point — a small adjustable loop that keeps the center tight and hole-free.
Chain Stitch (ch)
Used to build the base of each petal.
Single Crochet (sc)
A dense stitch that anchors each petal to the center ring.
Double Crochet (dc)
Adds height and fullness to the middle of each petal.
Picot Stitch (for petal tips)
A small decorative loop that gives each petal a defined, pointed tip.
Flower Size Guide
Adjust your stitch and round counts based on how you plan to use the finished flower.
| Size | Diameter | Best Use |
|---|---|---|
| Mini | 1 in / 2.5 cm | Earrings, gift tags |
| Small | 1.5 in / 4 cm | Hat or headband appliqué |
| Medium | 2.5 in / 6 cm | Bag charm, brooch |
| Large | 3.5 in / 9 cm | Blanket corner, garland centerpiece |
Step-by-Step How to Crochet a Flower (Free Pattern)
Step 1 — Start with a Magic Ring
Create a magic ring and work your first round of single crochet stitches into it before pulling the ring closed tight.
Step 2 — Crochet the Center Round
Join the round with a slip stitch, creating a solid, gap-free center for your flower.
Step 3 — Crochet Each Petal
- Chain a few stitches to form the base of the petal.
- Work a double crochet (or a few) into the chain to build its shape.
- Slip stitch back into the center ring to anchor the petal.
- Repeat around the ring until you have five or six evenly spaced petals.
Step 4 — Add Picot Details to the Petal Tips
At the tip of each petal, work a small picot stitch — chain a few stitches and slip stitch back into the base — to give your petals a pointed, polished look.
Step 5 — Finish and Weave in Ends
Slip stitch to close the round, cut your yarn, and weave in both ends with a yarn needle so nothing unravels.
Tips for Neat, Even Petals
- Keep your tension consistent across every petal so they all match in size.
- Count your stitches per petal carefully — uneven counts create a lopsided flower.
- If your petals curl instead of lying flat, block them lightly with a bit of steam.
- Use a contrasting yarn color for the center to make your flower pop.
Common Beginner Mistakes to Avoid
- Pulling the magic ring too loose or too tight. Practice a few times to find the right tension for a clean, closed center.
- Uneven petal stitch counts. Double-check each petal before moving to the next.
- Skipping the picot. It’s a small step, but it’s what gives petals their crisp, defined tips.
- Wrong hook size for your yarn. This affects both the size and the drape of your finished flower.
Creative Ways to Use Your Crochet Flowers
- Sew one onto a plain hat or headband for an instant upgrade.
- Attach a brooch pin to the back and wear it on a jacket or bag.
- Sew several together into a garland for a nursery or party.
- Use as a decorative topper on handmade gift wrapping.
Conclusion
Learning how to crochet a flower is one of the most rewarding small projects you can add to your skill set — quick to make, endlessly customizable, and useful in more ways than you’d expect. With just a magic ring, a few basic stitches, and a picot for polish, you’ll have a finished flower in your hands before you know it. Try it in a few different color combinations, and don’t be surprised if you end up crocheting a whole bouquet. Share your finished flowers with your favorite crochet community and see how others have styled theirs.
FAQ
What is the easiest way to crochet a flower for beginners?
Starting with a magic ring and working simple double crochet petals around it is the easiest method, since it requires only a few basic stitches and no complex shaping.
How much yarn do I need to crochet a flower?
A single flower typically uses only a small amount of yarn — often just a few yards — making it an ideal project for using up leftover scraps.
Can I crochet a flower without a magic ring?
Yes. You can substitute a small chain ring (chain a few stitches and join with a slip stitch) if you’re not yet comfortable with the magic ring technique.
How do I attach a crochet flower to a hat or bag?
Use a yarn needle and matching thread to sew the flower directly onto the fabric, or attach a brooch pin to the back for a removable option.