The Daisy Fields Blanket | FREE No-Sew Chunky Crochet Pattern
The tutorial video is at the bottom of the article.👇
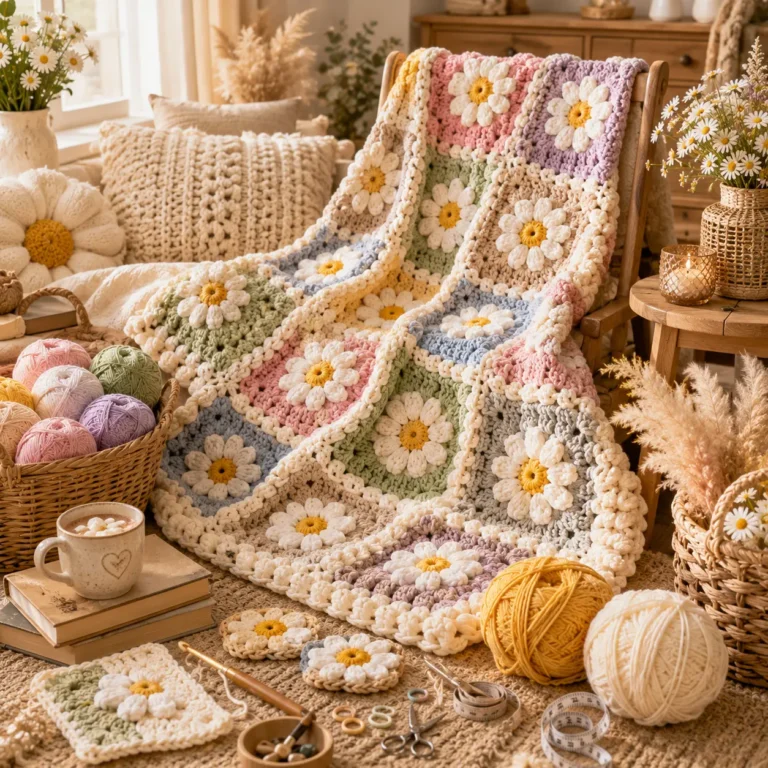
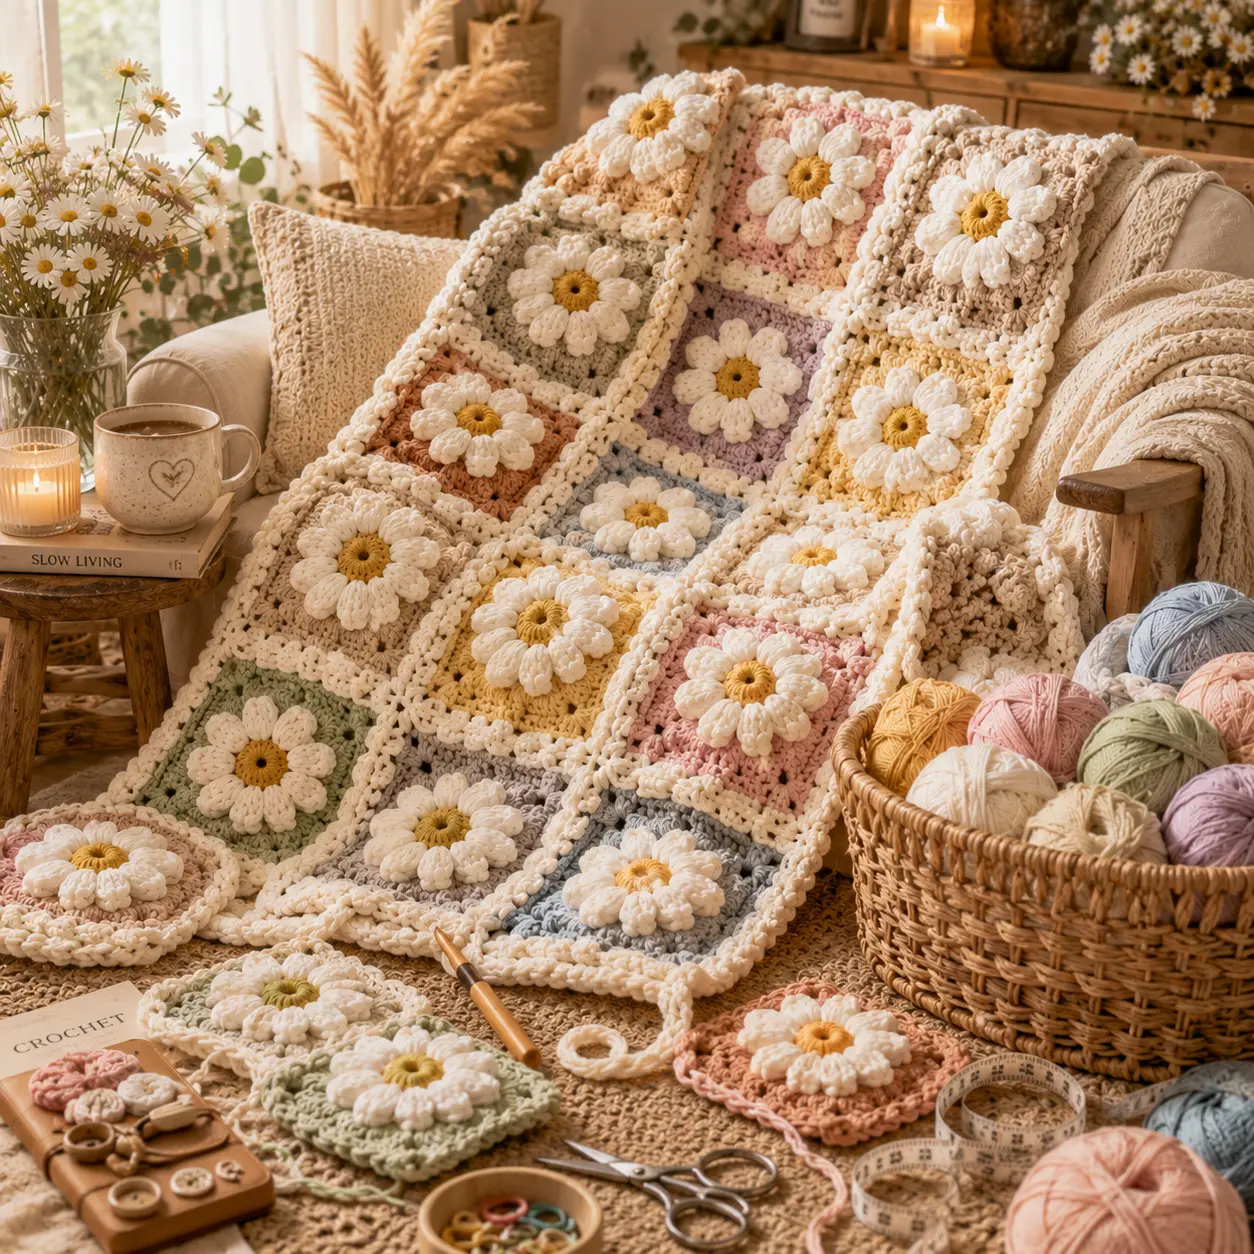
Seaming dozens of granny squares together is many crocheters’ least favorite part of a blanket project, which is exactly why the Daisy Fields Blanket was designed differently. Instead of crocheting every square separately and sewing them together at the end, this pattern uses a join-as-you-go method, so your daisy motifs connect to each other as you finish each one. No seaming session, no mountain of squares waiting to be assembled.
This free pattern walks you through the join-as-you-go technique from your very first flower to your final border round.
Why the Join-As-You-Go Method Changes Everything
Traditional granny square blankets require you to finish every square before starting the time-consuming task of seaming them all together. The join-as-you-go method skips that entirely by connecting each new square to its neighbors during the final round, which means your blanket is essentially finished the moment your last flower is complete.
What makes this construction method worth learning:
- No separate seaming session at the end of the project
- Each square joins directly to its neighbors as you work
- Easier to track your progress since the blanket grows visibly
- Great technique to add to your crochet toolkit for future projects
What You’ll Need: Materials Table
Gather your supplies before starting, since the join-as-you-go method works best when you can crochet multiple squares in one sitting without interruption.
| Item | Recommended Type | Approximate Amount |
|---|---|---|
| Yarn (Background) | Bulky weight, acrylic or wool blend | 7 skeins |
| Yarn (Petal color) | Bulky weight, contrasting shade | 3 skeins |
| Yarn (Flower center) | Bulky weight, accent shade | 1 skein |
| Crochet hook | 6mm-6.5mm (US J/10-K/10.5) | 1 |
| Yarn needle | Large eye, blunt tip | 1 |
| Measuring tape | Flexible | 1 |
Bulky yarn keeps the join-as-you-go rounds quick to work, since fewer stitches are needed to complete each connecting side compared to a finer weight yarn.
Sizing Guide
Because each square connects as you go, you can stop at any point and still have a usable finished edge, making this pattern flexible for any size.
| Size | Squares Needed | Finished Dimensions (approx.) |
|---|---|---|
| Baby/Lap Throw | 20 squares (4×5) | 32 x 40 inches |
| Standard Throw | 42 squares (6×7) | 45 x 52 inches |
| Full Blanket | 56 squares (7×8) | 52 x 60 inches |
Plan your grid layout before starting, since the join-as-you-go method works most smoothly when you crochet in a consistent row-by-row order.
Step-by-Step: How to Crochet the Daisy Fields Blanket
Step 1: Crochet the First Flower Center
- Begin with a magic ring in your flower center color.
- Work single crochet stitches around the ring to form the daisy’s middle.
- Fasten off, leaving a small tail to weave in later.
- This first square will be your only fully independent square in the whole blanket.
Step 2: Add the Petals
- Join your petal color into any stitch of the flower center round
- Work cluster stitches evenly around the circle to form individual petals
- Continue until the petal round is complete
- Fasten off before moving to the background round
Step 3: Crochet the Background Frame with the Join-As-You-Go Technique
- Join your background color into a corner space between two petals.
- Work your first 1-2 rounds as normal, building out the square shape.
- On your final round, whenever you reach a side or corner that borders a previously finished square, replace your usual chain stitch with a slip stitch into the matching space on the neighboring square.
- Continue around the square, joining on every side that touches a finished neighbor, and working normal stitches on any remaining open sides.
Step 4: Repeat Across the Whole Blanket
- Work your next flower center and petal round exactly as before
- When you reach the background round, join to any already-completed neighboring squares using the slip stitch method
- Continue row by row until your entire grid is complete
- Because each square joins as it’s finished, there’s no separate assembly step required
Step 5: Add the Border
- Work an even round of single crochet around the entire connected blanket edge.
- Add 1-2 additional decorative rounds if desired, such as a shell or picot edge.
- Fasten off and weave in the final ends.
- Block the finished blanket gently to help the squares lie flat and even.
Tips for a Clean Join-As-You-Go Result
- Keep a consistent join point (such as always the corner chain-3 space) so your seams line up neatly
- Work in a predictable row order, left to right then down, to avoid confusing yourself about which sides need joining
- Use the video-style mental checklist: petals done, background started, check neighbors, join, continue
- Crochet over yarn tails as you go to minimize finishing time at the end
Common Mistakes to Avoid
- Forgetting to join a side — leaves gaps between squares that need fixing later
- Inconsistent join points — creates uneven seams that are visible in the finished blanket
- Skipping the block-and-measure step on square one — can throw off your total square count
- Losing track of your grid position — plan your layout on paper before starting to avoid confusion
Frequently Asked Questions
What is the join-as-you-go method in crochet? It’s a technique where each new motif is connected to its neighbors during its final round, eliminating the need for a separate seaming step at the end of a blanket.
Is the join-as-you-go method harder than sewing squares together? It has a small learning curve at first, but most crocheters find it faster overall since it removes the lengthy seaming process entirely.
What yarn weight works best for this pattern? Bulky weight yarn is recommended, since it works up quickly and keeps the join-as-you-go rounds fast to complete.
Can I still block my squares individually with this method? It’s best to lightly block your very first square before starting the rest, since later squares are joined directly and can’t be blocked in isolation as easily.
How many skeins of yarn do I need for a standard throw size? A standard throw uses approximately 11 skeins total across the background, petal, and center colors, though this varies by brand and yardage.
Conclusion
The Daisy Fields Blanket takes a beloved daisy granny square motif and pairs it with a construction method that skips the least enjoyable part of blanket-making: the seaming. With the materials list, sizing chart, and step-by-step join-as-you-go instructions above, you have everything you need to build a cozy chunky blanket that’s essentially finished the moment your last flower is complete.
Pick your favorite color combination, crochet your first flower center today, and join each new square as you go. Once your blanket is finished, share it with your crochet community — a daisy blanket built without a single seam is always worth showing off.