Crochet Daisy Puff Coaster: Easy and Beautiful
The tutorial video is at the bottom of the article.👇
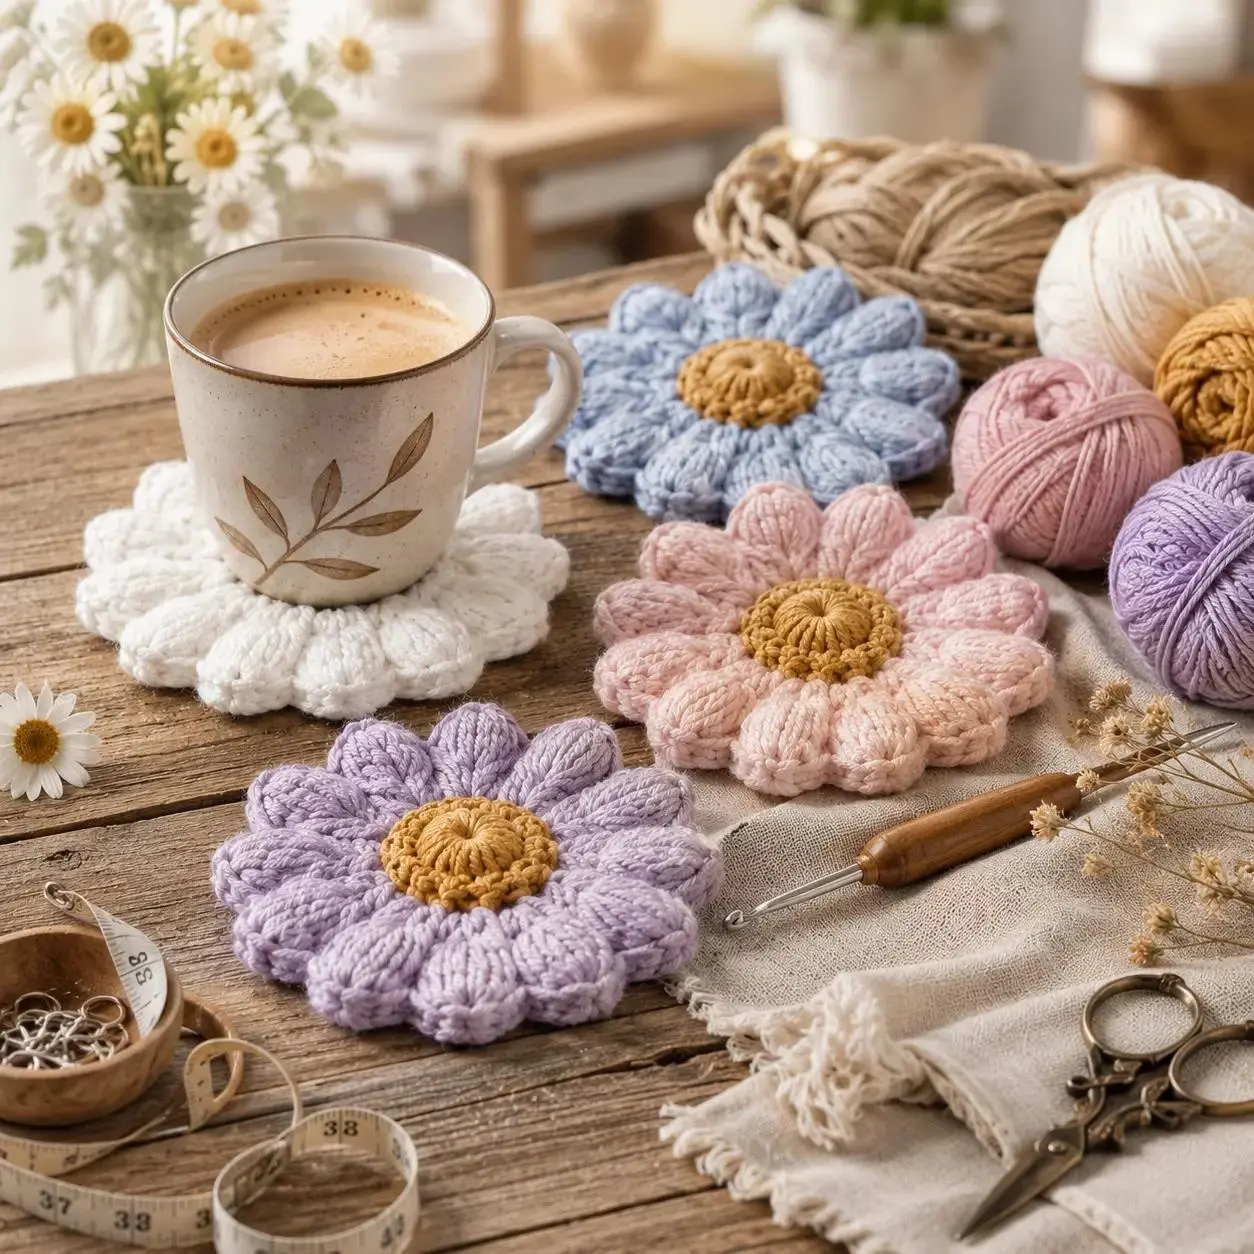
There’s a quiet kind of satisfaction in setting your morning coffee down on something you made with your own hands. A crochet daisy puff coaster brings a little bit of handmade charm into an ordinary moment, and the best part is that it doesn’t take much time, yarn, or experience to create one. If you’ve been looking for a small, satisfying project to build your confidence with crochet, this daisy-inspired coaster is exactly the kind of thing that makes you fall in love with the craft all over again.
Why Crochet Daisy Puff Coasters Are a Perfect Small Project
Unlike bigger projects that can take weeks to finish, a daisy puff coaster comes together in under an hour once you’re comfortable with the technique. It relies on one main stitch — the puff stitch — which you’ll repeat around a small circle to create raised, rounded petals that mimic a real daisy. Because it’s such a compact project, it’s also the perfect way to use up leftover scrap yarn or experiment with a new color combination without committing to something larger.
Coasters are practical too. They protect your furniture, add a handmade touch to your home, and make wonderful gifts. A full set is easy to whip up in an afternoon, which makes this pattern great for craft fairs, holiday gifts, or simply refreshing your own kitchen table.
What You’ll Need
| Item | Recommended Type | Notes |
|---|---|---|
| Yarn (petals) | Cotton, worsted weight | Cotton holds its shape and resists heat/moisture |
| Yarn (center) | Contrasting color, worsted weight | Yellow or gold is traditional for a daisy look |
| Hook | 4mm–4.5mm | Match to yarn weight for firm stitches |
| Notions | Yarn needle, scissors | For weaving in ends and joining |
| Optional | Stitch markers | Useful for tracking puff stitch rounds |
Cotton is the clear winner for coasters. It’s absorbent, durable, and machine-washable, all of which matter for something that will sit under hot mugs and glasses on a regular basis. Acrylic yarn, while soft and affordable, isn’t always as heat-resistant, so it’s better saved for other projects.
Making the Coaster, Step by Step
Start by creating the center of your coaster with a magic ring or a small foundation chain joined into a round. Work single crochet stitches evenly into this ring to establish a solid core for your daisy to grow from.
Next comes the fun part: the puff stitch petals. To make a puff stitch, you’ll yarn over and pull up a loop several times into the same stitch before completing it all as one stitch. This technique creates a raised, rounded shape that looks remarkably like a flower petal once you’ve repeated it evenly around your center circle.
Once your petals are in place, slip stitch to join the round and secure their shape. Pay attention to your tension here — even spacing and consistent puff height are what give the coaster that satisfying, symmetrical daisy appearance. If you’d like to add a bit more structure and durability, work a round of single crochet around the outer edge. This border flattens the coaster slightly and gives it a cleaner, more finished look, especially if you choose a contrasting color for extra definition.
Getting the Sizing Right
Coasters don’t need to follow one strict size, but having a general guide helps you plan ahead, especially if you’re making a matching set.
| Coaster Size | Diameter (approx.) | Starting Stitches |
|---|---|---|
| Small (mug coaster) | 3.5 inches | 6 stitches in ring |
| Standard | 4 inches | 8 stitches in ring |
| Large (mug + saucer) | 4.5–5 inches | 10 stitches in ring |
Because puff stitches add extra bulk compared to basic single crochet, your coaster may grow slightly larger than expected as you work — it’s worth checking your size against a real mug or glass partway through.
A Few Tips for Perfect Puff Stitches Every Time
Consistency is everything with puff stitches. Try to pull each loop up to the same height before completing the stitch, since uneven loops will make some petals look bigger or smaller than others. When you close the puff stitch, avoid pulling the working yarn too tight, or your petals will flatten out instead of holding their raised, dimensional shape. Once your coaster is finished, a light blocking session — dampening it slightly and shaping it by hand — can help it lie perfectly flat on a table instead of curling at the edges.
Frequently Asked Questions
What yarn is best for a crochet daisy puff coaster? Worsted weight cotton yarn is the best choice, since it’s durable, absorbent, and holds up well to regular washing and daily use.
How long does it take to make a crochet daisy puff coaster? Most beginners can finish one coaster in about 30 to 60 minutes once they’re comfortable with the puff stitch technique.
Is the puff stitch hard to learn for beginners? Not really — it takes a little practice to get the loop height consistent, but most beginners feel confident with it after just a few repetitions.
Can I make a full coaster set from this pattern? Absolutely — this pattern is quick and easy to repeat, making it an excellent choice for building a matching set of four to six coasters for your table or as a gift.
Ready to Start Stitching?
There’s something wonderfully rewarding about turning a small ball of cotton yarn into a set of daisy coasters that bring a bit of handmade beauty into your everyday routine. This project is quick enough to finish in a single sitting, yet detailed enough to feel genuinely impressive once it’s done. Pick out your favorite petal and center color combination, grab your hook, and give this pattern a try. When your coasters are finished, share a photo of your set — there’s nothing quite like seeing a little daisy garden bloom across someone’s kitchen table.